⚠️ This page connects you to Atovia’s partners and affiliate markets. We may receive a commission from affiliate partners for activities made through these links. Discount offers may change at any time according to policy! Rest assured, there are no additional costs to you! We hope this saves you time in finding the right items!
- 1. Why One Raised Bed Is All You Need
- 2. Planning Your Bed: Size, Location, and Soil
- 3. Winter (December–February): Prepare, Plan, and Sow Indoors
- 4. Spring (March–May): Sow, Plant Out, and Watch It Grow
- 5. Early Summer (June–July): Harvest, Succession Sow, and Manage Growth
- 6. Late Summer (August–September): Peak Harvests and Gap Filling
- 7. Autumn (October–November): Wind Down, Protect, and Prep for Next Year
- 8. Maximizing Your Yield: Companion Planting, Vertical Growing, and Succession Sowing
- 9. Troubleshooting Common Problems in a Raised Bed
- 10. Month-by-Month Quick Reference Chart
You don’t need a sprawling vegetable garden to eat well from your own backyard. A single, well-managed raised bed — tended thoughtfully through every month of the year — can supply your kitchen with fresh salads, hearty roots, climbing beans, fragrant herbs, and so much more. This guide walks you through exactly how to make that happen, season by season.
- A raised bed as small as 4×8 feet can produce vegetables year-round with the right planning.
- Succession sowing — planting small amounts every 2–3 weeks — prevents gluts and gaps.
- Good soil is the single most important investment you can make in your raised bed.
- Vertical growing and companion planting dramatically increase yield per square foot.
- Each month has specific tasks that keep your bed productive and healthy all year long.
1. Why One Raised Bed Is All You Need
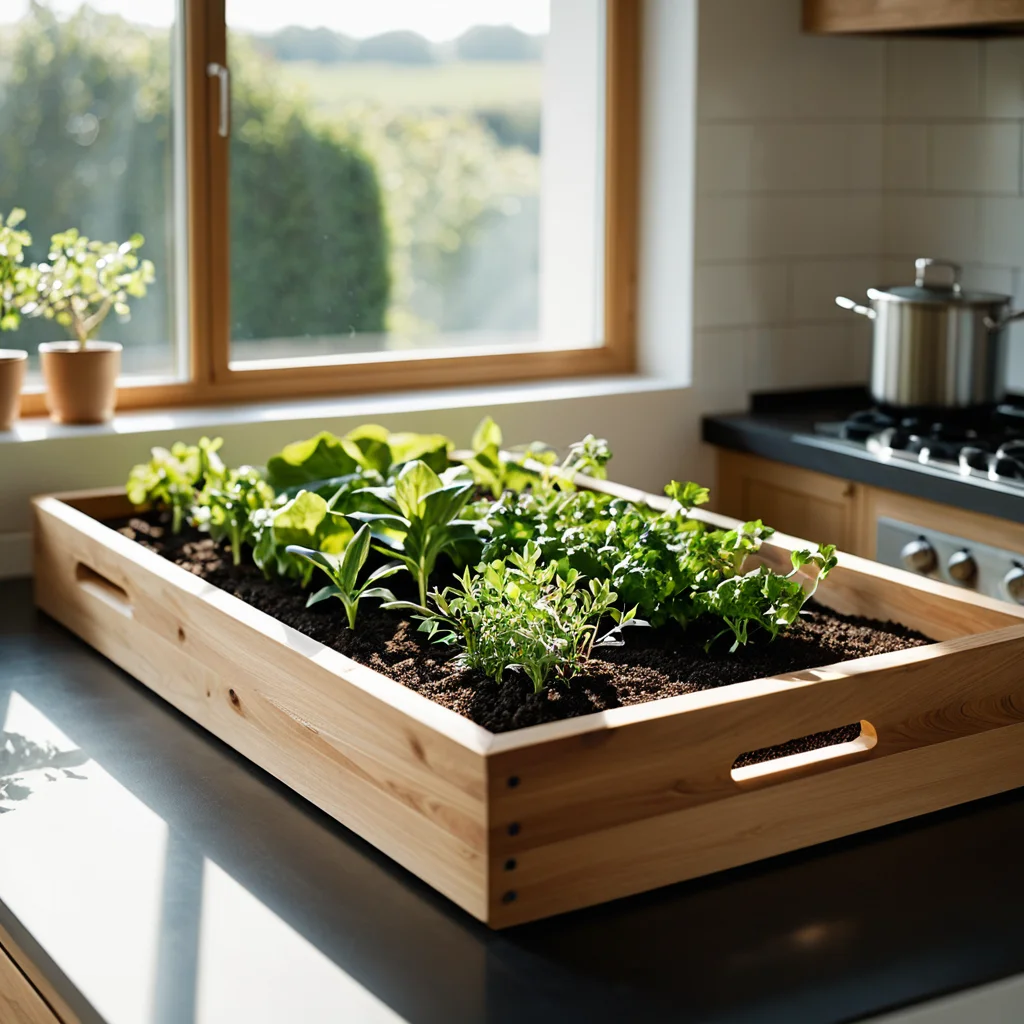
The idea that you need a large plot to grow meaningful quantities of food is one of the most persistent myths in home gardening. In reality, a single raised bed — managed with intention — outperforms a much larger in-ground garden in almost every measurable way. Raised beds warm up faster in spring, drain better after rain, suffer less compaction because you never walk on the soil, and are dramatically easier to manage for weeds, pests, and fertility.
Because a raised bed is a defined, contained space, it also encourages better planning. You think more carefully about what goes where, when to sow, and how to follow one crop with another. That mindfulness is exactly what separates a productive bed from a patchy, frustrating one. Gardeners who master one raised bed consistently report harvesting more than neighbors with much larger, less organized plots.
There is also the question of time. Most people’s lives don’t accommodate hours of weekly garden maintenance. A raised bed scaled to 4×8 feet or 4×12 feet requires only a few focused minutes most days — a little watering, a little harvesting, occasional weeding — and rewards that modest investment generously across all twelve months.

2. Planning Your Bed: Size, Location, and Soil
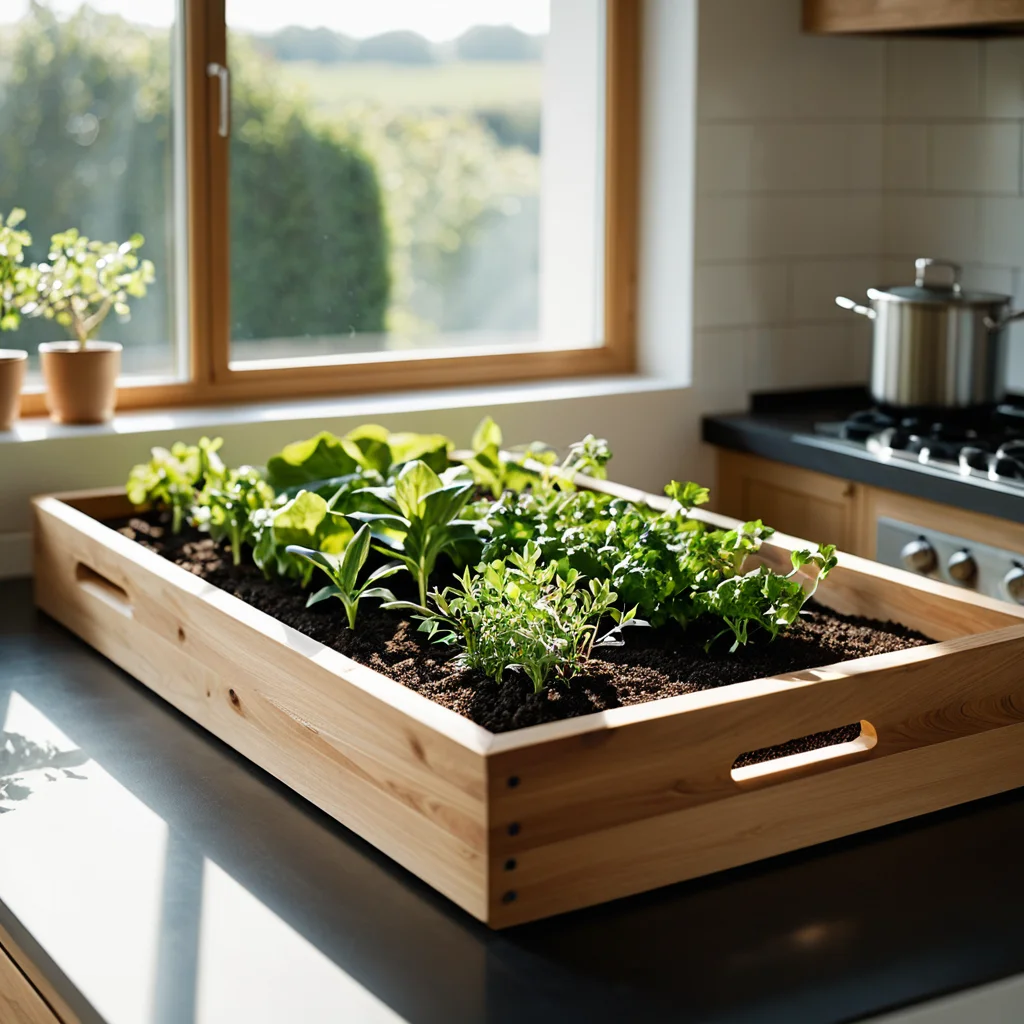
Before you sow a single seed, the decisions you make about your raised bed’s physical setup will shape every harvest you ever take from it. Getting these fundamentals right is the highest-return activity in all of kitchen gardening.
Size: The classic 4×8-foot raised bed remains the gold standard for good reason. It is large enough to grow a meaningful variety of crops in rotation, yet narrow enough that you can reach every corner from the side without stepping in. If space allows, a 4×12-foot bed opens up even more planting combinations. Depth matters too — aim for at least 12 inches of growing medium, and 18 inches if you want to grow deeper root vegetables like parsnips or carrots without restriction.
Location: Choose the sunniest spot available. Most food crops need a minimum of six hours of direct sunlight daily, and eight hours or more will unlock the full potential of fruiting crops like tomatoes, zucchini, and peppers. Avoid areas beneath large trees, which compete for water and nutrients and create dense shade. Proximity to a water source is a practical consideration — the closer your bed is to a tap or rain barrel, the more consistently you will water it.
Soil: This is non-negotiable. Fill your raised bed with a high-quality mix of topsoil, compost, and a well-draining amendment such as horticultural grit or perlite. A common and effective ratio is 60% topsoil, 30% compost, and 10% grit. Never fill a raised bed with unimproved subsoil or pure garden soil, which will compact and drain poorly. Top-dress with several inches of compost each autumn, and your soil will improve in structure and fertility with every passing year.
| Feature | Raised Bed | In-Ground Plot |
|---|---|---|
| Soil warmth in spring | Warms 2–4 weeks earlier | Slower to warm |
| Drainage | Excellent — customizable | Dependent on native soil |
| Weed pressure | Low with good mulching | Higher, persistent |
| Soil compaction | None — never walked on | Common without path planning |
| Accessibility | Easier on knees and back | Requires bending to ground level |
| Pest management | Easier to net and protect | More labor-intensive |

3. Winter (December–February): Prepare, Plan, and Sow Indoors
Winter is not the quiet season many gardeners assume. For the raised-bed grower, these months are among the most important of the year — a time to restore the soil, sketch out a planting plan, and get a head start on the earliest crops under cover.
December: Once your autumn crops are finished, clear spent plant material promptly to remove overwintering pest habitat. Spread a generous 3–4 inch layer of well-rotted compost or aged manure across the entire bed surface. Do not dig it in — let worms and winter rainfall incorporate it naturally. Cover the bed with a layer of horticultural fleece or a cold frame if you want to keep the soil workable and protect any overwintering plants such as garlic or hardy salad leaves.
January: This is the month to finalize your planting plan on paper. Map out what you grew last year and rotate crop families to reduce disease buildup. Order seeds now — popular varieties sell out quickly. Toward the end of January in milder climates (USDA Zone 7 and above), you can sow broad beans and early peas in pots indoors or in an unheated greenhouse. Chitting seed potatoes can begin on a cool, light windowsill.
February: Sow onions, leeks, and early celery indoors under grow lights or on a warm, bright windowsill. If you have a cold frame, you can direct-sow hardy salad leaves like spinach, claytonia, and lamb’s lettuce directly into the bed beneath it. Check overwintering garlic for signs of growth and remove any weeds that have crept in under cover.
🛒 Recommended Product
4. Spring (March–May): Sow, Plant Out, and Watch It Grow
Spring is the most exciting and the most demanding season in the kitchen garden. The bed awakens rapidly, and the decisions you make in these three months will determine the character of your harvests right through to autumn.
March: As soil temperatures begin to climb above 45°F (7°C), direct sowing becomes possible for the hardiest crops. Sow rows of carrots, radishes, beetroot, peas, and spinach directly into the bed. Start tomatoes, peppers, eggplant, and squash indoors — they need 6–8 weeks under cover before outdoor temperatures are safe for them. Plant out onion sets and shallots if the ground is workable. Cover newly sown rows with fleece on cold nights.
April: This is succession-sowing month. Every two weeks, sow a short row of salad leaves, radishes, and quick-maturing crops to ensure a continuous harvest rather than a single large glut. Harden off any indoor-grown seedlings by moving them outside for increasing periods each day over two weeks before planting out. Direct-sow zucchini and cucumber seeds indoors toward the end of the month.
May: After the last frost date for your area, plant out tomatoes, zucchini, and basil. Install supports — canes, trellises, or netting — for climbing crops before they need them. Begin pinching out tomato side shoots. Keep the bed consistently moist as temperatures rise, and apply a mulch of straw or compost around plants to retain soil moisture and suppress weeds.
5. Early Summer (June–July): Harvest, Succession Sow, and Manage Growth
The raised bed reaches its most vivid and productive phase in early summer. Crops jostle for space, harvests arrive daily, and the key skill shifts from sowing to managing — ensuring that everything has enough light, support, water, and nutrition to perform at its peak.
June: Harvest salad crops, radishes, peas, and early beans regularly. The more you pick, the more the plants produce — particularly true for climbing beans, zucchini, and cut-and-come-again salad leaves. Water deeply and consistently, preferably at the base of plants to reduce fungal disease risk. Feed tomatoes, peppers, and squash with a high-potassium liquid fertilizer every 10–14 days once flowers appear. Sow a fresh row of fast-maturing crops such as lettuce and radish to follow the spaces left by harvested spring crops.
July: Peak management month. Zucchini can double in size overnight — check under leaves daily and harvest while small for the best flavor. Pinch out the growing tips of climbing beans once they reach the top of their supports to encourage lateral growth and more pods. Continue succession sowing for autumn salads. Begin preparing to follow outgoing crops with brassicas for the autumn: sow kale, chard, and broccoli in small pots this month for planting out in August.
6. Late Summer (August–September): Peak Harvests and Gap Filling
Late summer is the season of abundance — and also the season of forward thinking. While the bed delivers its richest harvests, the experienced grower is already planning and planting for autumn and winter.
August: Tomatoes, peppers, eggplant, and climbing beans are at full productivity. Harvest every two days to keep plants in active production. Where spring crops have been completely cleared, plant out autumn brassicas — kale, sprouting broccoli, chard, and Swiss chard transplants started in July. Direct sow spring onions, turnips, and fast-maturing Asian greens such as bok choy and mizuna directly into cleared gaps. These will provide harvests well into autumn.
September: Begin clearing summer crops that have passed their best — spent bean plants, exhausted zucchini vines, and finished salad beds. As each space clears, immediately refresh it with a trowel of compost and sow or plant an autumn crop. Garlic planting begins in late September in most US regions — choose a disease-resistant variety suited to your climate and push cloves 2 inches deep in a fertile corner of the bed. Harvest all remaining squash before the first frost forecast.

7. Autumn (October–November): Wind Down, Protect, and Prep for Next Year
Autumn in the raised bed is a season of satisfying completion and quiet preparation. Harvests slow but do not stop, and the work you do now directly funds the fertility and structure of next year’s growing season.
October: Harvest root vegetables — carrots, beetroot, and parsnips — as needed. Parsnips actually improve after a frost, which converts their starches to sugars. Install a cold frame or low polytunnel over the bed to extend the season for salad crops by four to six weeks. Continue watering autumn crops during dry spells — it is easy to forget that October can bring drought in many US regions. Begin collecting fallen leaves to make leaf mold, an excellent free mulch for next spring.
November: Clear the last of the summer crops, pulling roots and all to prevent disease carryover. Spread the season’s final compost top-dressing across the entire bed. Plant garlic if not already done. Protect the bed with a layer of horticultural fleece or a breathable cover to prevent nutrient leaching from winter rains. Take notes on what worked, what failed, and what you wish you had grown more of — these observations are your most valuable planning resource for next year.
8. Maximizing Your Yield: Companion Planting, Vertical Growing, and Succession Sowing
Three techniques above all others determine whether a single raised bed delivers modest results or extraordinary abundance. Mastering them transforms the same square footage into a fundamentally more productive space.
Companion Planting: Growing compatible crops together benefits both plants. The classic “Three Sisters” combination of corn, climbing beans, and squash is the most famous example — the corn provides a climbing structure for beans, the beans fix nitrogen that feeds the corn and squash, and the squash’s large leaves shade the soil to retain moisture. In a smaller raised bed, practical companions include basil planted at the base of tomatoes (which may deter aphids and improve flavor), nasturtiums as trap crops for aphids, and French marigolds interplanted throughout the bed to deter whitefly and nematodes.
Vertical Growing: The most underused dimension in a raised bed is height. A trellis, series of canes, or purpose-built obelisk positioned along the north side of the bed (to avoid shading other crops) allows climbing beans, cucumbers, peas, and even small squash to grow upward rather than outward, freeing the bed floor for lower-growing crops beneath them. A single 6-foot trellis panel can effectively double the productive surface area of a 4×8-foot bed.
Succession Sowing: The discipline of sowing small quantities of fast-maturing crops every two to three weeks — rather than one large batch — is the single most effective technique for maintaining a continuous, even supply from one bed. Applied to salad leaves, radishes, cilantro, spring onions, and beans, succession sowing eliminates the frustrating cycle of feast and famine that defeats many first-time kitchen gardeners.
9. Troubleshooting Common Problems in a Raised Bed
Even a well-managed raised bed will encounter problems. Knowing how to identify and address them quickly prevents minor issues from becoming major crop losses.
Slugs and snails are the most universal pest. In a raised bed, copper tape around the frame perimeter provides a physical deterrent. A ring of grit or crushed eggshell around vulnerable seedlings, combined with evening patrols and removal by hand, controls populations effectively without chemicals. Iron phosphate-based slug pellets are an organic-approved option for severe infestations.
Aphids colonize the soft new growth of beans, brassicas, and tomatoes. A strong jet of water dislodges most colonies. Encouraging beneficial insects — ladybugs, lacewings, and parasitic wasps — by planting nectar-rich flowers nearby provides natural biological control. Neem oil spray is effective for persistent infestations.
Poor germination is usually caused by cold soil, inconsistent moisture, or old seed. Use a soil thermometer to confirm the ground is above the minimum germination temperature for each crop before sowing. Store seeds in a cool, dry place and check germination rates for seed older than two years by sprouting a small sample on damp paper towel before committing to a full row.
Yellowing leaves on established plants most often indicate a nitrogen deficiency, especially in crops that have been in the bed for several months without feeding. A top-dress of compost or an application of balanced liquid fertilizer resolves most cases within two weeks. Yellow lower leaves on tomatoes are normal as the plant matures; yellow upper leaves suggest a nutrient problem.
Blight affects tomatoes and potatoes in warm, wet weather. Remove and bin (never compost) affected foliage immediately. Growing blight-resistant tomato varieties and ensuring good airflow around plants by training them vertically and removing lower leaves reduces risk significantly.
10. Month-by-Month Quick Reference Chart
Use this at-a-glance reference to stay on track throughout the growing year. Key tasks are color-coded by season for quick navigation.
| Month | Key Tasks | What to Sow / Plant |
|---|---|---|
| January | Plan rotations, order seeds, chit potatoes | Broad beans (indoors), onions (indoors) |
| February | Sow under cover, check overwintering crops | Leeks, celery, early salads (cold frame) |
| March | Direct sow hardy crops, start tender crops indoors | Carrots, peas, spinach, tomatoes (indoors) |
| April | Succession sow, harden off seedlings | Salad leaves, radishes, zucchini (indoors) |
| May | Plant out after last frost, install supports | Tomatoes, zucchini, basil, climbing beans |
| June | Harvest regularly, water deeply, begin feeding | Follow-on salads, beans, quick crops |
| July | Manage growth, sow autumn brassicas | Kale, chard, broccoli (in pots) |
| August | Peak harvest, plant out autumn crops | Asian greens, spring onions, turnips |
| September | Clear spent crops, plant garlic | Garlic, overwintering salads |
| October | Harvest roots, install cold frame | Hardy salads under cover |
| November | Final clear, top-dress with compost | Garlic (if not done), overwintering onions |
| December | Rest bed, plan ahead, cover soil | Broad beans (mild climates only) |
Growing an abundance of food from one raised bed is not about luck or having a green thumb — it is about consistent, informed attention through every month of the year. The gardener who understands what their bed needs in January is already setting up their August harvest. Start with good soil, plan your rotations, sow in succession, grow upward as well as outward, and harvest often. Your single raised bed will reward every hour you give it, season after season.
Ready to start your raised bed journey? Download our free printable planting calendar and companion planting guide to keep your bed productive all year long.