⚠️ This page connects you to Atovia’s partners and affiliate markets. We may receive a commission from affiliate partners for activities made through these links. Discount offers may change at any time according to policy! Rest assured, there are no additional costs to you! We hope this saves you time in finding the right items!
- 1. What Is Sports Taping and Why Tape Your Knee
- 2. Materials You Need Before You Start
- 3. How to Prepare Your Knee for Taping
- 4. Step-by-Step: How to Sports Tape a Knee
- 5. Different Taping Techniques for Different Conditions
- 6. Common Mistakes to Avoid When Taping Your Knee
- 7. How Long to Keep the Tape On and When to Remove It
- 8. When to See a Doctor Instead of Taping
Whether you’re recovering from a minor knee strain, dealing with patellar instability, or simply want extra support during intense training, knowing how to sports tape a knee is an essential skill for any athlete. Proper knee taping can reduce pain, improve joint stability, and help you stay active while protecting against further injury. This guide walks you through everything you need — from materials to technique — so you can tape your knee with confidence.
- Sports taping provides mechanical support and proprioceptive feedback to the knee joint.
- Clean, dry, and shaved skin ensures better tape adhesion and comfort.
- Always apply an underwrap or pre-wrap layer before rigid athletic tape to protect skin.
- Different knee conditions require different taping patterns — know your purpose before you tape.
- Remove tape immediately if you experience numbness, tingling, or increased pain.
1. What Is Sports Taping and Why Tape Your Knee
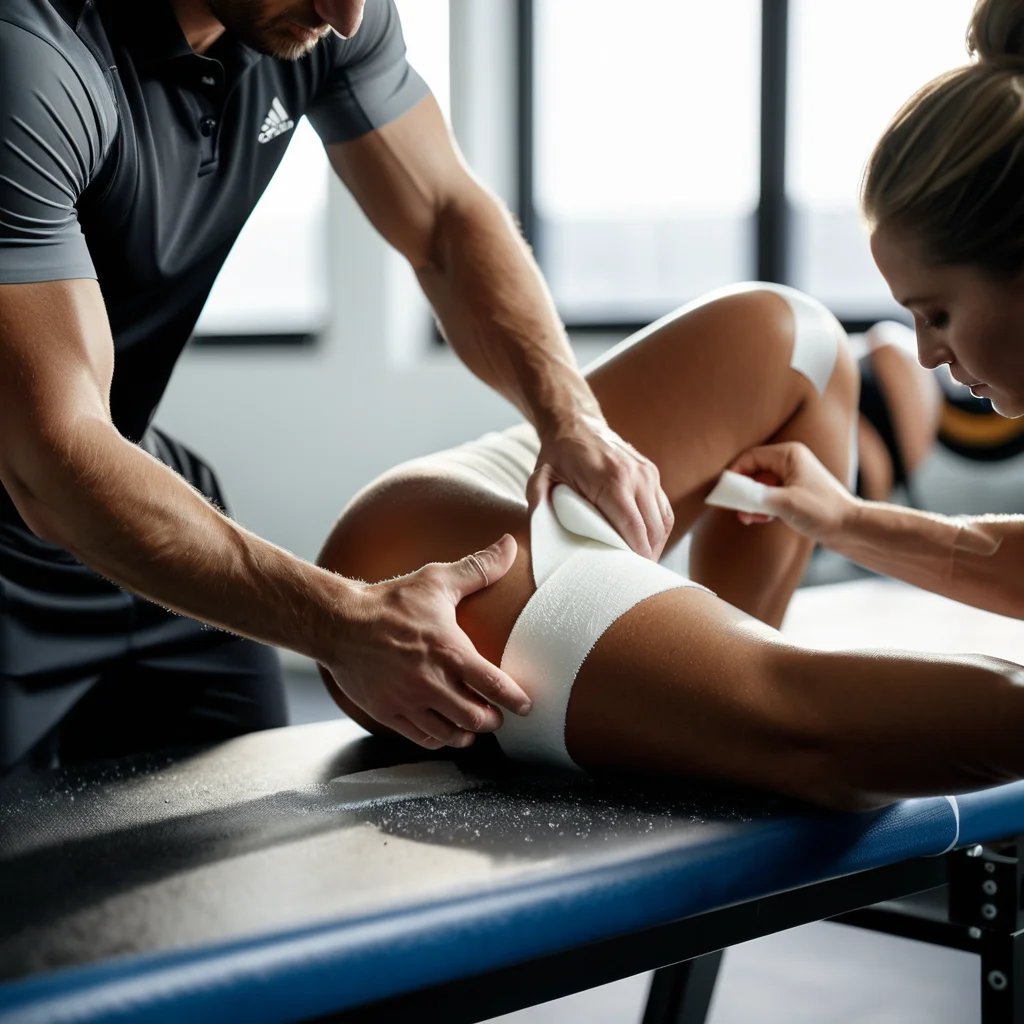
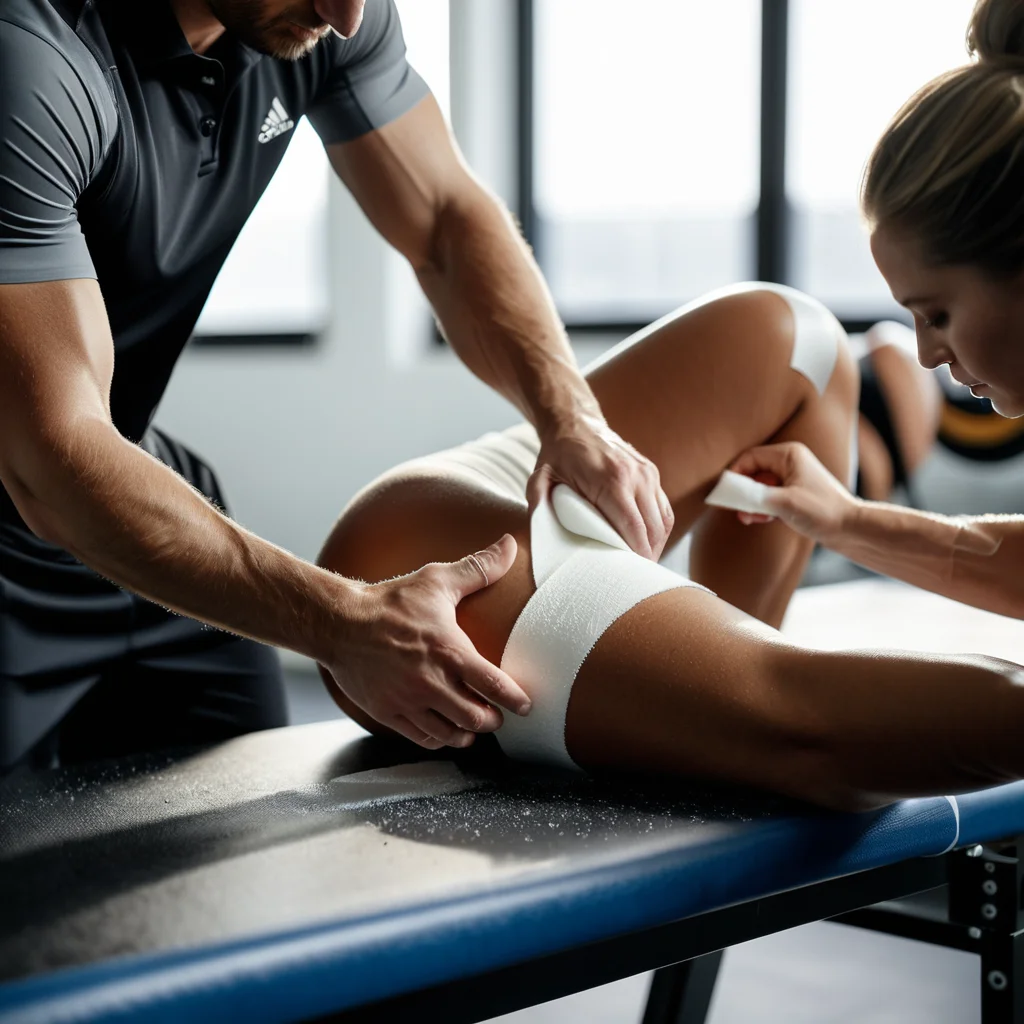
Sports taping is the application of specialized adhesive tape to a joint or muscle group to provide support, limit harmful movement, and reduce the risk of injury. When applied to the knee, athletic tape works by reinforcing the ligaments and tendons that surround the joint, offering a degree of external stability that can be critical during high-impact activities like running, jumping, or pivoting.
There are two primary reasons athletes tape their knees. The first is preventative taping, which is used on healthy knees to reduce injury risk during demanding sport activities. The second is therapeutic taping, applied to a previously injured or unstable knee to allow continued participation while the joint heals. In both cases, the tape limits excessive or unwanted motion without completely restricting functional movement.
Beyond physical support, taping also provides proprioceptive benefits. The pressure and tactile sensation of the tape against the skin sends signals to the nervous system, improving the body’s awareness of the knee’s position in space. This enhanced body awareness can improve movement patterns and reduce the chance of re-injury.
2. Materials You Need Before You Start

Having the right supplies on hand before you begin is essential for an effective and comfortable tape job. Using incorrect materials can result in poor adhesion, skin irritation, or inadequate support.
| Material | Purpose | Notes |
|---|---|---|
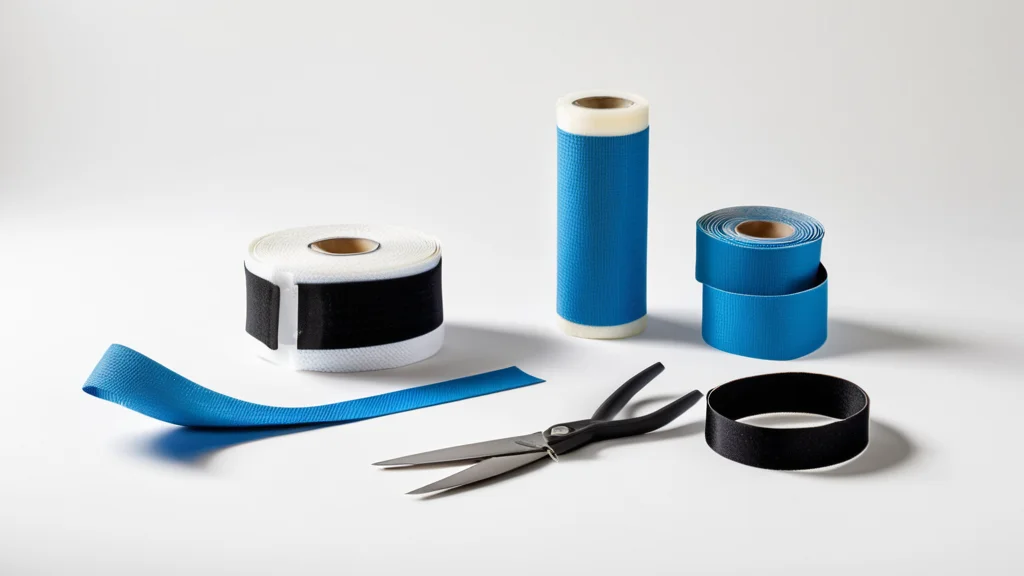
| Athletic / Rigid Tape (1.5 inch) | Primary structural support | White zinc oxide tape is the standard choice |
| Pre-Wrap / Foam Underwrap | Skin protection under rigid tape | Prevents skin irritation and eases removal |
| Elastic Cohesive Bandage (Cohesive Tape) | Compression and finishing layer | Sticks to itself, not skin |
| Kinesiology Tape (optional) | Muscle and soft tissue support | Better for longer wear and sensitive skin |
| Skin Adherent Spray (optional) | Improves tape adhesion | Useful for sweaty or hairy skin |
| Tape Scissors or Shears | Clean, precise cutting | Blunt-tipped sports scissors recommended |
For most standard knee taping applications, you will need at minimum a roll of 1.5-inch white athletic tape, a roll of pre-wrap foam, and a pair of tape scissors. If you plan to wear the tape for extended periods or during water-based activities, a skin adherent spray applied beforehand will significantly improve how long the tape stays in place.
3. How to Prepare Your Knee for Taping
Proper skin preparation is one of the most overlooked steps in knee taping, yet it directly impacts how well the tape adheres and how comfortable it feels during activity. Skipping preparation steps frequently leads to tape that rolls, peels, or causes skin abrasion.
Start by cleaning the entire knee area with soap and water, then dry it thoroughly. Any moisture, lotion, or oil on the skin will prevent the tape from bonding correctly. If you have hair on your knee and lower thigh, consider shaving the area at least 24 hours before taping to allow any minor skin irritation from shaving to settle before the tape is applied.

Next, position your knee in the angle at which you want it supported. For most knee taping applications, this means a slight bend of approximately 20 to 30 degrees — enough to replicate the natural position of the knee during movement. You can achieve this by sitting on a table with your leg hanging off the edge, or by placing a rolled towel under the knee.

If you are using a skin adherent spray, apply it evenly over the area you will be taping and allow it to become tacky before proceeding. Finally, apply your pre-wrap or foam underwrap smoothly over the skin, overlapping each layer by about half, working from just below the kneecap upward to about four inches above the joint.
🛒 Recommended Product
4. Step-by-Step: How to Sports Tape a Knee
The following steps describe a standard closed basket-weave taping technique suitable for general knee support, patellar stabilization, and mild ligament instability. This is one of the most widely used methods taught in sports medicine and athletic training programs.
Step 1 — Apply the anchor strips. Begin by placing two anchor strips of athletic tape horizontally around the thigh, approximately four to five inches above the center of the kneecap. Apply with minimal tension so the anchors sit flat and secure without constricting circulation. Add two more anchor strips just below the knee, around the upper shin area.
Step 2 — Apply the first fan strip (lateral support). Starting from the lower anchor on the outer (lateral) side of the shin, pull a strip of tape diagonally upward and across the kneecap toward the inner (medial) upper anchor on the thigh. Apply with moderate tension to support the outer knee structures.
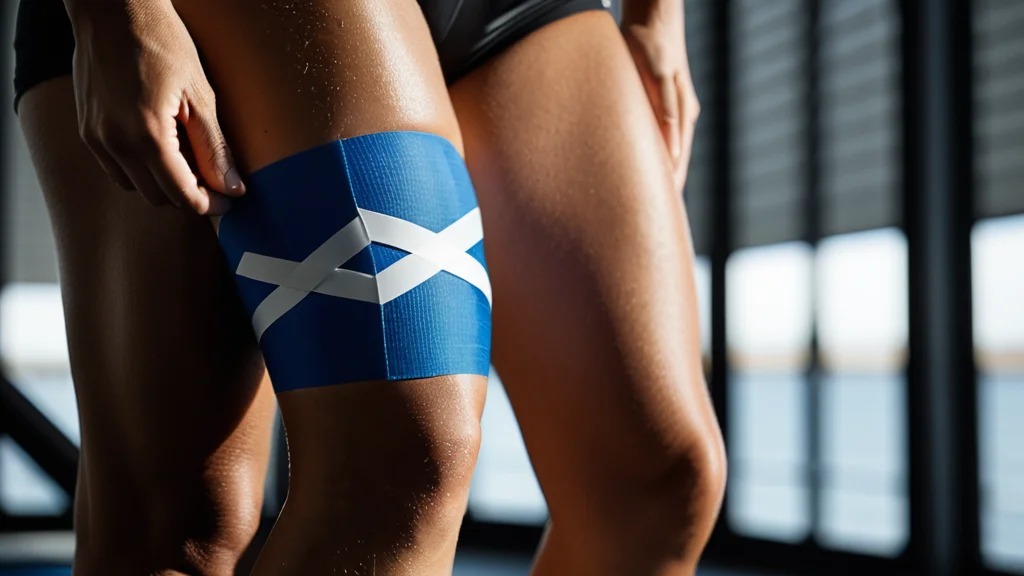
Step 3 — Apply the second fan strip (medial support). Mirror the first strip by starting from the inner side of the lower anchor and pulling diagonally upward across the kneecap to the outer upper anchor. These two strips form an X pattern across the front of the knee.
Step 4 — Reinforce with additional strips. Repeat Steps 2 and 3 two to three more times, layering each new strip slightly overlapping the previous one to build structural reinforcement. The overlapping pattern fills in gaps and increases the overall stability of the tape job.
Step 5 — Close with horizontal closing strips. Starting from the lower anchor, apply horizontal strips of tape working upward over the fan pattern, each strip overlapping the one below by about half. Continue until you reach the upper anchor, fully covering and locking in the underlying diagonal strips.
Step 6 — Finish and check. Run your fingers along all tape edges to press them firmly to the skin. Bend and straighten your knee a few times to ensure the tape is comfortable and does not restrict normal movement. Check that there is no excessive tightness around the back of the knee, which could compress blood vessels or nerves.
5. Different Taping Techniques for Different Conditions
Not all knee problems are the same, and the taping approach should reflect the specific structure you are trying to support. Using the wrong technique may provide inadequate support or even worsen the condition.
Patellar taping (McConnell technique): Used for patellofemoral pain syndrome, runner’s knee, and patellar tracking issues. A rigid tape strip is applied directly over the kneecap to gently shift it medially, reducing pressure on the outer cartilage and improving tracking during movement. This technique requires careful assessment of patellar position and is ideally learned under guidance from a physiotherapist.
MCL (Medial Collateral Ligament) taping: Designed to prevent excessive valgus stress on the inner knee. Tape strips are applied vertically along the inner side of the knee, reinforcing the MCL and limiting side-to-side movement that could stress the ligament during sport.
LCL (Lateral Collateral Ligament) taping: The lateral counterpart to MCL taping, this technique applies strips along the outer knee to restrict excessive varus stress and protect the LCL complex.
Kinesiology taping for knee support: Kinesio tape uses elastic properties to lift the skin microscopically, which may reduce swelling and improve circulation around the knee joint. Common applications include a Y-strip around the kneecap for general support or I-strips along the quad and patellar tendon for tendinopathy management. Kinesiology tape is suitable for longer wear periods and is gentler on sensitive skin.
6. Common Mistakes to Avoid When Taping Your Knee
Even experienced athletes make taping errors that reduce the effectiveness of the tape or cause discomfort. Being aware of these common pitfalls will help you get the most out of every tape application.
Taping over wet or oily skin is the most frequent cause of tape failure. Always ensure the skin is completely clean and dry, and remove any sweat, sunscreen, or lotion before applying tape.
Applying tape too tightly is a serious risk, particularly around the back of the knee. Excessive compression can restrict blood flow, cause numbness or tingling in the lower leg, and lead to skin damage. Always leave the popliteal fossa (the hollow behind the knee) free of tight tape layers.
Taping the knee in full extension is another common error. If the knee is straight when taped, the tape will feel restrictive and uncomfortable once you begin moving. Always tape with a slight bend in the knee to allow functional range of motion.
Skipping the pre-wrap layer when using rigid athletic tape can lead to skin blistering and tearing, especially during tape removal. Always protect the skin with a foam underwrap base.
Reusing tape or applying new tape over old tape reduces adhesion and hygiene. Remove all previous tape fully, clean the skin, and start fresh with each new application.
7. How Long to Keep the Tape On and When to Remove It
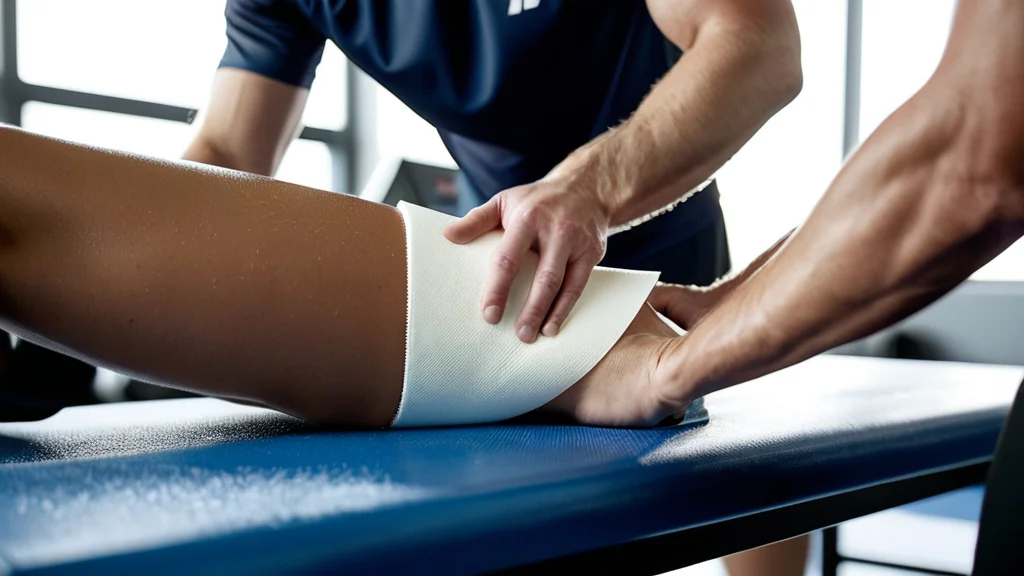
The appropriate duration for wearing sports tape on the knee depends on the type of tape used and the purpose of the application. Rigid athletic tape is generally intended for single-session use, meaning it should be applied before activity and removed afterward. Wearing rigid tape for more than one continuous day increases the risk of skin maceration, rash, and pressure sores, particularly if the skin sweats under the tape.
Kinesiology tape is designed for extended wear and can typically remain on the skin for two to five days, including through showering and light swimming. However, you should remove it sooner if the edges start lifting significantly, if the skin becomes itchy or red, or if any rash develops beneath the tape.
To remove tape safely, always peel it slowly in the direction of hair growth, keeping the tape parallel to the skin rather than pulling it away at a sharp angle. Applying a small amount of baby oil or a purpose-made tape remover solvent along the tape edge before removal will significantly reduce the pull on the skin and minimize discomfort. After removal, wash the knee thoroughly and allow the skin to breathe before re-taping.
Remove tape immediately regardless of how long it has been on if you notice any of the following: increased pain or swelling under the tape, skin discoloration, numbness or tingling below the knee, a burning sensation, or visible blistering or rash beneath the tape edges.
8. When to See a Doctor Instead of Taping
Sports taping is a valuable tool for managing minor knee issues and supporting stable injuries, but it is not a substitute for medical diagnosis or treatment. Certain knee conditions require professional evaluation before any taping is applied, and some situations call for immediate medical care rather than self-management.
You should seek medical attention promptly if your knee pain began after a sudden impact, fall, or twisting injury, especially if you heard or felt a pop at the moment of injury. This may indicate a significant ligament tear such as an ACL rupture, a meniscus tear, or a fracture, all of which require imaging and professional treatment. Taping a structurally unstable or fractured knee can mask symptoms and delay appropriate care.
Also consult a doctor or physiotherapist if your knee is significantly swollen, warm to the touch, or if the swelling developed rapidly after an injury. These signs may indicate internal bleeding, infection, or inflammatory joint disease that requires targeted treatment.
Chronic or recurring knee pain that has not responded to rest, ice, and standard taping over a period of several weeks should also be evaluated professionally. Conditions such as osteoarthritis, plica syndrome, or bursitis may mimic simple strains but require different management strategies.
A sports medicine physician, orthopedic specialist, or licensed physical therapist can assess your knee, confirm a diagnosis, and guide you on whether taping is appropriate as part of your management plan, and which specific technique will best address your individual condition.