⚠️ This page connects you to Atovia’s partners and affiliate markets. We may receive a commission from affiliate partners for activities made through these links. Discount offers may change at any time according to policy! Rest assured, there are no additional costs to you! We hope this saves you time in finding the right items!
- 1. What Is Sports Taping and Why It Matters for Your Knee
- 2. Types of Tape Used for Knee Taping
- 3. What You Need Before You Start
- 4. How to Sports Tape a Knee — Step-by-Step Instructions
- 5. Taping Techniques for Common Knee Conditions
- 6. How Long to Wear Sports Tape and When to Remove It
- 7. Common Mistakes to Avoid When Taping Your Knee
- 8. When to See a Doctor Instead of Taping
Whether you’re returning from a minor knee injury, managing chronic knee pain, or simply want extra joint support during training, knowing how to sports tape a knee is an essential skill for athletes of all levels. Proper taping can reduce pain, improve patellar alignment, and give you the confidence to stay active safely.
- Sports taping provides mechanical support and pain relief without immobilizing the knee.
- Choosing the right tape type — rigid, elastic, or kinesiology — depends on your specific condition.
- Clean, dry, and hair-free skin is essential for tape to adhere properly and stay in place.
- Incorrect taping can restrict circulation or worsen injury; learn the correct technique before applying.
- Always consult a medical professional for serious knee injuries before relying on taping alone.
1. What Is Sports Taping and Why It Matters for Your Knee
Sports taping is the application of specialized adhesive tape to joints, muscles, and tendons to provide support, limit harmful movement, and reduce pain during physical activity. For the knee — one of the most complex and injury-prone joints in the body — taping is a widely used tool among athletes, physical therapists, and sports medicine professionals.
The knee joint bears enormous stress during running, jumping, squatting, and cutting movements. When ligaments or tendons are strained, or when the kneecap (patella) tracks improperly, taping can redistribute mechanical load, provide proprioceptive feedback, and allow continued activity with reduced risk of further injury.
Unlike a brace, sports tape is lightweight, low-profile, and can be customized for specific conditions. It does not replace medical treatment but serves as a valuable complement to rehabilitation and injury prevention protocols.
2. Types of Tape Used for Knee Taping
Not all sports tape is the same. Selecting the correct type is critical to achieving the desired level of support and comfort.
| Tape Type | Best For | Key Characteristic |
|---|---|---|
| Rigid Athletic Tape (White Tape) | Ligament support, joint stabilization | Non-stretch, maximum restriction |
| Elastic Adhesive Bandage (EAB) | Muscle support, compression wrapping | Stretchy, conforms to body contours |
| Kinesiology Tape (Kinesio Tape) | Patellar tracking, swelling reduction | Highly elastic, worn for several days |
| Pre-wrap / Foam Underwrap | Skin protection under rigid tape | Non-adhesive, protects sensitive skin |

For general knee support and ligament injuries, rigid athletic tape combined with pre-wrap is the most common choice. For patellar tracking issues and mild swelling, kinesiology tape is often preferred due to its flexibility and longer wear time.

3. What You Need Before You Start
Gathering all materials before you begin ensures a smooth and accurate taping application. Interrupting the process midway can result in poorly applied tape that loses effectiveness quickly.
Essential supplies:
- Rigid athletic tape (38mm or 50mm width)
- Kinesiology tape (if using a kinesio technique)
- Pre-wrap or foam underwrap
- Tape scissors or a tape cutter
- Skin adherent spray or adhesive wipe (optional but recommended)
- Razor or electric shaver for hair removal
- Mild soap and water or alcohol wipe for skin cleaning
Skin preparation steps:
- Shave any hair from the knee and surrounding area at least 30 minutes before taping to reduce skin irritation.
- Wash the skin with soap and water, then dry thoroughly. Any moisture or oil will compromise adhesion.
- Apply a skin adherent spray and allow it to become tacky before applying tape.
- If you have sensitive skin, apply a layer of pre-wrap first to protect from the adhesive.
🛒 Recommended Product
4. How to Sports Tape a Knee — Step-by-Step Instructions
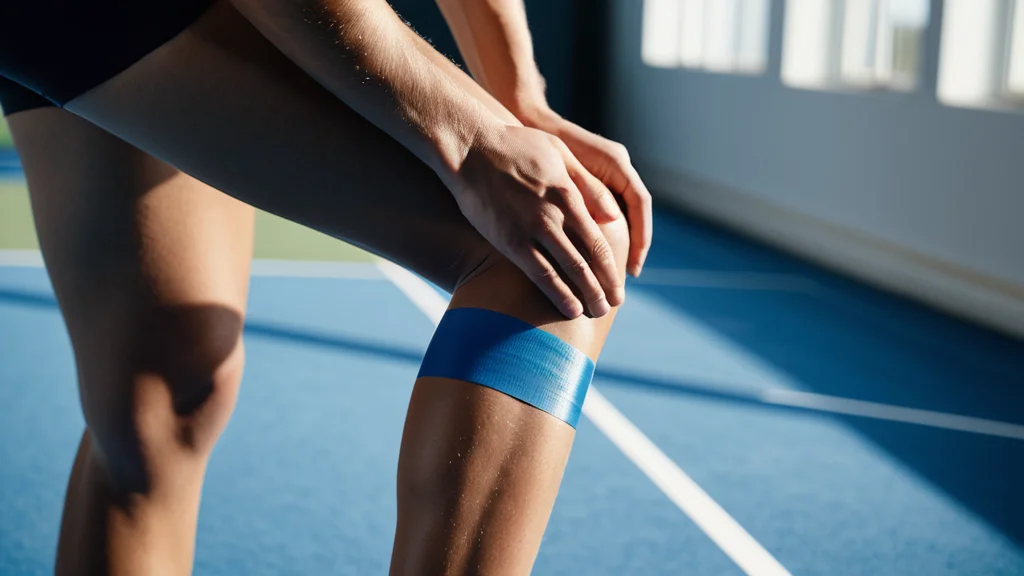
The following technique covers basic knee support taping, suitable for general stabilization during sport and mild ligament support. Always begin with the knee in a slightly bent position (approximately 20–30 degrees of flexion) to allow comfortable movement once taped.
Step 1 — Apply the anchor strips
Tear two strips of 50mm rigid tape approximately 25–30 cm long. Apply one strip around the thigh, about 10 cm above the kneecap, without tension. Apply a second strip around the upper shin, about 10 cm below the knee joint. These are your anchors and should lie flat without creasing.
Step 2 — Apply pre-wrap over the joint
Starting from the lower anchor, wrap pre-wrap in an overlapping spiral pattern upward, covering the kneecap and the area between both anchors. Apply with light tension — firm enough to stay in place but not enough to restrict circulation.
Step 3 — Apply support strips
Cut two strips of rigid tape long enough to run from the lower anchor, up over the sides of the knee, to the upper anchor. These strips run along the medial (inner) and lateral (outer) sides of the knee. Apply each strip with moderate tension to provide collateral support. Press firmly to adhere.
Step 4 — Apply cross strips over the kneecap
Cut shorter strips and apply them in an X pattern across the front of the knee, starting from below the kneecap and fanning upward. These help hold the patella in a neutral position and reinforce the support strips.
Step 5 — Apply closing strips
Tear additional strips of rigid tape and apply them horizontally over the support strips, starting from the bottom anchor and working upward. Overlap each strip by half its width. These closing strips lock the entire application in place.
Step 6 — Check circulation and comfort
After application, ask the patient (or check yourself) for numbness, tingling, or significant color change in the toes or lower leg. If present, remove the tape immediately and reapply with less tension. You should be able to bend the knee through a comfortable range of motion.
5. Taping Techniques for Common Knee Conditions
Different knee problems require different taping approaches. Below are the most commonly used techniques for specific conditions.
Patellar Tracking Issues (McConnell Taping)
McConnell taping is designed to reposition the kneecap and improve its tracking path along the femoral groove. Apply a base layer of rigid tape horizontally across the kneecap, then use a second strip to gently glide the patella medially (inward). This technique is commonly used for patellofemoral pain syndrome. It should be applied by a trained clinician initially, then self-applied once the correct glide direction is confirmed.
Kinesiology Taping for Patellar Support
Cut a Y-strip of kinesiology tape. Anchor the base below the kneecap, then split the two tails around each side of the patella with 25–50% tension. Apply a second I-strip horizontally across the lower kneecap with moderate tension. This technique supports the patellar tendon and reduces pain during activity.
MCL (Medial Collateral Ligament) Support
Apply anchors above and below the knee. Run two or three rigid tape strips from the lower anchor up the inner (medial) side of the knee to the upper anchor, applying tension toward the outside of the leg. This limits excessive inward knee movement and protects the MCL.
General Post-Exercise Compression
For mild swelling and general soreness after activity, wrap the knee with elastic adhesive bandage in a spiral pattern from below the kneecap upward. Apply even compression and secure the end without clips. Do not apply so tightly that it causes discomfort when sitting or bending.

6. How Long to Wear Sports Tape and When to Remove It
Rigid athletic tape is typically worn only during activity and should be removed within a few hours of finishing exercise. Leaving rigid tape on for extended periods can cause skin breakdown, blisters, and moisture-related irritation.
Kinesiology tape is designed for longer wear — typically two to five days depending on skin tolerance, activity level, and moisture exposure. Many athletes wear it through showering and light swimming, though adhesion will weaken over time.
How to remove sports tape safely:
- Never rip tape off quickly or at a perpendicular angle — this increases skin trauma risk.
- Peel the tape back slowly in the direction of hair growth, pressing the skin down ahead of the peel.
- Apply baby oil, tape remover spray, or warm water to loosen adhesive if the tape resists removal.
- After removal, inspect the skin for redness, blisters, or rash. If irritation is present, allow the skin to rest before re-taping.
7. Common Mistakes to Avoid When Taping Your Knee
Even experienced athletes make errors when taping. Avoiding the following mistakes will improve both the effectiveness and safety of your application.
- Taping over dirty or oily skin: The tape will not adhere properly and will peel off during activity, providing no support when you need it most.
- Applying tape too tightly: Excessive tension restricts blood flow and can cause nerve compression, numbness, and swelling below the tape line.
- Starting without anchors: Without solid anchor strips, the entire application will shift and lose structural integrity within minutes of movement.
- Taping with the knee fully extended: Always tape with a slight bend in the knee. A fully extended position creates a tape job that is far too tight when the knee flexes during activity.
- Using expired or low-quality tape: Adhesive degrades over time. Old tape loses its grip and structural integrity, leading to failed applications mid-activity.
- Re-taping over skin irritation: Applying tape to already-irritated skin compounds the damage. Allow skin to fully recover before taping again.
8. When to See a Doctor Instead of Taping
Sports taping is a supportive tool, not a treatment. There are situations where taping is insufficient or potentially dangerous, and professional medical evaluation is essential.
- Significant swelling or deformity: Sudden, severe swelling, or a visibly misaligned knee after impact may indicate a fracture, torn ligament, or dislocated patella requiring imaging and medical management.
- Inability to bear weight: If you cannot put weight on the leg after injury, do not attempt to tape and exercise through it. Seek immediate evaluation.
- Locking or giving way: A knee that locks in position or buckles unexpectedly may have a meniscal tear or ligament rupture that taping cannot address.
- Numbness or vascular changes: Any coolness, pallor, or numbness in the foot or lower leg associated with knee injury warrants urgent medical attention.
- Pain that worsens with taping: Properly applied tape should not increase pain. If taping consistently makes symptoms worse, stop and consult a sports medicine physician or physical therapist.
A qualified sports medicine professional or licensed physical therapist can also teach you taping techniques specific to your anatomy and injury history, ensuring you apply tape safely and effectively every time.
Ready to take your injury prevention to the next level? Consult a certified sports medicine professional to get a personalized knee taping plan tailored to your sport and body.