⚠️ This page connects you to Atovia’s partners and affiliate markets. We may receive a commission from affiliate partners for activities made through these links. Discount offers may change at any time according to policy! Rest assured, there are no additional costs to you! We hope this saves you time in finding the right items!
- 1. Define Your Interior Design Style
- 2. Set a Realistic Budget
- 3. Plan Your Space and Layout
- 4. Choose Your Color Palette
- 5. Select Furniture and Arrangement
- 6. Layer Your Lighting
- 7. Pick Materials, Textures, and Finishes
- 8. Add Décor and Personal Touches
- 9. Work Room by Room
- 10. Common Interior Design Mistakes to Avoid
- Always define your design style before purchasing a single item — it acts as a filter for every decision that follows.
- A structured budget with a 10–15% contingency fund prevents costly surprises and keeps priorities clear.
- Space planning and correct furniture scale are the non-negotiable foundations of any well-designed room.
- Layered lighting — ambient, task, and accent — is the single biggest differentiator between amateur and professional interiors.
- Mixing materials, textures, and finishes creates depth and visual richness that flat rooms lack.
- Personal touches like art, plants, and collected objects are what transform a house into a home.
Learning how to interior design a house is one of the most rewarding skills a homeowner can develop. Whether you are starting from scratch in a new build, refreshing a tired space, or renovating room by room on a budget, understanding the principles of interior design gives you the confidence to make decisions that are both beautiful and functional. This guide walks you through every essential step — from finding your style to avoiding the most common decorating mistakes — so you can create a home that truly reflects who you are.
1. Define Your Interior Design Style
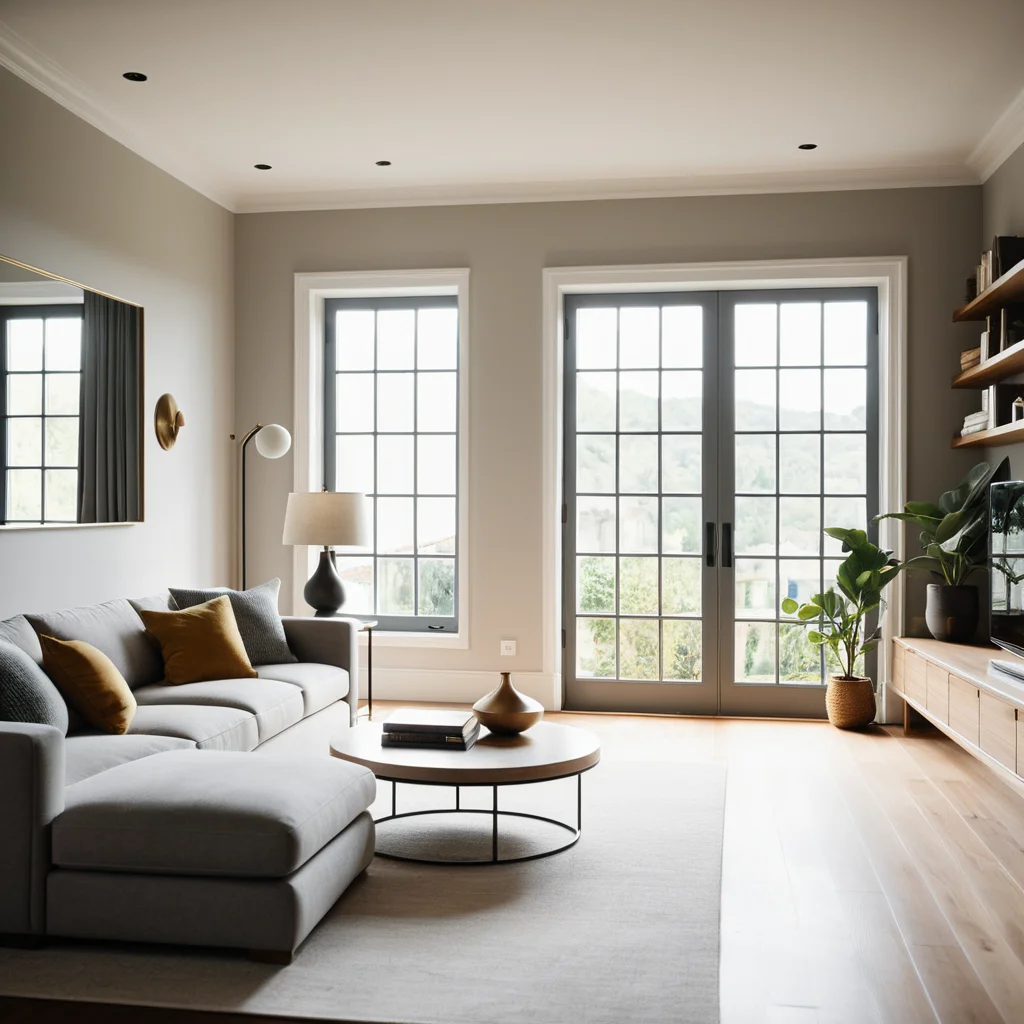
Before you buy a single piece of furniture or commit to a paint color, the most important step is identifying the design style that resonates with you. Your style acts as a decision-making filter that keeps every purchase, color choice, and layout decision aligned with a cohesive vision. Without it, rooms can quickly become a collection of unrelated items that never quite come together.
1.1 How to Identify Your Personal Style
Most people have a sense of what they are drawn to visually but struggle to articulate it. The most effective way to identify your style is to collect images over time. Save photos on Pinterest, Houzz, Instagram, or in a physical folder — any image of a room or space that makes you stop and think “I want to feel like that.” After collecting 30 to 50 images, patterns will emerge: certain colors, materials, furniture shapes, or levels of visual complexity will appear again and again. Those patterns reveal your instincts.
Here are the most popular interior design styles to help you find your vocabulary:
- Modern and Contemporary: Clean lines, neutral palettes, minimal clutter, and sleek functional furniture with an emphasis on open space.
- Traditional: Symmetrical arrangements, rich wood tones, ornate details, layered textiles, and a warm formal atmosphere.
- Scandinavian: Light woods, whites and grays, cozy textiles rooted in the hygge philosophy, and a deep emphasis on functionality.
- Industrial: Exposed brick and concrete, raw metal, dark moody tones, and an appreciation for structural materials left visible.
- Bohemian: Eclectic global-inspired textiles, layered patterns, abundant plants, and a collected maximalist spirit.
- Farmhouse and Rustic: Shiplap, reclaimed wood, vintage accents, and a warm welcoming atmosphere rooted in comfort.
- Mid-Century Modern: Organic shapes, tapered furniture legs, bold accent colors, and retro-inspired forms from the 1950s and 60s.
- Transitional: A balanced blend of traditional and contemporary that results in timeless, broadly appealing interiors.
It is also perfectly acceptable to mix styles. Most professionally designed homes draw from two or more aesthetics. The key is to maintain consistent threads — a shared color palette, a repeating material, or a unified level of ornamentation — that make the mix feel intentional rather than accidental.
1.2 How to Build a Mood Board
A mood board is the single most effective tool for translating abstract style preferences into concrete design decisions. Interior designers use them before every project for good reason: seeing all of your choices together in one place reveals whether they work together before you spend any money.
To build an effective mood board, gather the following elements and arrange them so everything is visible at once:
- Paint color swatches — test at least three options per room
- Fabric and upholstery samples for major furniture pieces
- Flooring material samples or photos
- Hardware and fixture finishes (brass, matte black, nickel)
- Printed or digital images of furniture you are considering
- Tile, stone, or wallpaper samples if applicable
- Inspiration images that capture the overall mood you want
Digital mood boards can be built for free using Canva, Milanote, or simply a Pinterest board with a dedicated section. Physical mood boards — using actual material samples pinned to a board — are even more valuable because they let you experience texture and see how materials interact in real light.
2. Set a Realistic Budget
Interior design can cost anywhere from a few hundred dollars for a cosmetic refresh to hundreds of thousands for a complete renovation. The difference between a successful project and a stressful one almost always comes down to how clearly the budget was defined at the outset. A well-structured budget does not limit creativity — it directs it.
2.1 How to Allocate Your Design Budget by Priority
The most important budget principle is to spend proportionally to impact and frequency of use. Items you interact with every single day — your mattress, your sofa, your primary bathroom fixtures — deserve a larger investment than decorative accessories that can be swapped out inexpensively over time.
A practical allocation framework for a single room renovation looks like this:
- Anchor furniture (sofa, bed, dining table): 35–40% of room budget
- Flooring and rugs: 15–20% of room budget
- Window treatments: 10–15% of room budget
- Lighting fixtures: 10% of room budget
- Paint and wall treatments: 5% of room budget
- Décor, art, and accessories: 10% of room budget
- Contingency fund: 10–15% of total budget
The contingency fund is non-negotiable. Unexpected costs — a discontinued fabric, a delivery damage replacement, a wall that needs patching before painting — are not exceptions in interior design. They are the rule. Budget for them from day one.
2.2 Budget Levels and What to Expect
| Budget Level | Typical Range Per Room | Best Approach and Sources |
|---|---|---|
| Entry Level | $1,000 – $5,000 | DIY-focused; use paint as the primary transformation tool; shop IKEA, thrift stores, Facebook Marketplace, and Amazon; upcycle existing furniture |
| Mid-Range | $5,000 – $20,000 | Mix investment anchor pieces with affordable fill items; shop West Elm, Crate and Barrel, CB2, Article, and local boutiques |
| High-End | $20,000 and above | Custom furniture and drapery, designer lighting fixtures, professional installation; shop RH Restoration Hardware, boutique makers, or work with a full-service interior designer |
Regardless of budget level, the single highest-return investment in any room is paint. A fresh coat of a well-chosen color can completely transform a space for a few hundred dollars — a result that no other design element can match at that price point.
3. Plan Your Space and Layout
Space planning is the structural foundation of interior design. A room filled with beautiful, expensive furniture arranged poorly will always feel wrong. Conversely, a modestly furnished room with a thoughtful layout feels comfortable, functional, and intentional. Getting the layout right before purchasing anything is one of the most important steps you can take.
3.1 How to Measure and Map Your Room
Start with precise measurements of the room you are designing. You will need:
- Room dimensions: length and width measured at floor level
- Ceiling height
- Window placement: distance from floor to bottom of window, width, and center point
- Door placement and swing direction
- Architectural features: fireplace, built-ins, columns, beams, or alcoves
- Outlet, switch, and HVAC vent locations
Once measured, create a scaled floor plan. Free digital tools like RoomSketcher, Planner 5D, and IKEA’s planning tools make this accessible without any design training. Even a simple hand-drawn plan on graph paper where one square equals one foot gives you enough information to test furniture arrangements before moving anything heavy.
Before finalizing any furniture purchase, measure every doorway, hallway, staircase, and elevator it will need to pass through. This step is skipped constantly and consistently results in expensive returns or furniture that must be disassembled to fit.
3.2 Key Space Planning Principles
Once you have your floor plan, apply these fundamental principles to create a layout that is both beautiful and functional:

- Identify the focal point first: Every room needs one dominant visual anchor — a fireplace, a large window, a feature wall, or the bed in a bedroom. Arrange all other furniture in relationship to it.
- Maintain clear traffic flow: Leave at least 30 to 36 inches of clear pathway between furniture pieces for comfortable movement through the room.
- Float furniture away from walls: This is the single most transformative layout adjustment most homeowners can make. Pulling furniture even 6 to 12 inches away from the wall creates a more intimate, designer-intentional grouping.
- Create conversation zones: In living areas, arrange seating so people can converse comfortably at a distance of 8 to 10 feet — close enough to talk without shouting, far enough to feel uncrowed.
- Respect scale and proportion: Furniture must be appropriately sized for the room. An oversized sofa in a small room is suffocating; small furniture in a grand room looks lost and tentative.
- Apply the rug rule correctly: In a living room, at minimum the front legs of all seating should sit on the area rug. In a bedroom, the rug should extend 18 to 24 inches beyond each side of the bed.
4. Choose Your Color Palette
Color is the most psychologically powerful element in interior design. It shapes mood, influences how large or small a room feels, sets the emotional tone of a space, and ties every other design decision together. Choosing the right palette requires both intuition and a basic understanding of color theory.
4.1 The 60-30-10 Color Rule Explained
The 60-30-10 rule is the foundational color principle that professional designers use to build balanced, cohesive palettes in any room. It works as follows:
- 60% — Dominant color: This is the background color that covers the largest surface area: walls, large upholstered pieces, and flooring. It sets the overall mood of the room.
- 30% — Secondary color: This supports and complements the dominant color without competing with it. It typically appears in upholstery, curtains, rugs, and secondary furniture pieces.
- 10% — Accent color: This is the punctuation of the room — the color that adds energy, contrast, or surprise. It appears in throw pillows, artwork, decorative objects, and small accessories.
When selecting your palette, pay close attention to undertones. Every paint color has underlying warm tones (yellow, red, orange) or cool tones (blue, green, purple). Mixing undertones without intention — for example, pairing a warm beige with a cool gray — creates a subtle visual dissonance that feels “off” even when you cannot name why. Always view paint samples in the actual room and observe them at different times of day in both natural and artificial light before committing.
4.2 How Color Affects Mood and Space
| Color Family | Psychological Effect | Best Used In |
|---|---|---|
| Light neutrals (cream, soft white, warm gray) | Makes rooms feel larger, airier, and more open | Small rooms, entry halls, open-plan spaces |
| Warm tones (terracotta, ochre, rust, peach) | Energizing, stimulating, appetite-enhancing | Dining rooms, kitchens, social gathering spaces |
| Cool tones (sage, slate blue, lavender, seafoam) | Calming, relaxing, mentally clarifying | Bedrooms, home offices, bathrooms |

| Deep darks (charcoal, navy, forest green, plum) | Cozy, intimate, dramatic, and grounding | Libraries, dining rooms, accent walls, powder rooms |
Dark colors do not make rooms feel smaller in a negative way — they make them feel more intimate and intentional. A deep navy dining room or a charcoal home library can feel luxurious rather than cramped when the lighting, furniture scale, and reflective surfaces are handled correctly.
🛒 Recommended Product
5. Select Furniture and Arrangement
Furniture selection is where style, function, quality, and budget all converge. Every piece you choose should serve at least one clear purpose — aesthetic, practical, or ideally both. The key is making decisions in the right order and with the right priorities.
5.1 How to Choose the Right Furniture for Each Room
Before shopping for furniture, define the non-negotiable functional requirements of each room. How many people need to sit in the living room? Does the dining table need to expand for guests? Does the bedroom need storage built into the bed frame? Answering these questions first prevents beautiful but impractical purchases.
When evaluating furniture quality, focus on what you cannot see:
- Frame construction: Sofa and upholstered chair frames should be kiln-dried hardwood joined with dowels, corner blocks, and screws — not staples or particle board.
- Cushion fill: High-resilience foam wrapped in down or dacron holds its shape longer than foam alone. Down-filled cushions are plush but require more maintenance.
- Joinery in case goods: Drawers should use dovetail joints and glide smoothly. Doors should hang level and close without forcing.
- Fabric durability: For high-traffic upholstery, look for fabrics rated above 15,000 double rubs on the Wyzenbeek scale. Performance fabrics offer both durability and easy cleaning.
One counterintuitive but reliable rule: choose your area rug before finalizing your sofa. The rug anchors the room’s color palette, and it is far easier to select a sofa to complement a rug than to find a rug that works with a sofa already in place.
5.2 Furniture Arrangement Tips by Room
Living Room: Create a unified seating group oriented toward the room’s focal point. Maintain 18 inches of clearance between the sofa and the coffee table. If space allows, layer a reading chair and side table to create a secondary use zone within the room.
Bedroom: Center the bed on the primary wall — usually the wall opposite the entry door. Nightstands should be at mattress height or slightly higher. Leave a minimum of 24 inches of clearance on both sides of the bed, and at least 36 inches at the foot. A bench at the foot of the bed adds both function and visual weight that grounds the room.
Dining Room: Center the dining table directly beneath the light fixture. Allow 36 inches of clearance between the edge of the table and any wall to enable comfortable chair movement. The dining rug should extend at least 24 inches beyond each end and side of the table so chair legs remain on the rug when pulled out.
Home Office: Position the desk to face the door if possible — research consistently shows this arrangement, sometimes called the “command position,” reduces unconscious stress. Manage cable clutter aggressively; visual noise in a workspace undermines concentration.
6. Layer Your Lighting
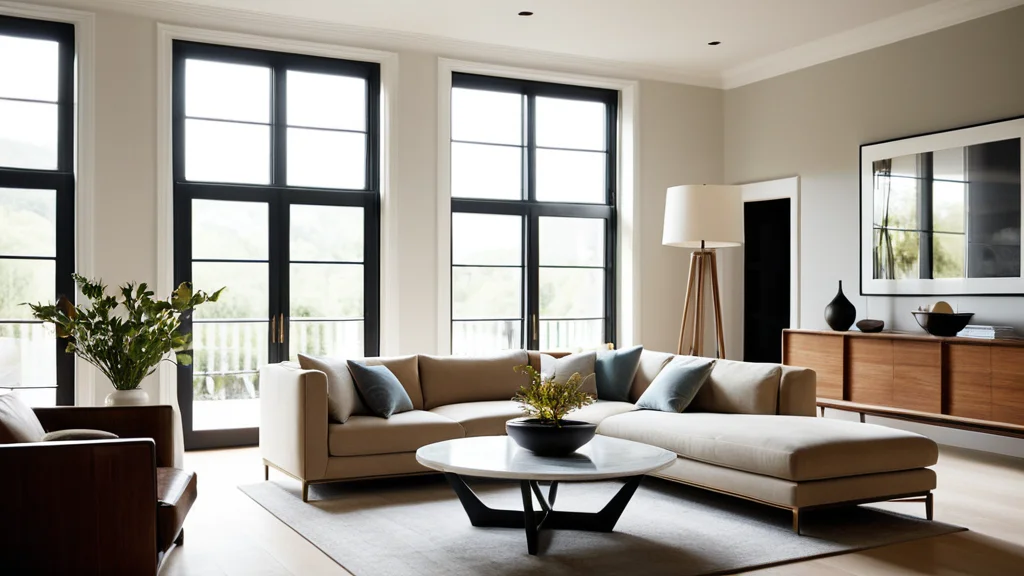
Lighting is the element that most reliably separates amateur interiors from professionally designed ones. The overwhelming majority of homeowners rely on a single overhead light source in each room — a choice that creates flat, institutional illumination that drains warmth and atmosphere from even the most beautifully furnished space. The solution is layered lighting.
6.1 The Three Layers of Interior Lighting
Every well-lit room should incorporate all three of the following lighting layers:
- Ambient lighting: The base layer that provides general illumination throughout the room. Sources include ceiling fixtures, recessed downlights, pendant lights, and chandeliers. This layer should be controllable with a dimmer switch in every room.
- Task lighting: Focused, functional light directed at specific activity areas. Sources include desk lamps, under-cabinet kitchen lighting, bedside reading lights, and bathroom vanity lighting. Task lighting should be bright enough to prevent eye strain without spilling excessively into the rest of the room.
- Accent lighting: Decorative lighting used to create drama, depth, and atmosphere. Sources include wall sconces, picture lights, LED strip lights behind shelving, table lamps, and floor lamps. This is the layer that gives a room its character and warmth at evening hours.
6.2 Lighting Tips That Transform a Room
- Install dimmer switches on every circuit where possible. Dimmers are the single most cost-effective lighting upgrade available, multiplying the flexibility and atmosphere of any room for under $50 per switch.
- Choose warm white bulbs with a color temperature of 2700K to 3000K for living areas and bedrooms. This range produces the warm, flattering, residential glow that most people associate with a comfortable home. Reserve cooler temperatures (3500K to 4000K) for task-heavy spaces like home offices and kitchens.
- A well-placed table lamp at seated eye level — approximately 48 to 58 inches from the floor to the bottom of the shade — produces the most flattering and intimate light in any room.
- Never underestimate natural light. Maximize it with sheer curtains that diffuse without blocking, mirrors placed opposite or adjacent to windows, and light-reflective surfaces like pale walls and polished floors.
- Uplighting — placing a floor lamp or LED puck light behind a tall plant or in a corner — adds height and dimension to a room by washing light up toward the ceiling.
7. Pick Materials, Textures, and Finishes
A room that uses only one material or texture — regardless of how beautiful that material is — will always feel flat and unfinished. Layering a variety of materials is what gives spaces the visual richness and tactile interest that draws people in and makes them want to stay.
7.1 How to Mix Materials Like a Designer
The goal in material mixing is to create contrast and harmony simultaneously — enough variety to create visual interest, enough cohesion to feel intentional. Aim for three to five distinct materials in any single room.
Key principles for successful material mixing:
- Balance rough and smooth: Pair a nubby linen sofa with a polished marble coffee table. Combine a rough jute rug with smooth lacquered furniture. Contrast creates interest.
- Vary your sheen levels: Combine matte, satin, and glossy finishes throughout a room. An all-matte room feels flat and lifeless. Too much gloss feels cold and commercial. The most beautiful rooms layer all three.
- Ground natural materials with refined ones: Raw wood and stone feel approachable and organic; pair them with refined elements like polished metal or crisp linen to elevate the combination.
- Repeat materials across the room: If you introduce brass in a light fixture, echo it in cabinet hardware and a decorative object. This repetition creates cohesion without uniformity.
7.2 Best Material Combinations by Room
| Room | Recommended Materials | Trending Combination |
|---|---|---|
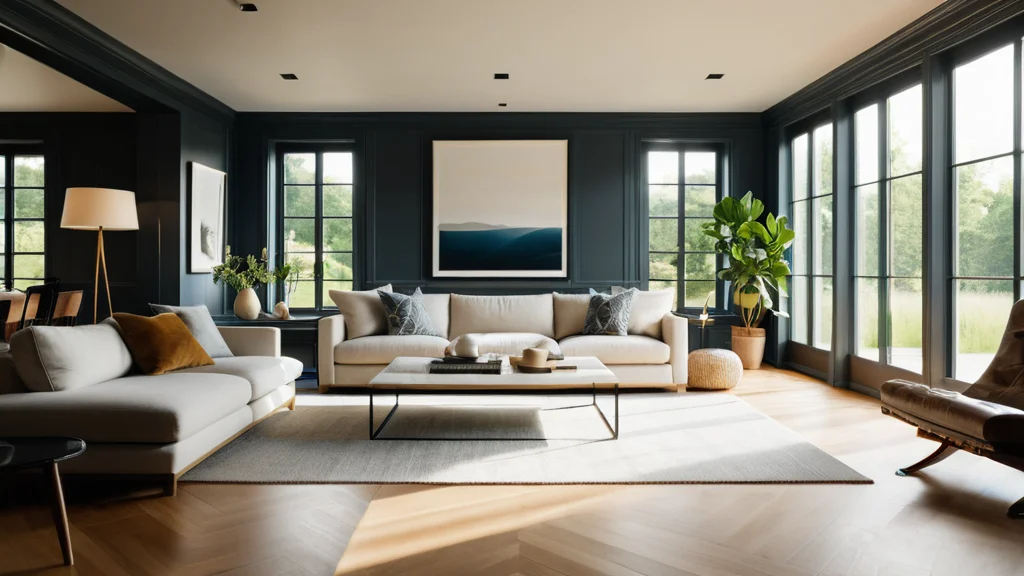
| Living Room | Hardwood or LVP flooring, wool rug, linen or velvet upholstery, wood and metal furniture, ceramic accessories | Warm oak + creamy linen + aged brass + stone |
| Kitchen | Quartz or stone countertops, handmade tile backsplash, mixed metal hardware, wood open shelving | White oak shelving + unlacquered brass + honed marble + matte subway tile |
| Bedroom | Soft wool or jute rug, linen or cotton bedding, solid wood furniture, upholstered headboard, sheer linen curtains | Natural linen + rattan + warm white + terracotta accents |
| Bathroom | Large-format tile, natural stone accents, wood vanity, matte or brushed metal fixtures | Warm travertine + warm wood + matte black hardware |
8. Add Décor and Personal Touches
Décor is the final layer of interior design — the element that transforms a well-planned, well-furnished room into a space with personality and soul. This is where a house stops looking like a showroom and starts feeling like a home. It is also, for many people, the most enjoyable part of the process.
8.1 Principles of Styling and Decorating
Professional stylists follow a set of intuitive principles that can be learned and applied by anyone:
- Group in odd numbers: Arrangements of three, five, or seven objects are more visually interesting than even-numbered groupings. The asymmetry of odd numbers creates the slight tension that makes the eye keep moving.
- Vary height within groupings: When styling a shelf, console, or tabletop, use objects of distinctly different heights. A grouping of objects all the same height reads as a flat, undifferentiated line rather than a dynamic composition.
- Edit without mercy: In most design styles, restraint is a virtue. Walk through each room and remove anything that does not actively contribute — either functionally or aesthetically. A curated collection of meaningful objects will always outperform a crowded accumulation of random items.
- Layer textiles intentionally: Stack a throw blanket over the arm of a sofa, layer a smaller patterned rug over a larger neutral base rug, and mix pillow sizes — standard, lumbar, and small bolsters — for a relaxed, collected look.
- Connect the room visually: Repeat a color, material, or motif from one part of the room in another. A brass lamp base echoed in a brass-framed mirror creates a thread of visual continuity that makes the room feel designed rather than assembled.
8.2 Décor Categories Every Room Needs
Art: The most impactful single decorative decision in any room. Hang artwork so the visual center sits at approximately 57 to 60 inches from the floor — this is standard gallery height and feels naturally correct to the human eye. Choose pieces that are larger than your instinct suggests; art that is too small for its wall looks tentative and unintentional. One large statement piece almost always reads better than a cluster of small, unrelated prints.
Plants: Living greenery adds an organic dimension that no manufactured object can replicate. Plants introduce natural shape, movement, and air-purifying benefits. Mix scales for maximum impact — a large floor plant such as a fiddle-leaf fig or monstera paired with a cluster of small plants on a shelf creates the layered, lived-in quality of a well-tended home.
Books: Styled books serve double duty as both intellectual signifiers and design tools. Remove dust jackets to reveal cleaner spines, mix horizontal and vertical stacking, and anchor groupings with a small sculpture or ceramic object. Books signal that a space is inhabited by someone with interests and curiosity.
Personal collections: Grouped and displayed with intention, personal items — travel souvenirs, family heirlooms, collected ceramics, vintage finds — give a room an authenticity that no retail store can replicate. The secret is editing and grouping by theme, material, or color so the collection reads as curated rather than cluttered.
Mirrors: Beyond their practical function, mirrors are powerful design tools. A large mirror placed opposite or adjacent to a window bounces natural light deep into a room and makes the space feel significantly larger. A leaning floor mirror in a bedroom or living room adds architectural scale and a relaxed, unfussy quality.
9. Work Room by Room
Attempting to design an entire house simultaneously is overwhelming for most people and financially unsustainable for nearly all of them. A strategic room-by-room approach — starting with the spaces that have the greatest impact on daily quality of life — produces better results and allows you to refine your approach as you go.
9.1 Which Rooms to Design First and Why
The recommended priority order balances daily impact with investment return:
- Primary bedroom (first): You begin and end every day in this room. A calm, comfortable, and beautiful bedroom has a measurable positive effect on sleep quality, mood, and overall well-being. This is not a luxury — it is a foundation.
- Living room (second): The social heart of the home and the space most guests will see. A well-designed living room sets the tone for the entire house and is the most frequently used gathering space for most families.
- Kitchen (third): Often the most expensive room to renovate structurally, but even modest updates — new hardware, improved lighting, a fresh coat of paint on cabinets — can transform the room dramatically. The kitchen is also where the household spends a disproportionate amount of daily time.
- Primary bathroom (fourth): A daily ritual space that benefits enormously from even small improvements. New fixtures, updated lighting, and fresh toweling can elevate the experience significantly without major renovation.
- Home office (fifth): With remote and hybrid work now mainstream, the home office has become a space that directly affects productivity, focus, and professional presentation. A functional, inspiring workspace pays dividends daily.
- Remaining rooms: Guest bedrooms, secondary bathrooms, laundry rooms, and utility spaces can be addressed over time without urgency. They benefit from the design vocabulary and lessons you will have developed in the first five rooms.
9.2 Room-by-Room Design Checklist
Use this checklist for each room you approach to ensure no critical step is overlooked:
- Measure the room precisely and create a scaled floor plan
- Identify the room’s primary focal point
- Select and test paint colors in the actual room
- Choose anchor furniture and confirm dimensions and delivery logistics
- Plan all three layers of lighting: ambient, task, and accent
- Select and order window treatments early — they often have long lead times
- Choose and place the area rug before finalizing furniture placement
- Style shelves, surfaces, and tabletops with curated objects
- Add plants, art, and personal items as the final layer
- Live in the room for two to four weeks before making permanent decisions
10. Common Interior Design Mistakes to Avoid
Even experienced homeowners fall into predictable decorating traps. Knowing these pitfalls in advance saves significant amounts of time, money, and frustration — and often makes the difference between a room that looks almost right and one that looks genuinely finished.
10.1 The Most Costly Decorating Errors
- Hanging art too high: The single most widespread mistake in residential interiors. Art hung at the top of the wall — often because homeowners feel it will get “lost” lower — looks disconnected from the room’s furnishings. Center artwork at 57 to 60 inches from the floor to the midpoint of the piece, always.
- Choosing a rug that is too small: An undersized rug floating in the center of a room with no furniture touching it makes the entire space feel smaller and cheaper than it actually is. When in doubt, always size up.
- Pushing all furniture against the walls: This instinct — born of a desire to maximize floor space — actually makes rooms feel emptier and more institutional. Float furniture toward the center to create intimate, functional groupings.
- Neglecting scale: Tiny furniture in a large room looks lost and unconvincing regardless of its quality. Oversized furniture in a small room feels suffocating. Always measure and visualize pieces in the actual space using painter’s tape on the floor before purchasing.
- Relying on a single overhead light: As established in the lighting section, a single ceiling fixture provides flat, unflattering, atmosphere-killing light. Layer multiple sources at different heights.
- Buying everything from one store: Rooms that look curated and interesting are almost always assembled from multiple sources at different price points. A room furnished entirely from one retailer typically feels too coordinated, too safe, and ultimately bland.
- Ignoring window treatments: Bare windows signal an unfinished room more clearly than almost any other element. Curtains hung close to the ceiling and extending well beyond the window frame on each side make windows look dramatically taller and wider.
- Rushing the process: The most common and most expensive mistake of all. Great interiors are built deliberately and over time. Live in a space for several weeks before committing to major decisions. What feels right on day one is often different from what you want on day thirty.
10.2 How to Fix Common Design Problems
| Common Problem | Quick Fix | Long-Term Solution |
|---|---|---|
| Room feels cold and uninviting | Add table lamps and warm-toned bulbs immediately | Layer rugs, add upholstered seating, introduce warm wood tones |
| Room feels small and cramped | Remove unnecessary furniture and clear surfaces | Use light colors, introduce mirrors, select furniture with exposed legs |
| Room looks unfinished despite furniture | Add one large piece of art and a floor plant | Hang window treatments, add a properly sized rug, style surfaces with curated objects |
| Colors feel mismatched | Introduce a neutral throw and pillows to bridge conflicting tones | Repaint one surface in a color that unifies the existing palette |
| Room lacks personality | Display a personal collection or meaningful object grouping | Commission or source original art, add plants, bring in heirloom or vintage pieces |
Download our free room-by-room interior design checklist and start transforming your space today — one beautiful decision at a time.