⚠️ This page connects you to Atovia’s partners and affiliate markets. We may receive a commission from affiliate partners for activities made through these links. Discount offers may change at any time according to policy! Rest assured, there are no additional costs to you! We hope this saves you time in finding the right items!
A backsplash is one of the most visible DIY upgrades in a kitchen, and most of what separates a pro-looking job from a sloppy one happens before the first tile goes up: measuring, wall prep, and layout. This guide walks through the whole job in order, from calculating how much tile to buy to grouting and finishing the edges, with the safety steps and product checks that keep the project on track.
- What You Need Before You Start
- Safety First: Power, Dust, and Sharp Edges
- Prepare the Wall Surface
- Plan Your Layout With a Dry Run
- Choose the Right Mortar and Trowel
- Set the Tile in Small Sections
- Cut Tile Around Outlets and Edges
- Let the Adhesive Cure, Then Grout
- Finish Edges, Corners, and Joints
- Do You Need to Seal the Grout?
- Common Mistakes and Pro Tips
- Frequently Asked Questions
- Measure each wall section (width times height), add them up, then add 10% for cuts and damaged pieces.
- Turn off the power, confirm it with a circuit tester, and remove outlet and switch covers before you start.
- Lay the tile out dry first so the end pieces are not thin slivers.
- Spread adhesive and set tile in small sections so it does not set before the tile goes up.
- Drying times, grout choice, and sealing depend on the product, so the manufacturer’s instructions come first.
What You Need Before You Start
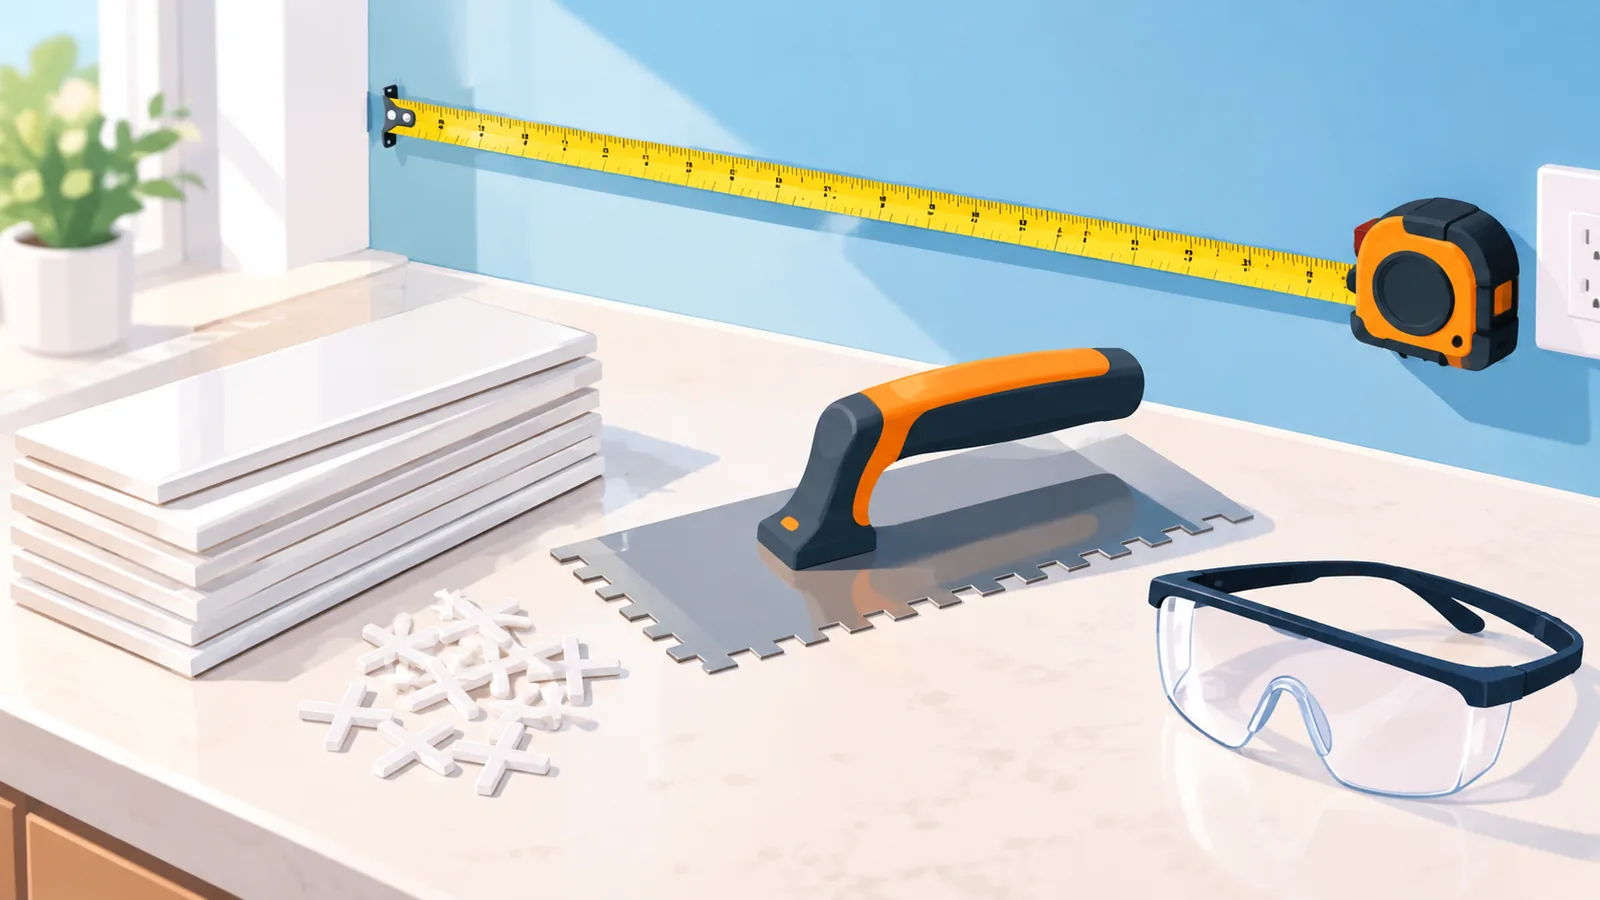
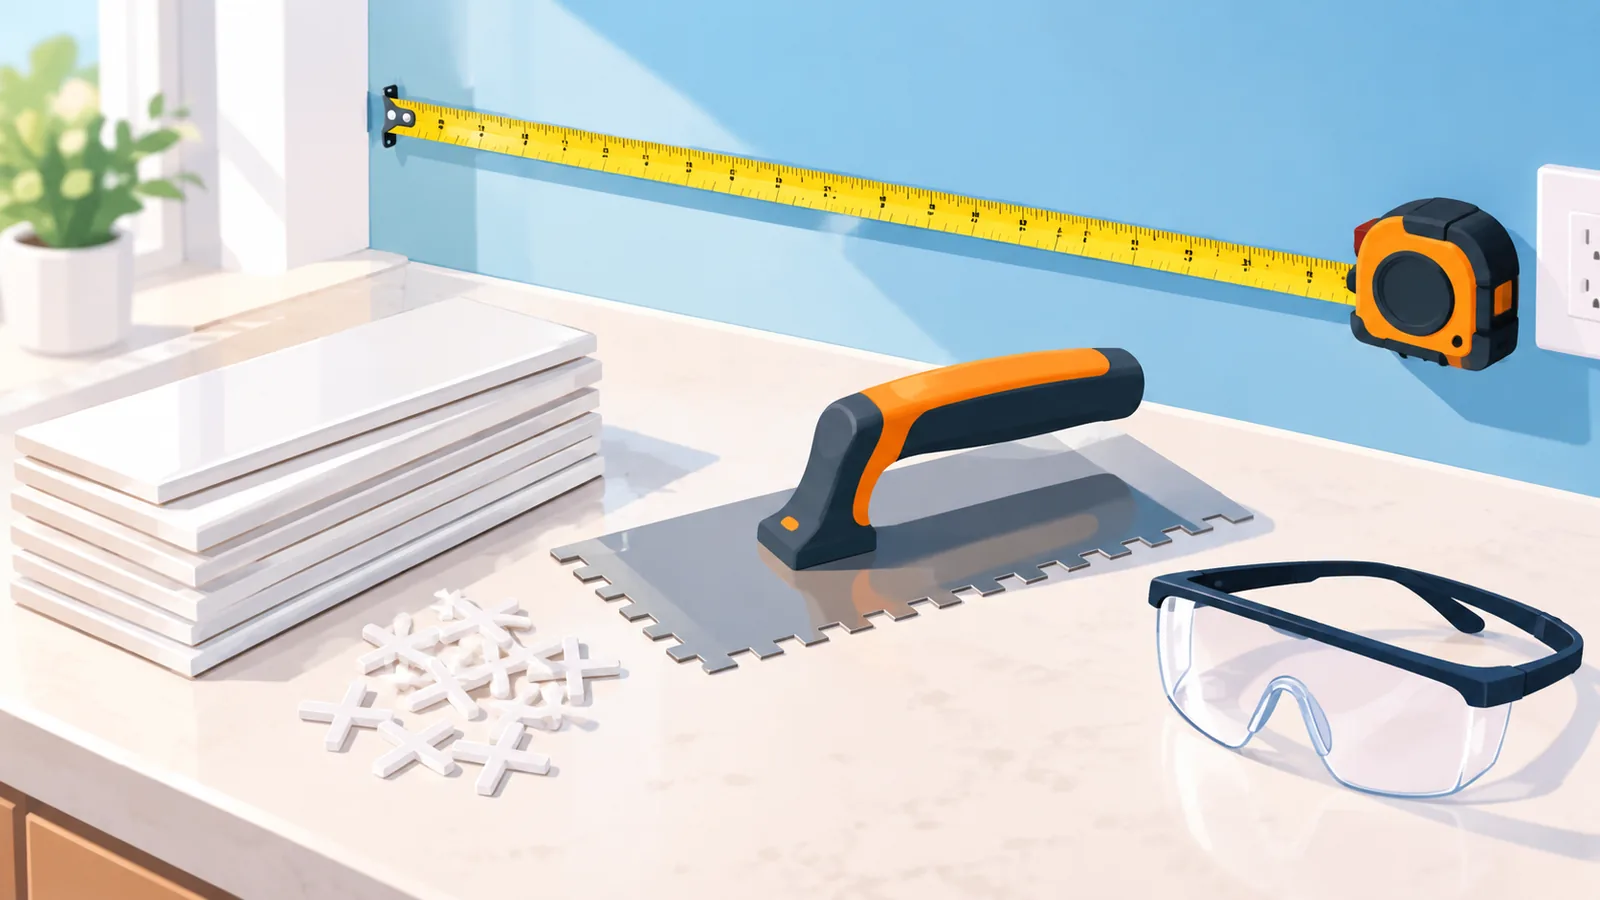
Gather your materials before you touch the wall. Readers who skip this step tend to stop mid-job with wet adhesive and a missing tool. A typical backsplash project calls for the following:
- Tile, plus spacers to keep the joints even
- Mortar or adhesive and a notched trowel suited to your tile
- Grout and a damp sponge for cleanup
- A tile cutter suited to your tile
- Safety glasses and a circuit tester
- Common measuring and leveling tools, such as a tape measure and a level
To work out how much tile you need, measure the width and height of each section of wall, multiply them, and add the sections together. The Home Depot’s guide recommends adding 10% to that total to cover cuts and damaged pieces [2].
Quick check: Write down each section’s measurements, the total area, and the total with the extra 10% before you order.
Safety First: Power, Dust, and Sharp Edges
Backsplash walls are full of outlets and switches, so electrical safety comes before any tile work. Shut off power to the kitchen circuit at the breaker, confirm that it is off with a circuit tester, and only then remove the switch and outlet covers [3].
Cutting tile adds its own hazards. Pieces can break, cut edges are sharp, and cutting creates debris and dust, so wear safety glasses and other protective gear when you cut [2]. Follow your local electrical code and the safety instructions that come with each product.
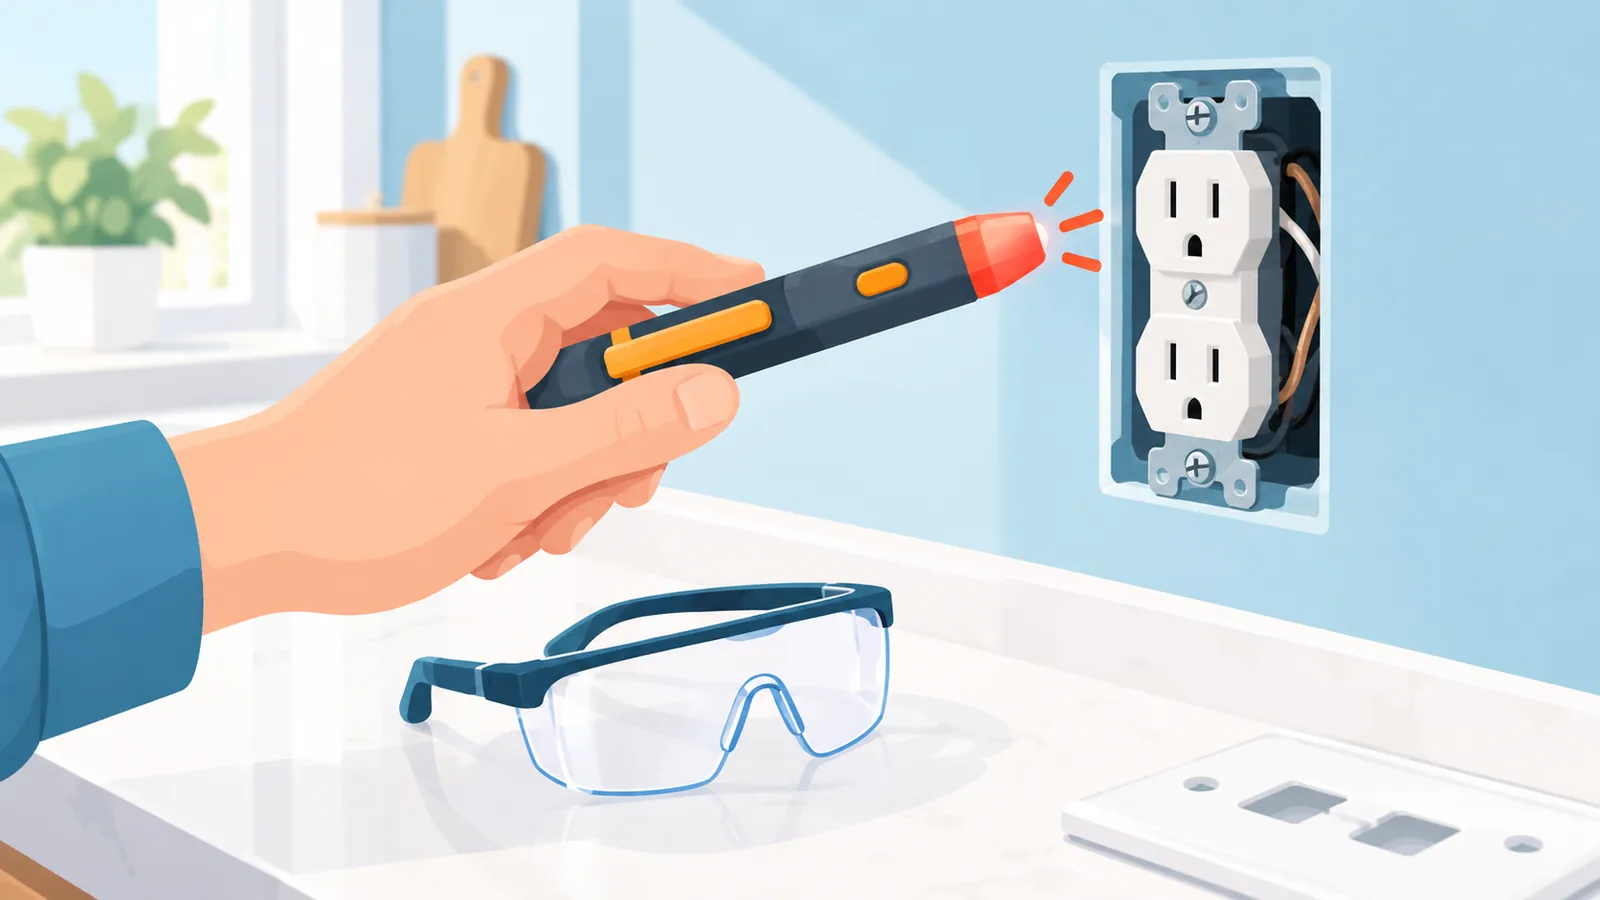
Quick check: The tester shows no power at every outlet and switch in the work area before the covers come off.
Prepare the Wall Surface
Tile sticks best to a flat, clean wall. Repair any damage and smooth out bumps or uneven spots before you start [3]. Wipe away grease and dust so the adhesive has a clean surface to grip.
Prep steps can vary with the wall type, the tile, and the products you use, so read the manufacturer’s instructions for each one. One caution: Lowe’s step-by-step guide describes setting tile directly on drywall for a typical kitchen backsplash [6]. Do not assume the same approach works on damaged walls, on areas that get direct water exposure, or on other wall types. In those cases, follow the product instructions for your situation.
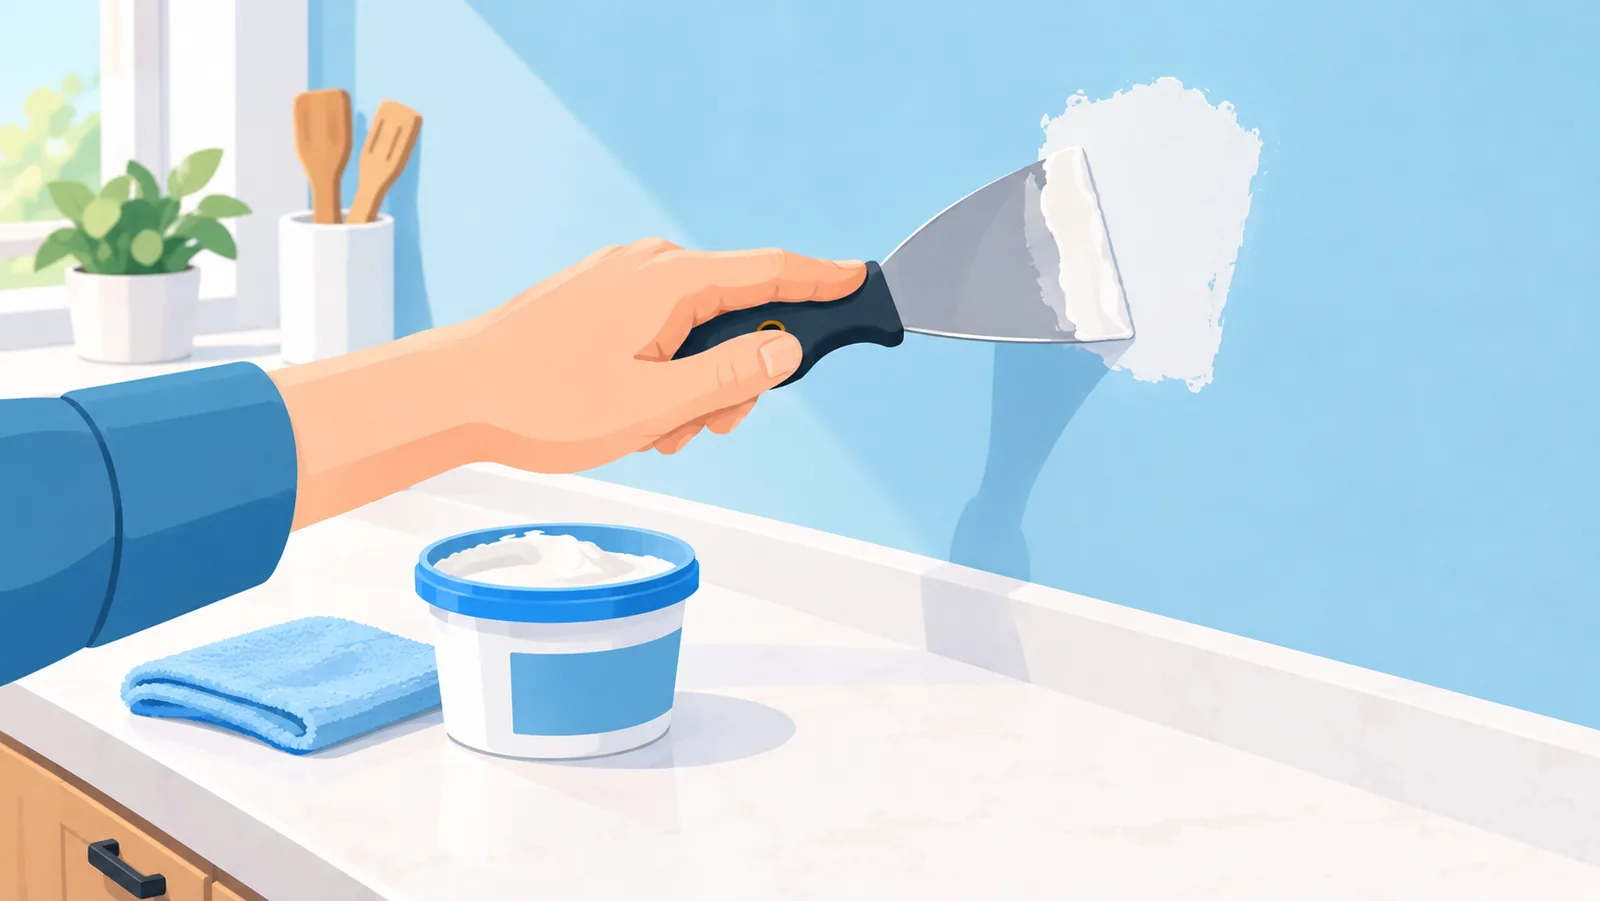
Quick check: Run your hand across the wall. If you feel bumps, gouges, or residue, fix them before moving on.
Plan Your Layout With a Dry Run
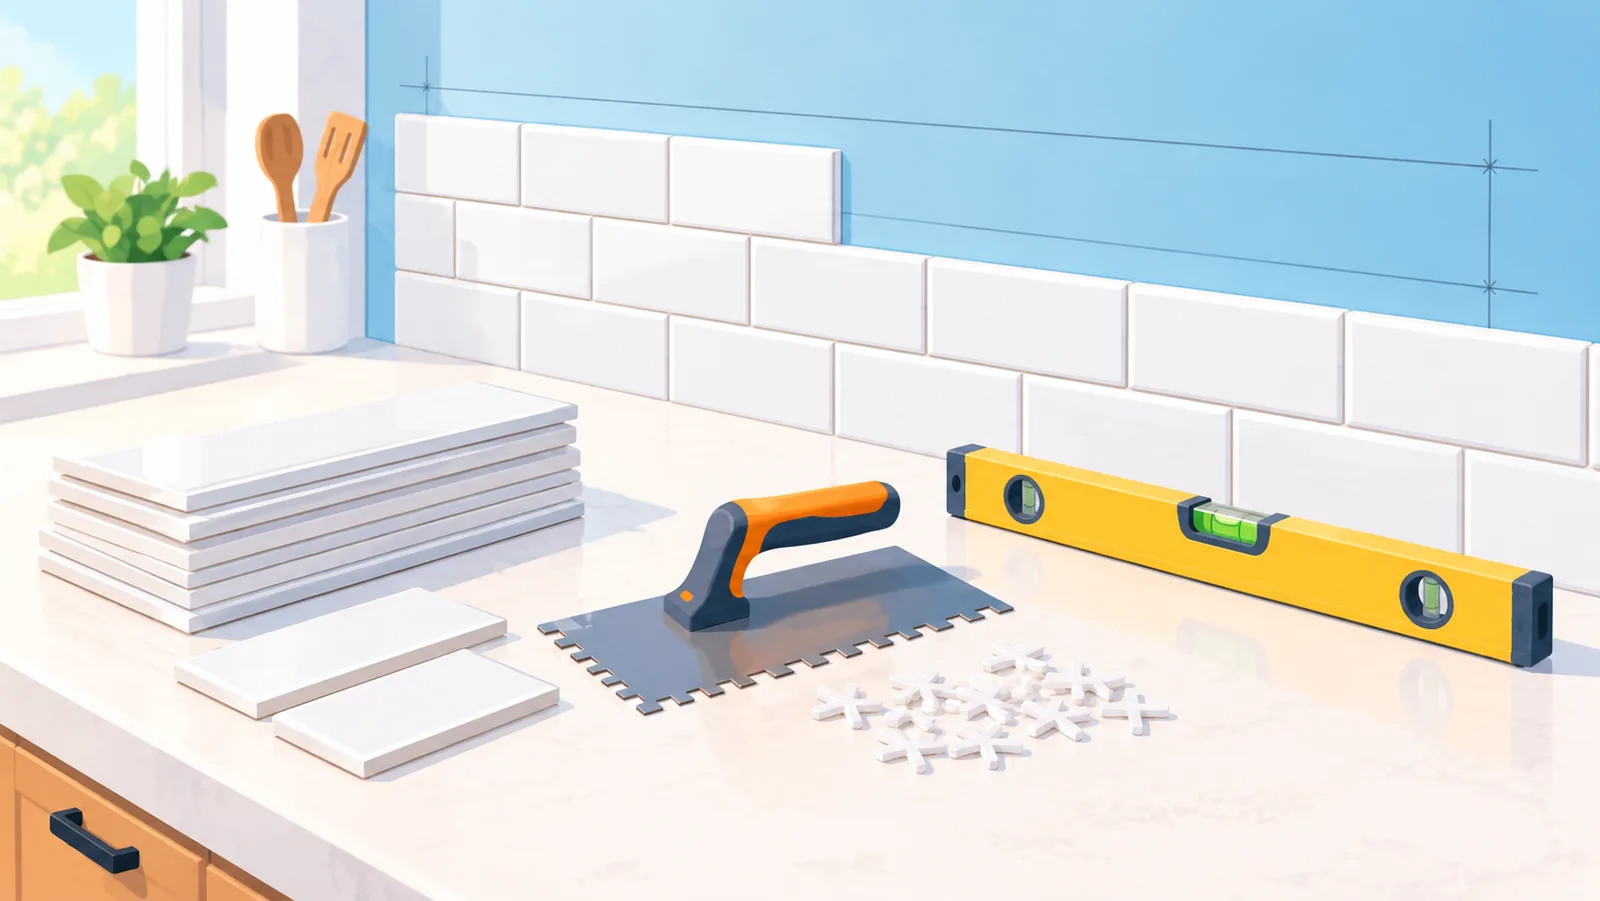
Before you spread any adhesive, lay the tile out dry against the wall and mark reference lines. The dry run lets you see how the tile falls at each end of the wall and shift the layout so you do not end up with thin slivers of tile at the edges [3].
Lowe’s customer guide uses 3×6 subway tile in a running bond as its example, which is a good pattern to practice your planning on [6]. Whatever pattern you choose, check where outlets, window trim, and the ends of the run land in your layout.
Quick check: No end piece is a thin sliver, and your reference lines are marked where you plan to start.
Choose the Right Mortar and Trowel
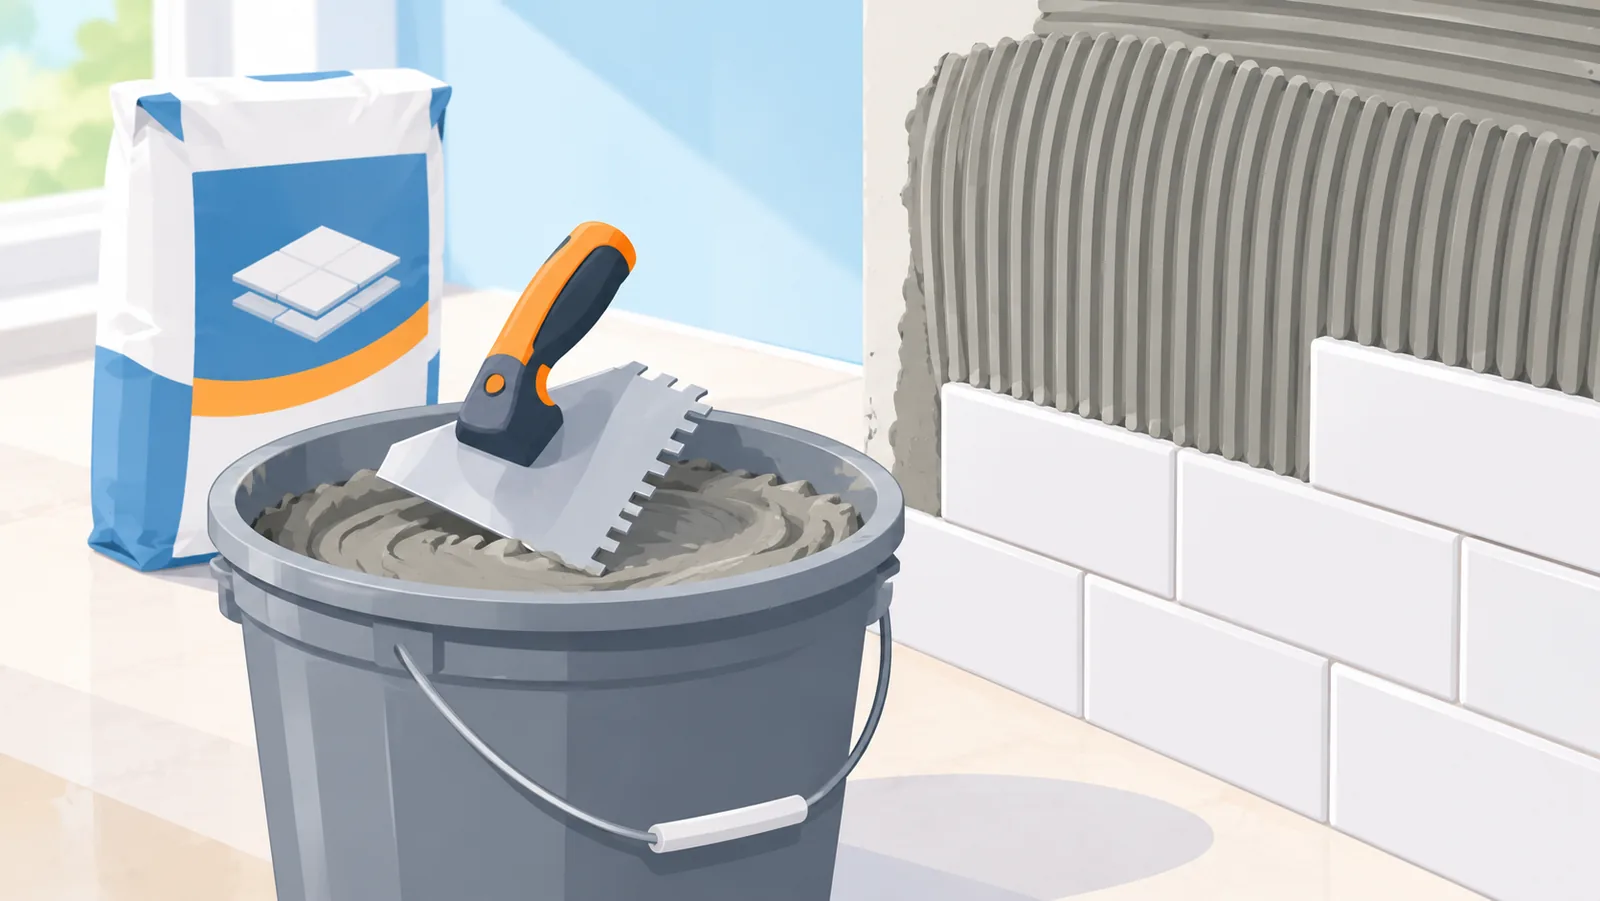
The mortar and trowel should match your tile and your wall. Choose them based on what the tile manufacturer and the product package say, then mix and apply the mortar exactly as the package directs [3]. Because products differ, the label is your best reference. Use this table as a checklist of what to look for.
| What to Check | Where to Look | Why It Matters |
|---|---|---|
| Tile type | Tile packaging and manufacturer instructions | The adhesive and trowel should suit the tile you chose |
| Wall type | Adhesive label | Not every product is made for every wall surface |
| Mixing directions | Mortar package | Mix and apply as the package instructs |
| Working time | Mortar package | Tells you how large an area to spread at once |
Set the Tile in Small Sections
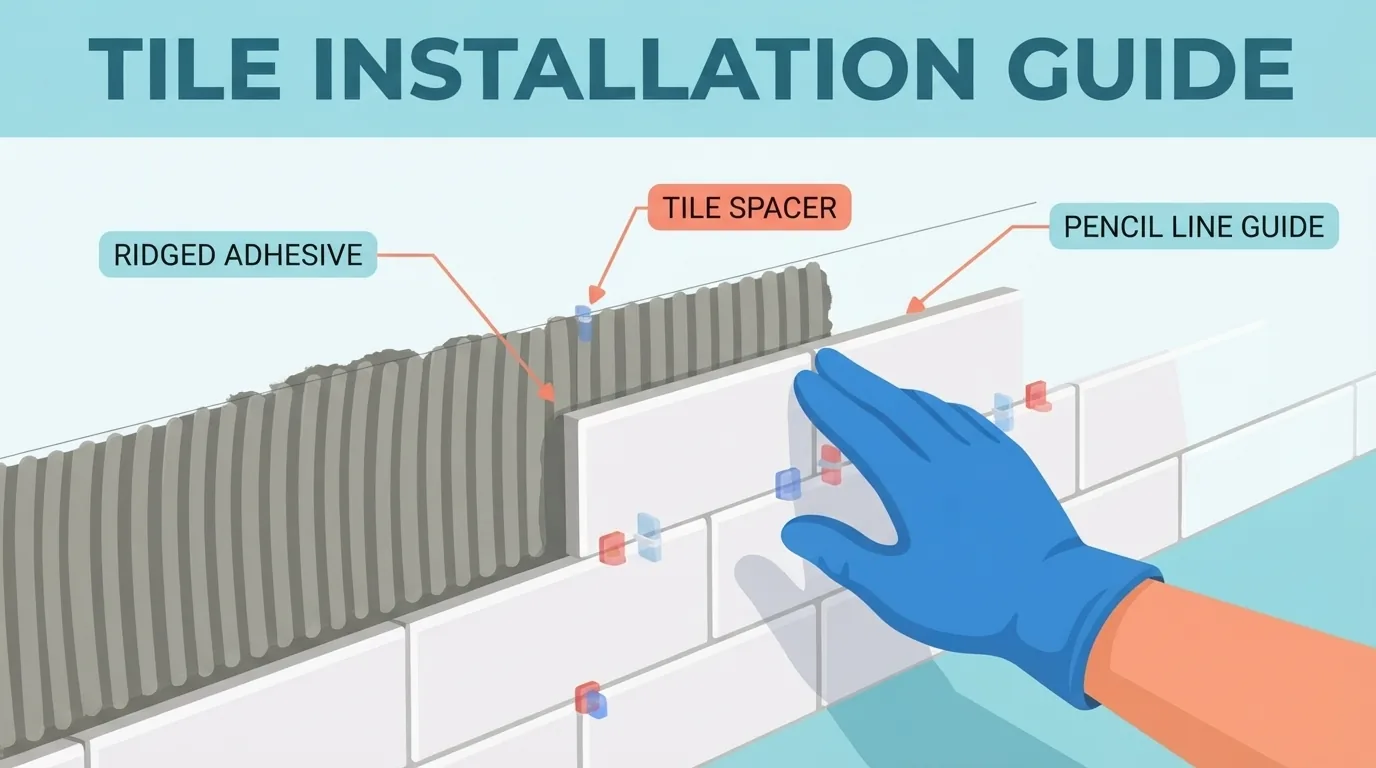
Work in small areas so the adhesive does not set before the tile goes up [3]. A simple sequence works well:
- Start at your reference line and spread adhesive on a small section of wall.
- Press the first tile into place, then set the next tile beside it.
- Place spacers between tiles to keep the joints even.
- Check for level as you go and continue section by section.
🛒 Recommended Product
Quick check: Joints look uniform, and no adhesive has dried before you covered it with tile.
Cut Tile Around Outlets and Edges
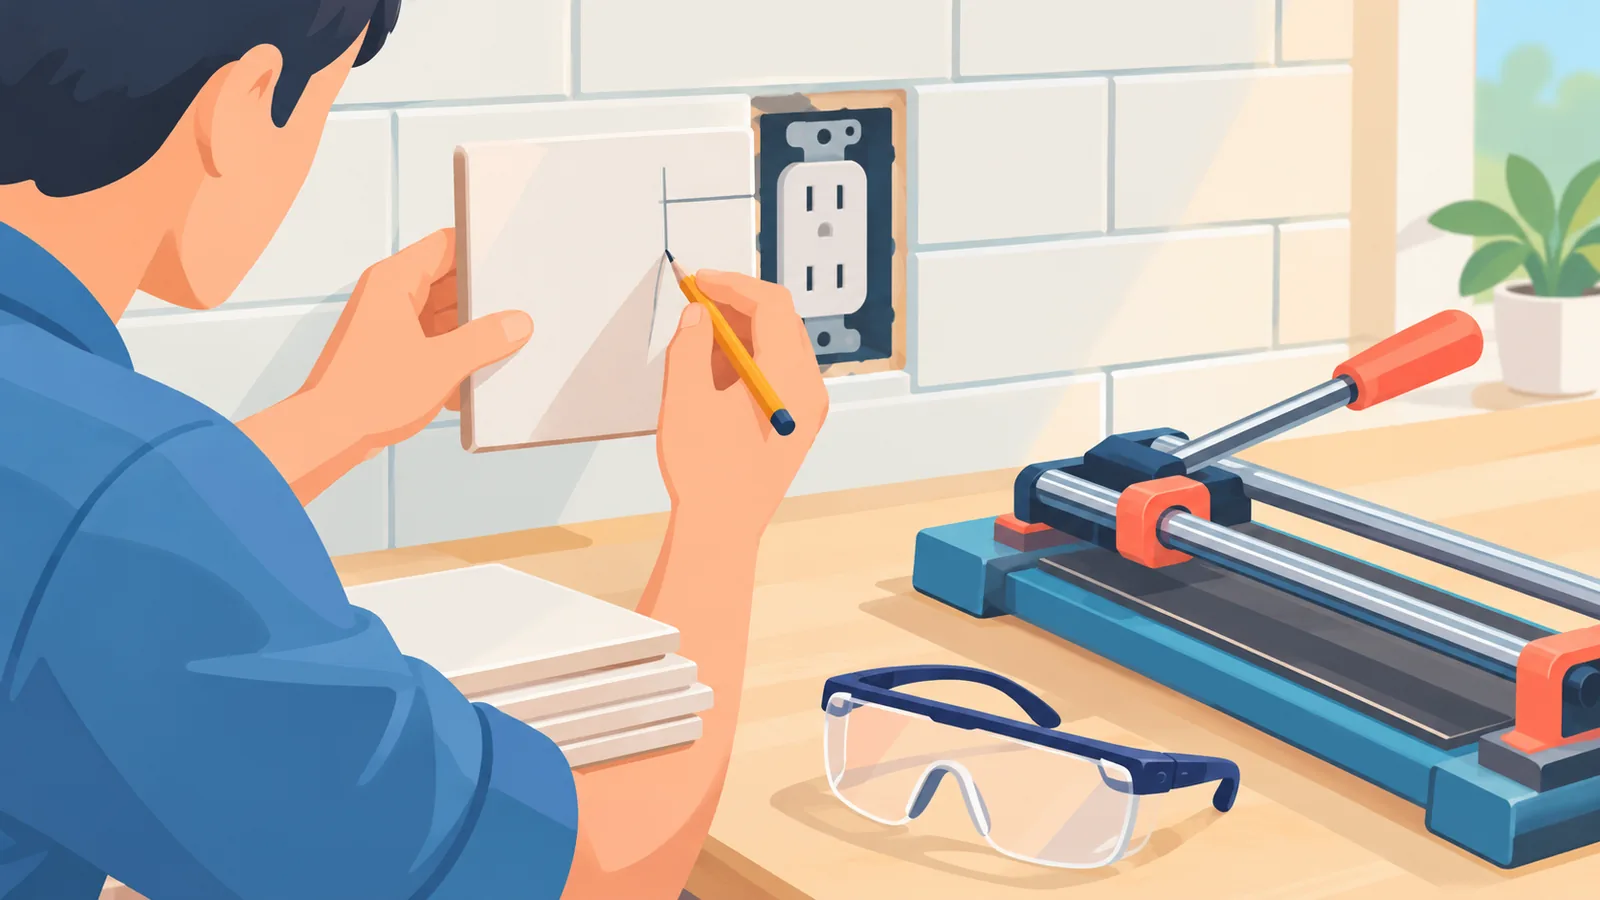
Most backsplashes need some cut tiles, especially around outlets and at the ends of runs. Measure and mark each piece, then use a tile cutter suited to your tile. Wear safety glasses, and handle cut pieces carefully because the edges are sharp [2].
Keep the power off while you work near outlets, and confirm it with your tester if you have been away from the wall for a while [3]. Test-fit each cut piece before adding adhesive to its back.
Let the Adhesive Cure, Then Grout
Give the adhesive time to dry before you grout. Lowe’s guidance cites about 24 hours for thin-set to dry, but your product instructions come first [3].
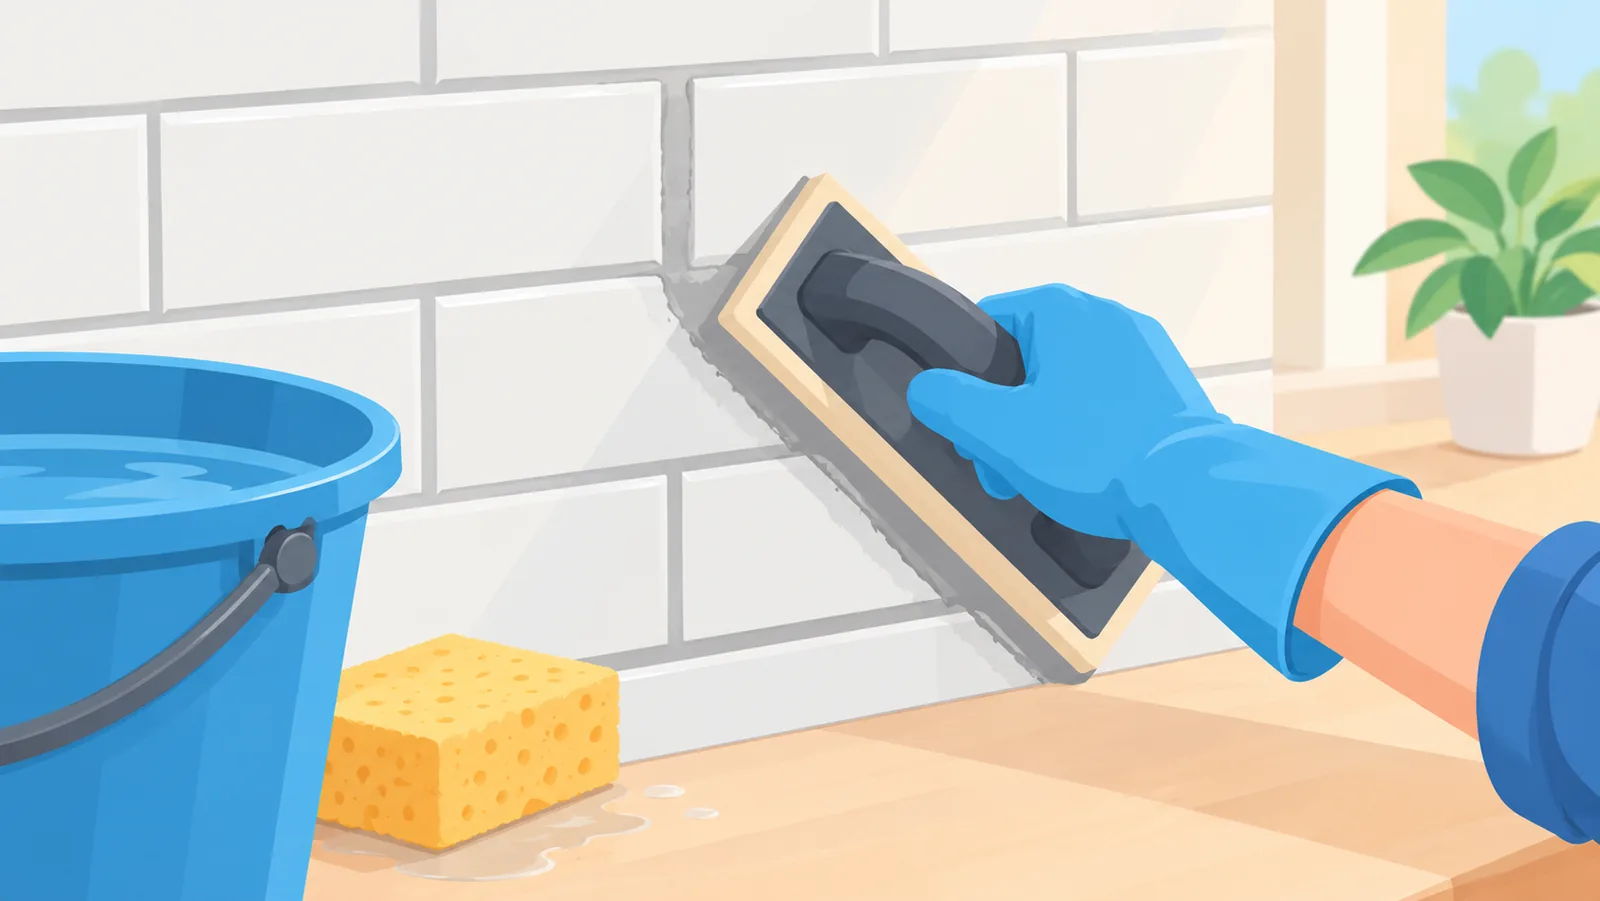
When you grout, push the grout into the joints diagonally across the tile. Then remove the excess with a damp sponge, changing the water often so you are not smearing residue back across the surface [3].
Grout choice depends partly on joint width. Lowe’s suggests unsanded grout for joints narrower than 1/8 inch and sanded grout for wider joints. Treat that as one retailer’s guidance, not a universal rule.
| Item | Unsanded Grout | Sanded Grout |
|---|---|---|
| Joint width guidance (Lowe’s) | Joints narrower than 1/8 inch | Joints wider than 1/8 inch |
| What to verify | Your grout and tile instructions | Your grout and tile instructions |
Want to compare these steps with a retailer’s walkthrough? Lowe’s offers a step-by-step backsplash guide.
Finish Edges, Corners, and Joints
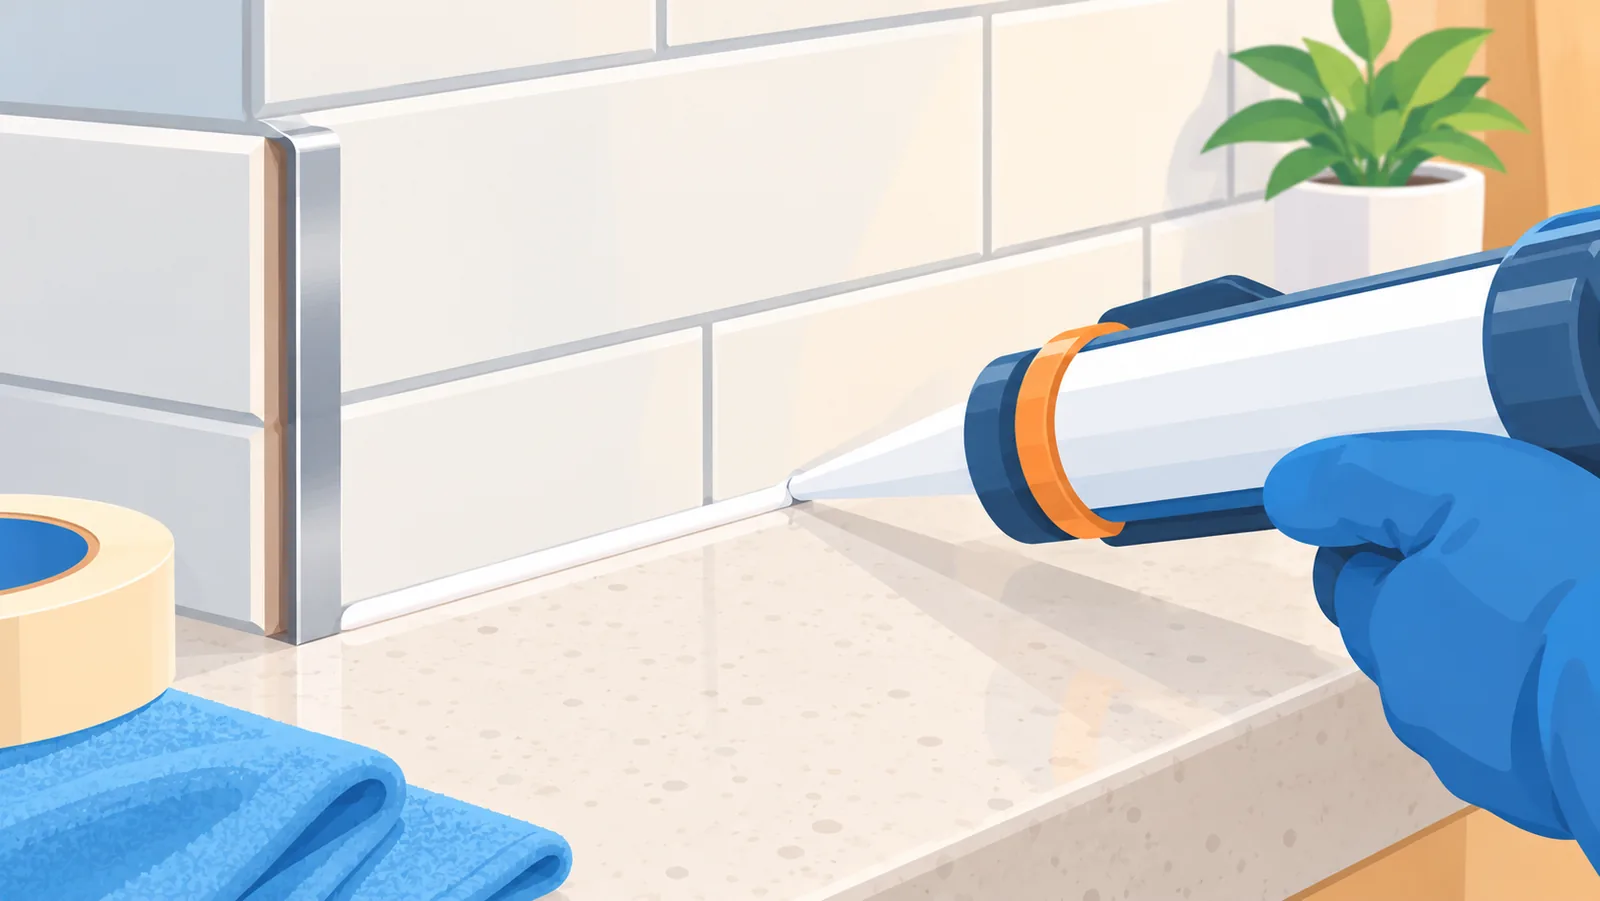
Where tile meets the countertop, cabinets, or a corner, leave a small gap around the perimeter so the surfaces can move. Fill that gap with caulk or silicone instead of grout [3] [6].
For exposed tile edges, such as where the backsplash stops without meeting another surface, an edge profile can protect and finish the edge. Profiles can also work as a design element [5].
Do You Need to Seal the Grout?
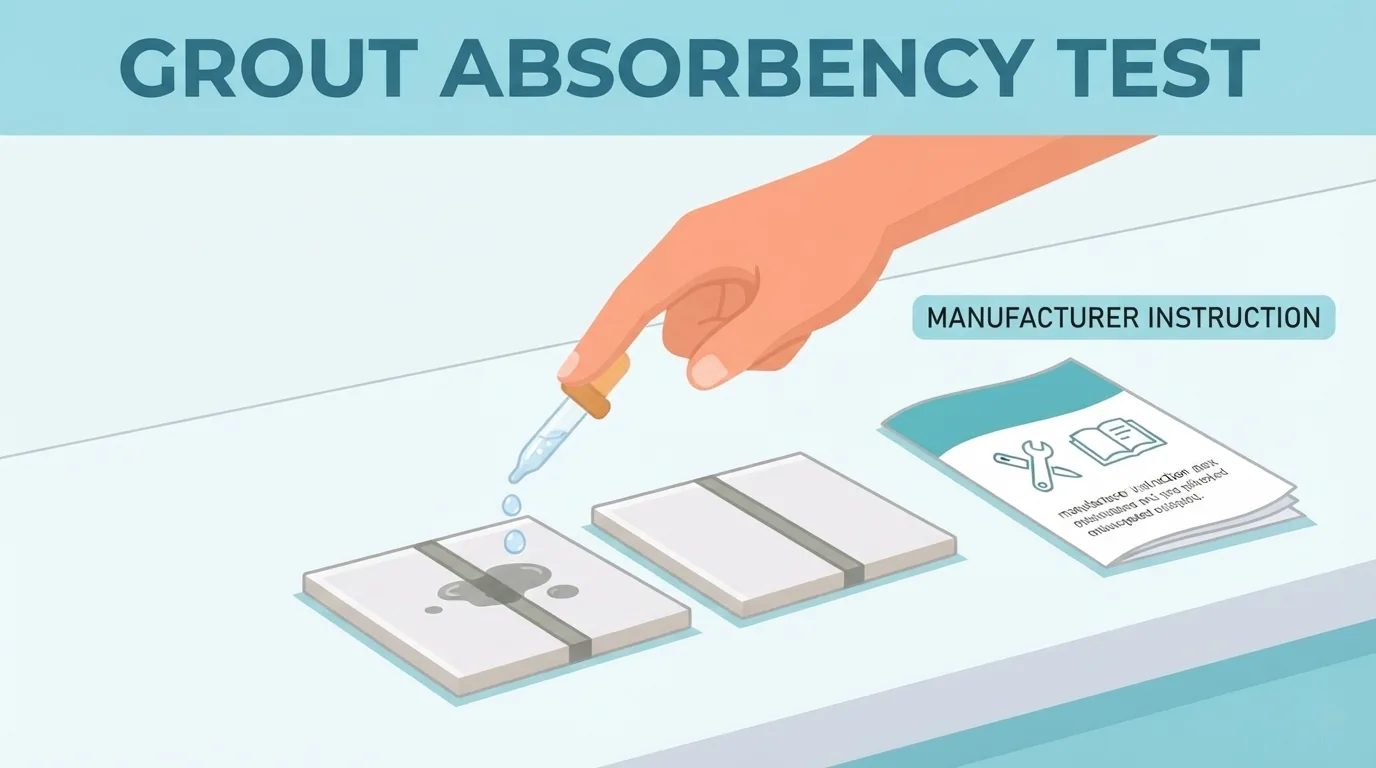
There is no single answer. MAPEI’s guidance indicates that sealing is not an industry-wide requirement, and it notes that cementitious grout can absorb moisture and stain [4].
To decide for your project, check the grout manufacturer’s instructions and consider how absorbent your tile is. Do not assume that sealer is always needed or that it is never needed.
Common Mistakes and Pro Tips
- Skipping the dry layout. It is the easiest way to avoid thin sliver pieces at the ends.
- Spreading too much adhesive at once. Work in small sections so it does not set early.
- Uneven spacing. Use spacers throughout.
- Not changing the sponge water. Dirty water leaves residue on the tile.
- Grouting too soon. Lowe’s cites about 24 hours for adhesive to dry, but your product instructions come first.
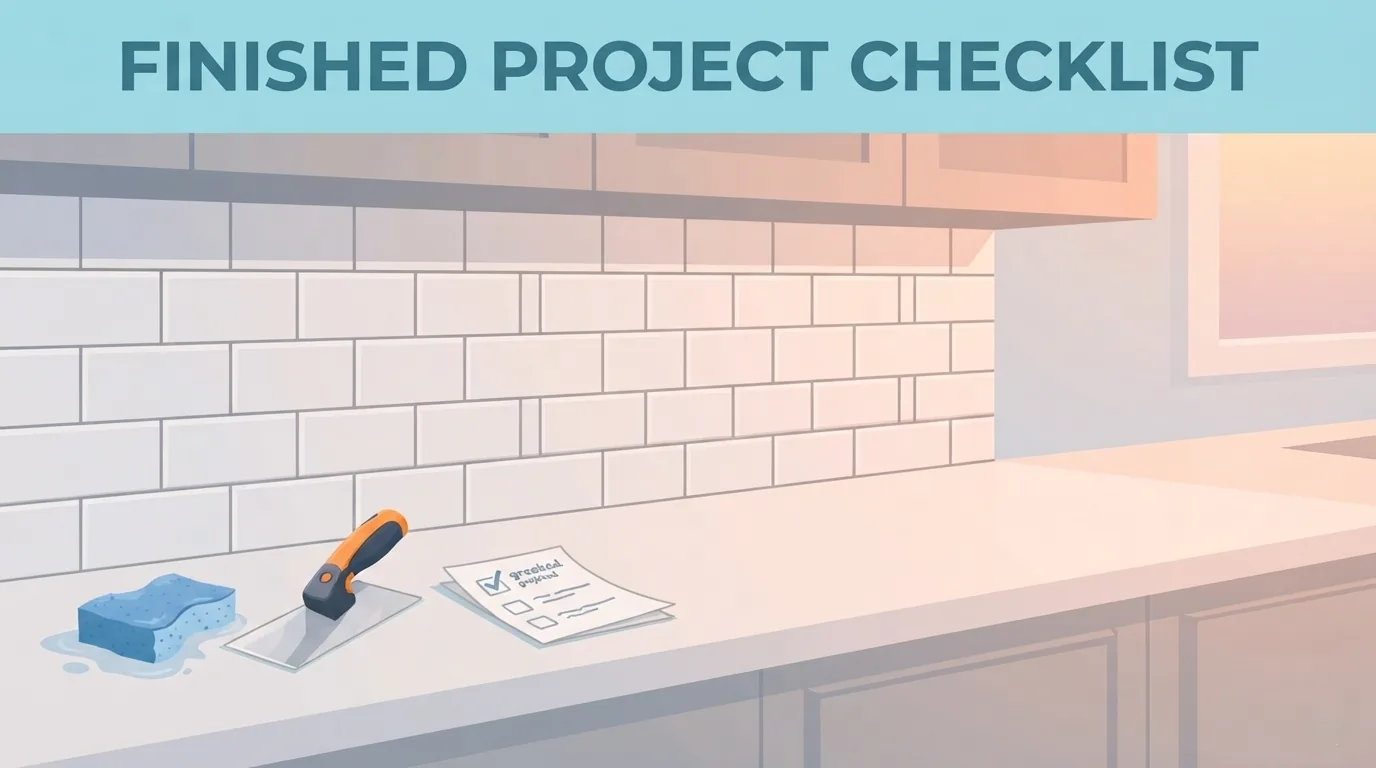
Final checklist before you call it done:
- Power was off and tested before any outlet work
- Joints are even and grout lines are filled
- Grout haze is wiped from the tile surface
- Gaps at the countertop, cabinets, and corners are filled with caulk or silicone
- Exposed edges are finished
Frequently Asked Questions
How much extra tile should I buy?
The Home Depot’s guide suggests adding 10% to your measured area to cover cuts and damaged pieces [2].
Can I tile over existing drywall?
Lowe’s customer guide describes it for a typical kitchen backsplash [6]. Do not assume it applies to damaged walls, areas with direct water exposure, or other wall types. Follow the product instructions for your situation.
How long before I can grout?
Lowe’s guidance cites about 24 hours for thin-set to dry, but your product instructions come first [3].
Do I need to seal the grout?
Not necessarily. Sealing is not an industry-wide requirement, but cementitious grout can absorb moisture and stain, so check the grout manufacturer’s instructions [4].
Do I have to turn the power off?
Yes. Shut off the circuit, confirm it with a circuit tester, and then remove the outlet and switch covers [3].
Want more comparisons and buying guides?