⚠️ This page connects you to Atovia’s partners and affiliate markets. We may receive a commission from affiliate partners for activities made through these links. Discount offers may change at any time according to policy! Rest assured, there are no additional costs to you! We hope this saves you time in finding the right items!
You made a dish once, and it was fantastic. The next time, it fell flat, and you could not remember what you had done differently. Recipe development fixes that. It is a repeatable process for turning an idea into a dish that works the same way every time, for any cook.
A good recipe is one that has been tested so it gives consistent results no matter who makes it (University of Nevada, Reno Extension). This guide walks you through the full loop: research, draft, test, adjust, verify, and write.
- What Recipe Development Really Means
- Start With an Idea and a Clear Goal
- Research Existing Recipes First
- Draft the Recipe Before You Cook
- Run the First Test and Record Everything
- Comparison: Draft-First vs. Record-While-Cooking
- Change One Variable at a Time
- Review Results and Plan the Next Round
- Taste Panel and Cross-Testing
- Check Doneness and Food Safety
- Write the Recipe So Anyone Can Follow It
- Testing Checklist Before You Call It Done
- Common Mistakes That Derail Testing
- FAQ
- Conclusion and Next Steps
- Look at similar recipes first so you know what is standard and what will make yours different.
- Change one thing per test so you can tell what caused a better or worse result.
- Record the amounts you actually used, not just what you planned to use.
- Check doneness with a food thermometer instead of relying on time or appearance.
- Have someone else cook from your written recipe before you call it finished.
What Recipe Development Really Means
Recipe development is the work of turning an idea into a written recipe that other people can follow and get the same dish. It is not just inventing something tasty. It is testing, adjusting, and writing down what happens until the result is dependable.
This guide is for home cooks who want to create their own dishes, adapt a family favorite, or write recipes for a blog or a personal cookbook. By the end, your finished recipe should deliver the same flavor and texture whether you or a friend is at the stove.
Start With an Idea and a Clear Goal
A good place to start is whatever you already feel pulled toward: a craving, a seasonal ingredient you want to use up, or a classic dish you would like to adapt. Ideas do not need to be original at this stage. They just need to be specific enough to cook.
Next, write a one-sentence goal that covers flavor, texture, and occasion. This is a helpful habit because it gives every later decision something to measure against.
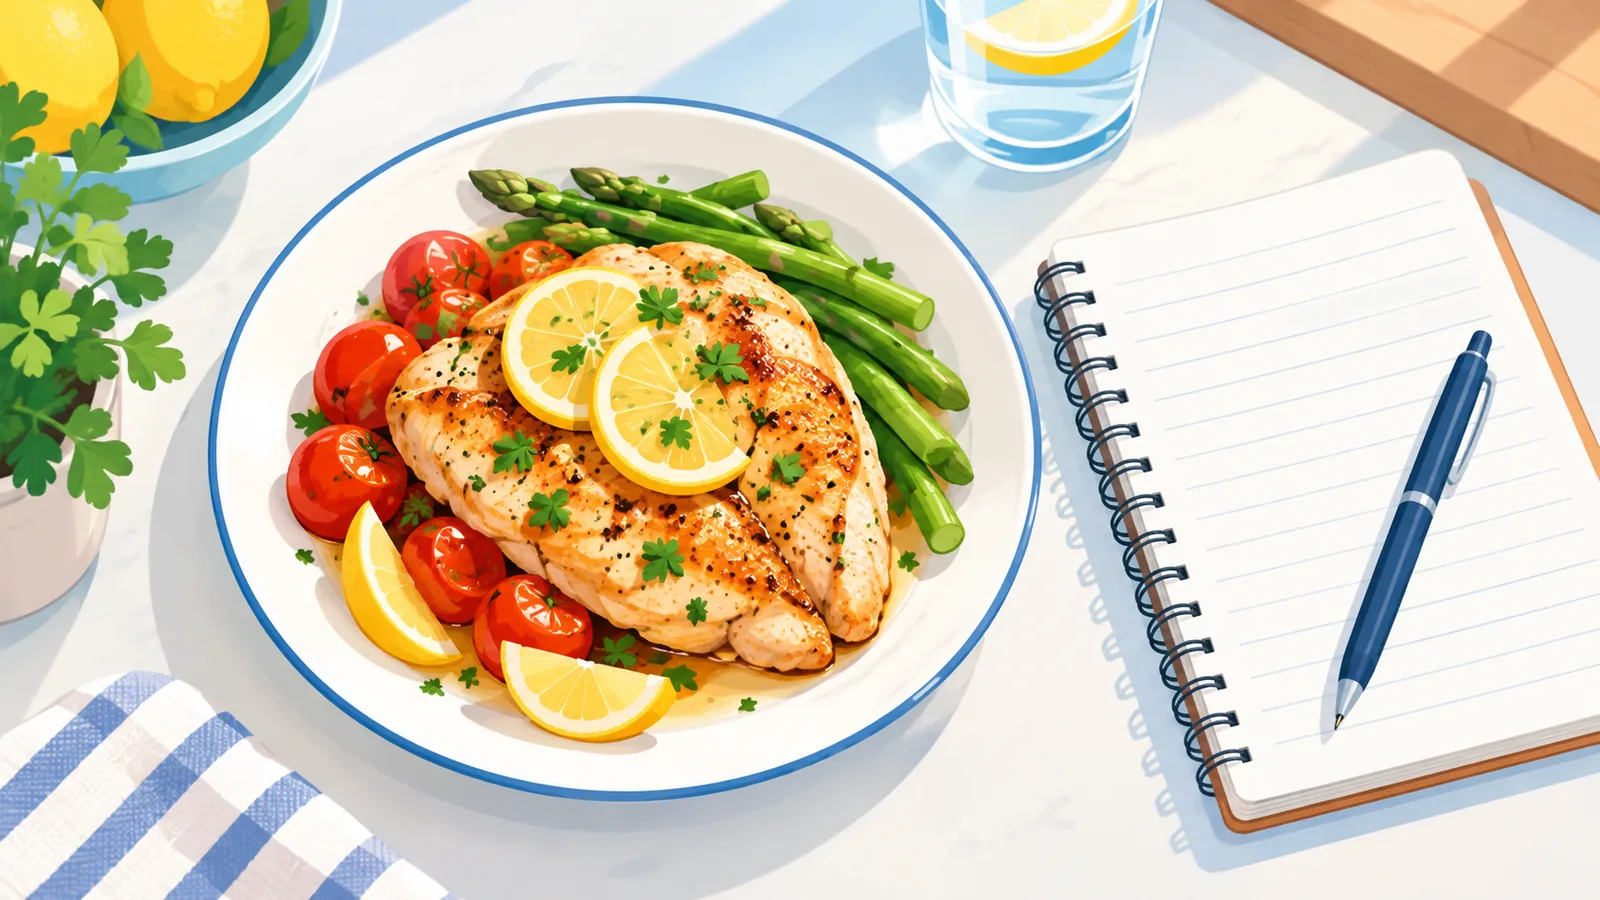
- Vague idea: “Something with chicken and lemon.”
- Clear goal (example): “A weeknight lemon chicken dish with crisp edges, a bright pan sauce, and a short ingredient list.”
Research Existing Recipes First
Before you cook, read several recipes for dishes similar to yours. Professional test kitchens do this to spot the ratios and methods the recipes have in common, and then decide what will make the new version different (Bon Appétit).
Keep a short list of what you find:
- Which ingredients and proportions show up in nearly every version?
- Which cooking method do most recipes use?
- What is the one thing you want to do differently?
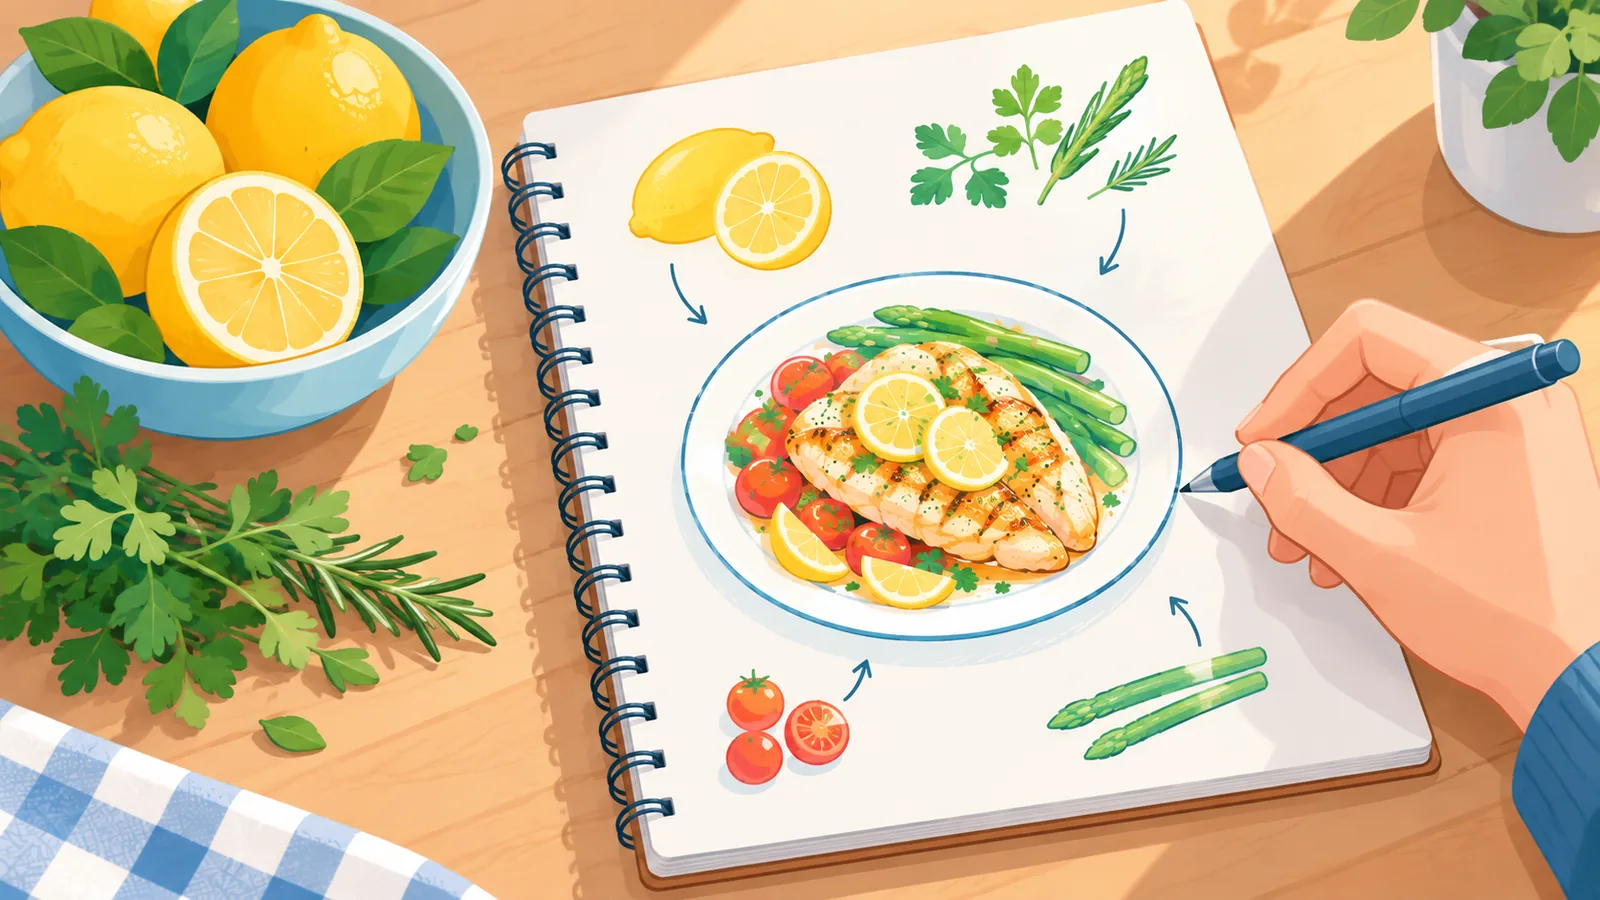
Also think about how your main ingredient behaves. The characteristics of an ingredient influence which cooking method suits it best, such as roasting versus braising (Chatham University CRAFT).
Draft the Recipe Before You Cook
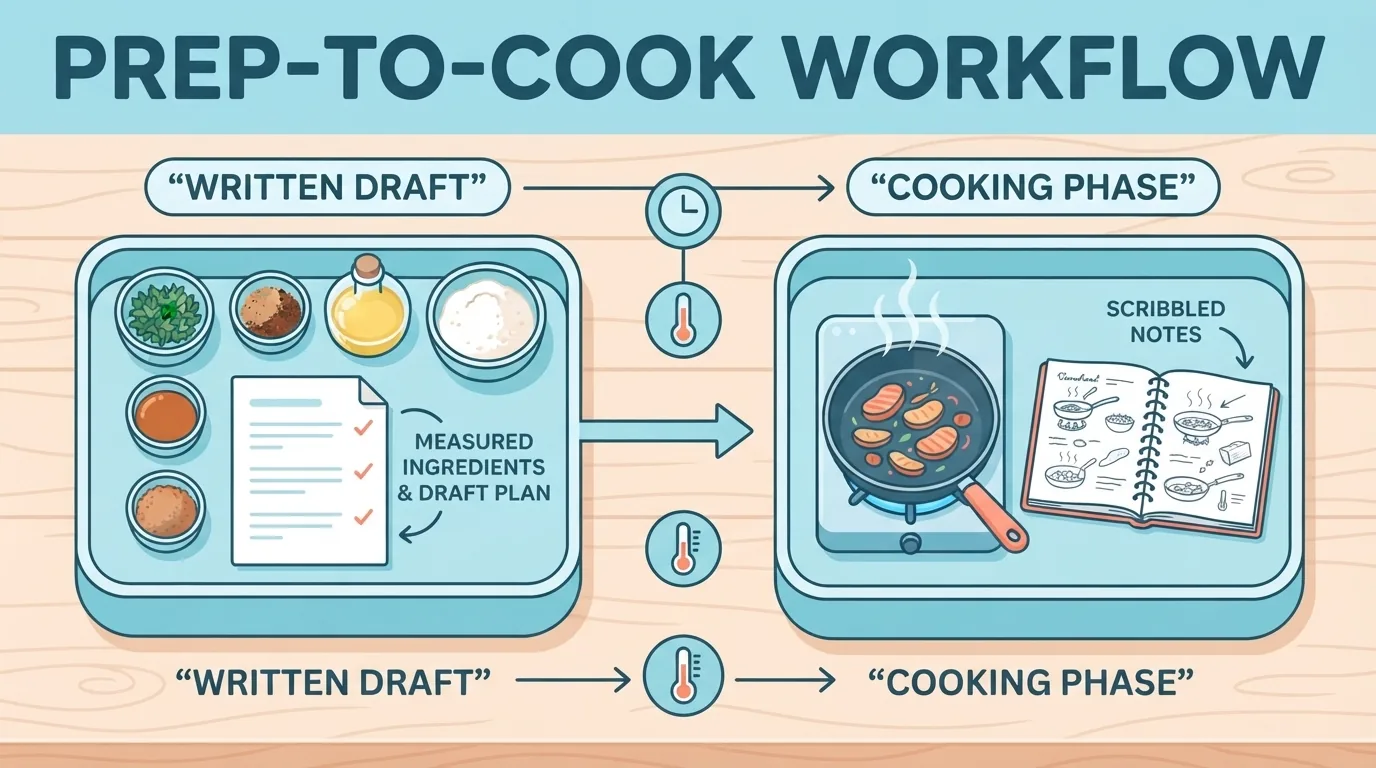
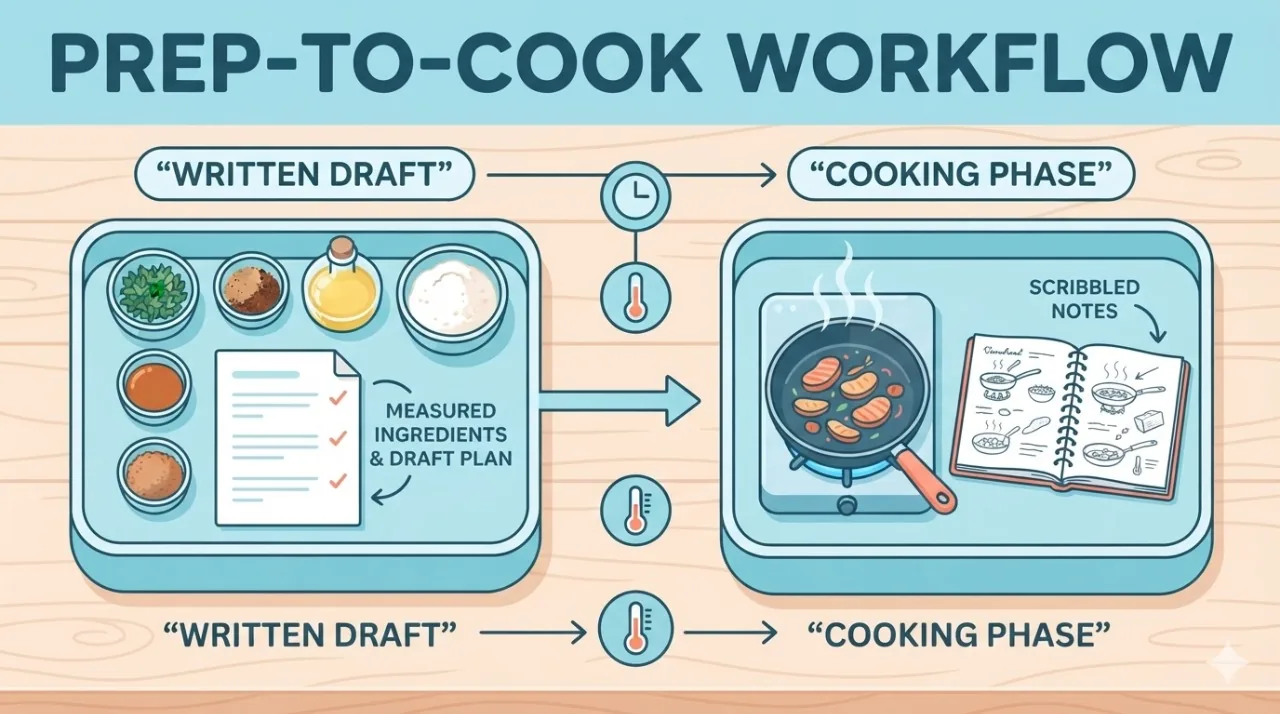
There are two common ways to begin. You can write a draft with ingredient amounts and instructions before you cook, or you can record the ingredients, amounts, and key actions as you go (Bon Appétit).
If you draft first, write down these items before the first test:
- Your one-sentence goal
- A rough ingredient list with amounts
- The cooking method and the main steps in order
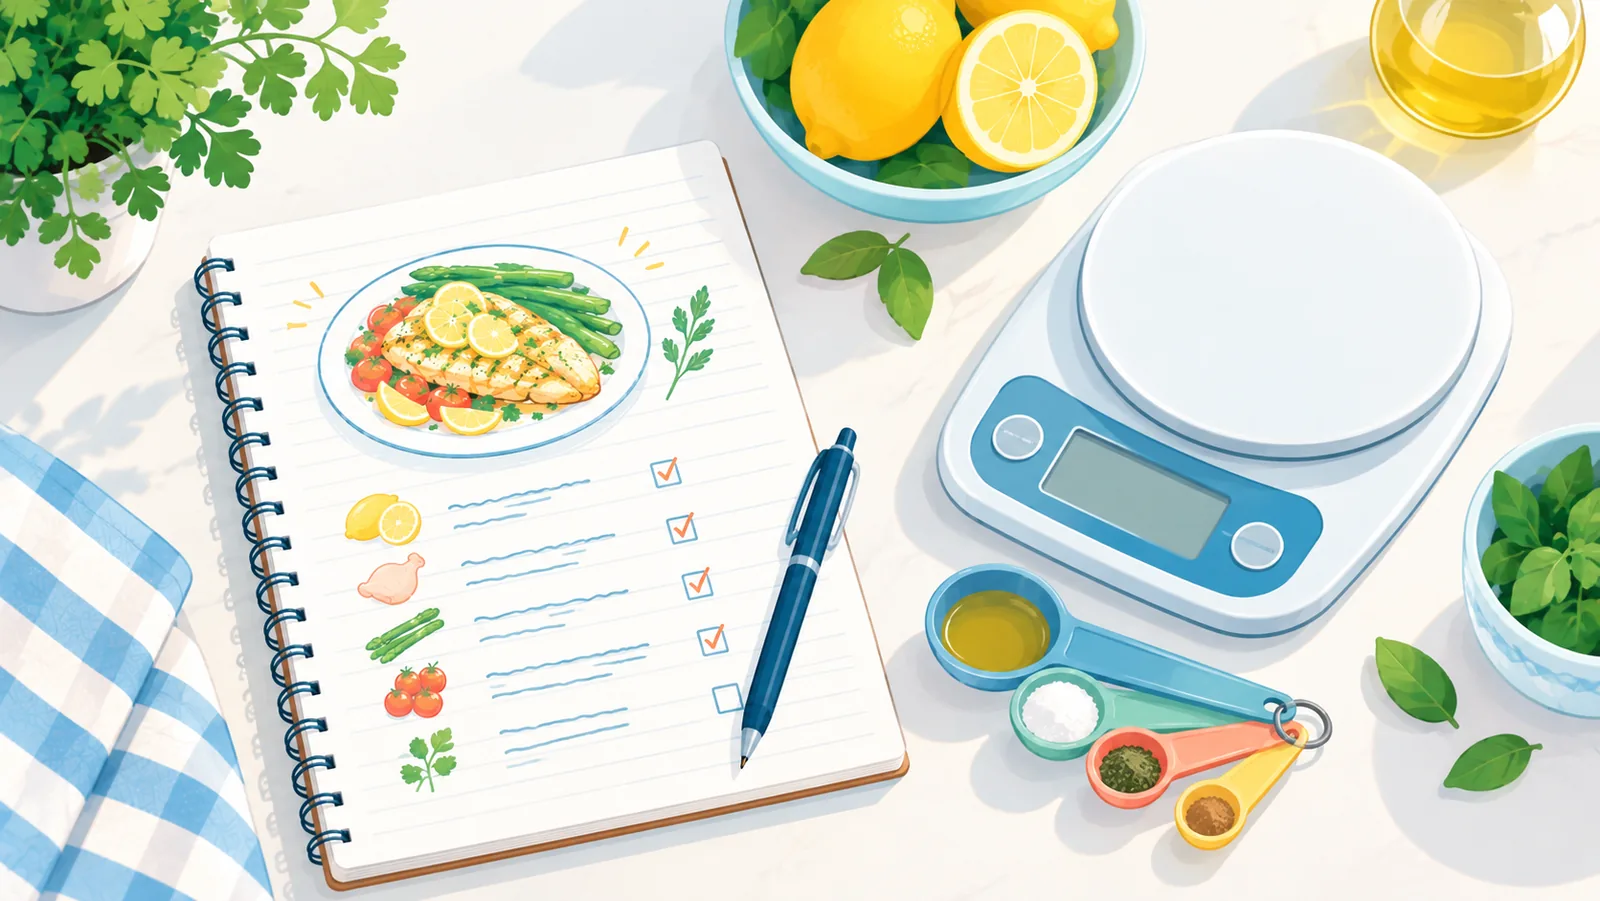
- The equipment you expect to need, such as a scale and a notebook

Run the First Test and Record Everything
Amounts and steps often shift once you are actually cooking. Notes or photos of what you really used and how the dish looked at each stage make it much easier to reproduce later (Bon Appétit; Chatham University CRAFT).
Photos help, but they do not replace recorded amounts, temperatures, and doneness cues. Write those down too.
Hypothetical example test log (illustrative values only):
- Test 1: Planned 2 tablespoons lemon juice; used 3 because the sauce tasted flat.
- Method note: Browned the chicken first, then finished it in the oven.
- Result: Sauce was bright but thin. Skin was not as crisp as the goal.
- Next change: Pat the chicken drier before browning. Change nothing else.
Comparison: Draft-First vs. Record-While-Cooking
Both approaches are used in test kitchens (Bon Appétit). The table below shows tendencies, not fixed rules, so use it as a guide for choosing.
| Factor | Draft-First | Record-While-Cooking |
|---|---|---|
| Speed to start | Often slower, since you write before you cook | Often faster to begin cooking |
| Accuracy of amounts | May drift if you do not update the draft after cooking | Tends to capture what you really used |
| Best for | Dishes with a clear plan, or when adapting an existing recipe | Improvised or exploratory dishes |
| Risks | The draft can differ from what you actually did | You may forget to note a step if you are busy |
| When to choose | You know the method and want a structured first test | You are exploring flavors and want to cook by feel |
Change One Variable at a Time
When you change only one thing per round, it is much easier to trace the cause if the result gets worse. This is especially useful in baking (Bon Appétit).
Example (illustration only): in one round, adjust only the salt. In the next, adjust only the oven temperature. If you change both at once, you will not know which one made the difference.

🛒 Recommended Product
Be careful with substitutions. A substitute ingredient may not behave like the original, particularly in baking, where ingredient ratios affect the result. Treat any swap as its own test.
Review Results and Plan the Next Round
After each test, read your notes and compare the result with your goal sentence. Then decide on the next revision. Research on gluten-free baked goods followed this same pattern: preliminary results and records were reviewed to decide what to change, and then a testing procedure was set (Utah State University Extension).
There is no universal number of tests that every recipe needs. It depends on the dish and on what you want it to be.
Taste Panel and Cross-Testing
Your own palate can mislead you after several rounds. Ask a few people to taste the dish and tell you what they notice. Professional test kitchens use tasting, cross-testing, and editing as part of their process (Bon Appétit).
At home, a practical version is to hand your written draft to a friend or family member and let them cook from it without your help. This fits the principle that a tested recipe should work no matter who cooks it (University of Nevada, Reno Extension). Watch where they hesitate. Those are the places where your instructions need work.
Check Doneness and Food Safety
Food safety is separate from recipe development, and it should be part of every test. Do not judge safety by cooking time or appearance. Use a food thermometer to check the internal temperature of foods such as meat (FoodSafety.gov).
Check the FoodSafety.gov chart for the minimum temperature for each food. Keep in mind that this is a U.S. source, so confirm the guidelines that apply where you live.
Write the Recipe So Anyone Can Follow It
Once the dish is reliable, write it up clearly. Following the guidance from University of Nevada, Reno Extension, include these elements:
- Ingredient list: the amount, whether it is fresh, frozen, or canned, and its form, such as chopped or sliced.
- Basics: yield, serving size, prep and cook times, equipment, and cooking temperature.
- Steps: short, in logical order, with times, temperatures, and cues that show when the food is done.
Use the amounts you recorded during testing, not your original plan.
Testing Checklist Before You Call It Done
- I wrote a one-sentence goal for flavor, texture, and occasion.
- I reviewed similar recipes and know what makes mine different.
- I recorded the amounts I actually used.
- I changed only one variable per round.
- I asked other people to taste it.
- I verified the internal temperature with a food thermometer.
- I proofread the steps, and someone else could follow them.
Ready to try it? Start a simple test log for your next dish. For a practical walkthrough of how a professional test kitchen approaches the process, read this guide.
Common Mistakes That Derail Testing
- Changing several things at once. You will not know which change helped or hurt.
- Not recording amounts. If you cannot remember what you used, you cannot repeat it.
- Vague ingredient descriptions. “1 cup tomatoes” could mean fresh, canned, chopped, or whole. Be specific.
- Trusting time or looks alone. Use a food thermometer, and treat photos as a supplement to notes, not a substitute.
- Assuming a substitute works the same. Test any swap separately, especially in baking.
FAQ
Where do I start with a new recipe idea?
Start with something you want to eat, such as a craving, a seasonal ingredient, or a dish you would like to adapt. Then write a one-sentence goal describing the flavor, texture, and occasion so you have a target.
Why look at existing recipes first?
Comparing similar recipes shows you the ratios and methods they share, so you start from a sensible base. It also helps you pinpoint what will make your version different (Bon Appétit).
How many tests do I need?
There is no set number. It depends on the dish and on how close each round gets you to your goal. Keep testing until the results are consistent and other cooks can reproduce them.

What should I record on the first attempt?
Record the ingredients and amounts you actually used, the key actions you took, and the state of the dish along the way. Notes or photos both help, but notes should carry the exact amounts and temperatures (Bon Appétit; Chatham University CRAFT).
How do I know a recipe is finished?
A recipe is ready when other people can follow it and get consistent results, and when you have confirmed doneness with a food thermometer rather than by time or appearance (University of Nevada, Reno Extension; FoodSafety.gov).
Conclusion and Next Steps
Recipe development is a loop: idea, research, draft, test, adjust, verify, and write. Each step makes the next one easier, and the notes you keep along the way become the recipe itself.
For your next dish, write a goal sentence, read a few similar recipes, and keep a simple log of what you actually do. Change one thing at a time, check doneness with a thermometer, and let someone else try your draft before you share it.
References
- University of Nevada, Reno Extension, “All About Recipes Part I”
- Bon Appétit, “How to Develop a Recipe Like a Test Kitchen Editor”
- Chatham University CRAFT, “The Recipe Development Process”
- Utah State University Extension, “Increasing Access to Acceptable and Affordable Gluten-Free Baked Goods”
- FoodSafety.gov, “Cook to a Safe Minimum Internal Temperature”
- Bon Appétit, “How We Develop Recipes in the Test Kitchen”
Want more comparisons and buying guides?