⚠️ This page connects you to Atovia’s partners and affiliate markets. We may receive a commission from affiliate partners for activities made through these links. Discount offers may change at any time according to policy! Rest assured, there are no additional costs to you! We hope this saves you time in finding the right items!
- 1. What Is a Mini 3D Printer and Who Is It For?
- 2. Unboxing and First-Time Setup
- 3. Bed Leveling Made Simple
- 4. Loading Filament and Choosing the Right Material
- 5. Slicing Software Setup and Your First Print
- 6. Daily Operation Tips for Consistent Results
- 7. Common Print Quality Problems and How to Fix Them
- 8. Hardware Troubleshooting Solutions
- 9. Maintenance Schedule to Keep Your Printer Running Smoothly
- 10. Upgrades and Accessories Worth Considering
Mini 3D printers have transformed the hobby space, putting powerful fabrication technology on desks, in classrooms, and on workshop benches across the country. Whether you just unboxed your first machine or you’ve been printing for a few months and want to level up your results, this complete user guide walks you through everything — from hardware assembly and bed leveling to filament selection, slicer settings, and fixing the print quality issues that frustrate nearly every beginner. Follow this guide from start to finish, or jump directly to the section that solves your most pressing problem right now.
- Mini 3D printers are compact FDM machines ideal for hobbyists, students, and makers with limited space or budget.
- Proper bed leveling is the single most important step for successful first-layer adhesion and overall print quality.
- PLA filament is the best starting material for beginners — it’s forgiving, widely available, and prints at lower temperatures.
- Most print quality issues (stringing, warping, layer shifting) have straightforward slicer or hardware fixes once diagnosed correctly.
- A regular maintenance routine dramatically extends your printer’s lifespan and keeps results consistent over time.
1. What Is a Mini 3D Printer and Who Is It For?
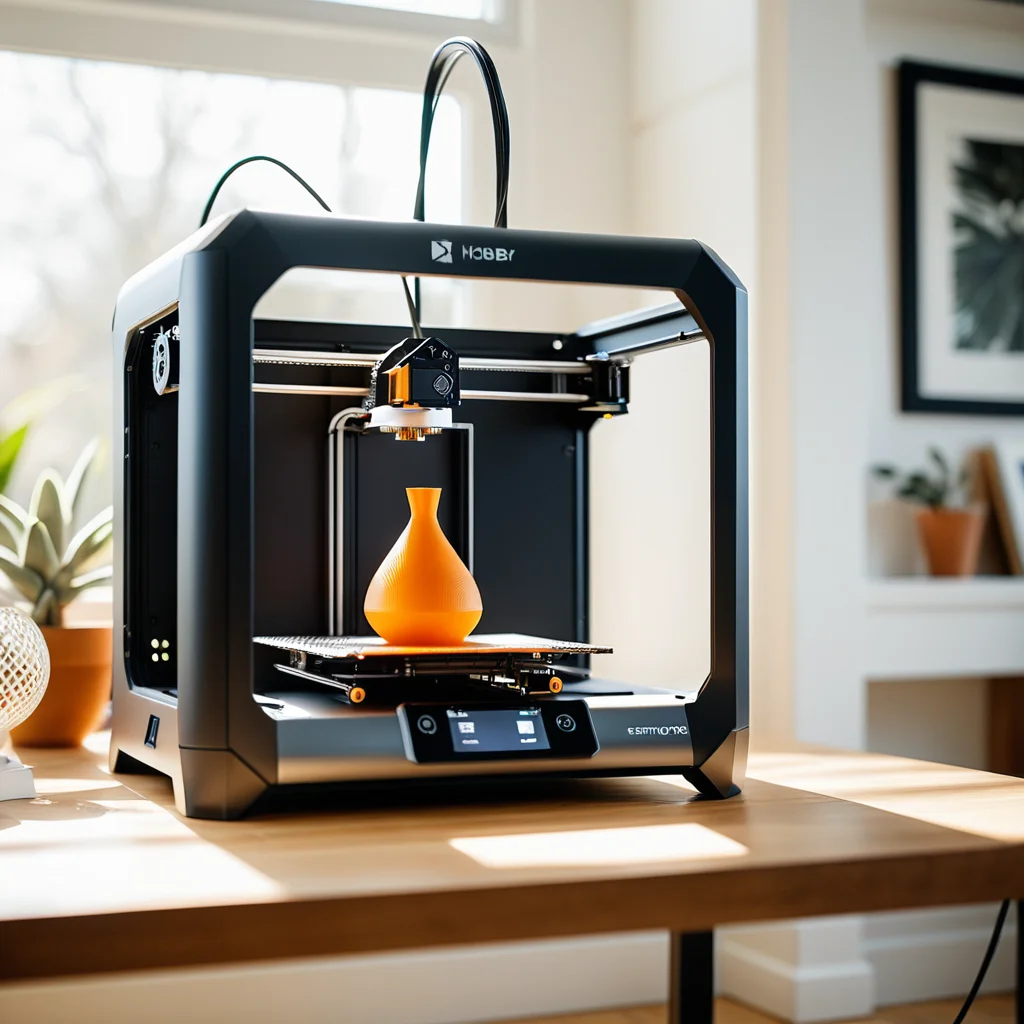
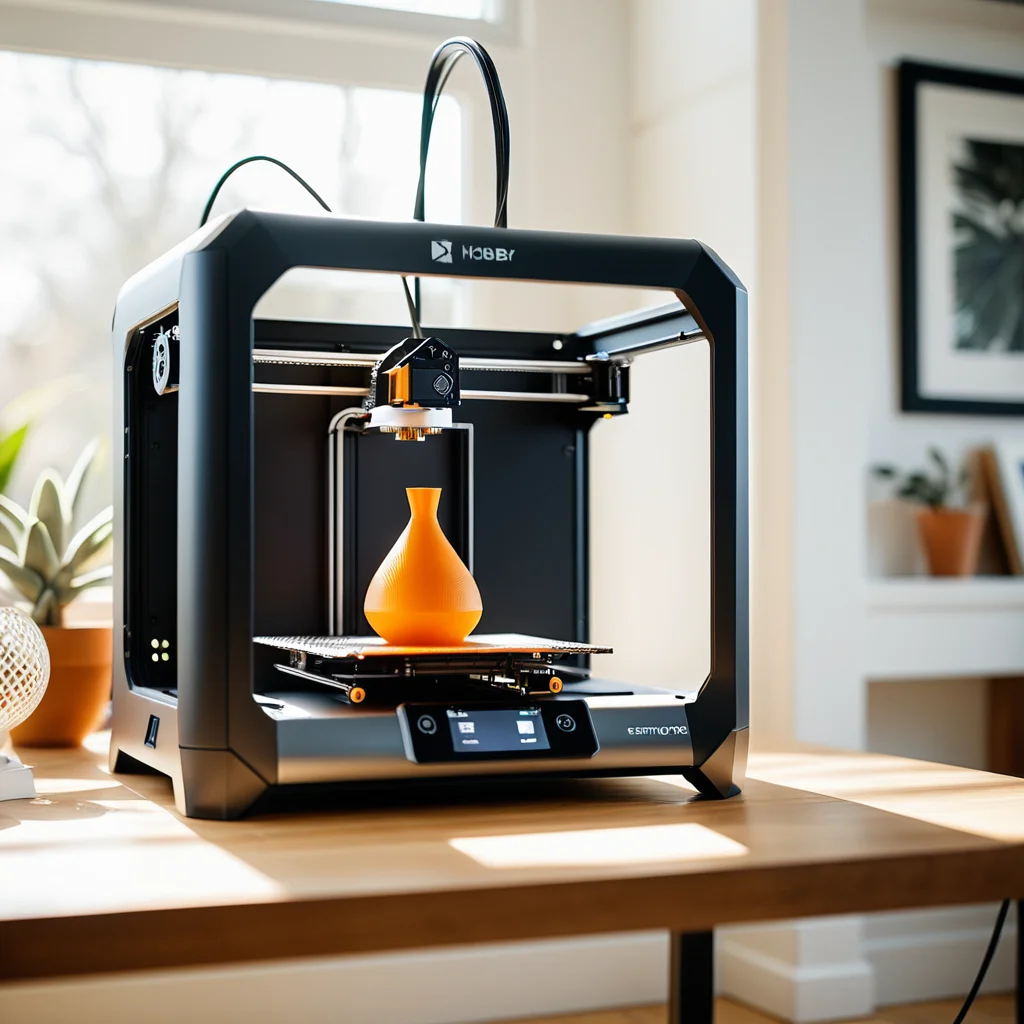
A mini 3D printer is a compact fused deposition modeling (FDM) machine with a build volume typically ranging from 120×120×120 mm up to about 220×220×250 mm. Unlike full-sized desktop printers, mini models are designed to fit on a standard desk, consume less power, and cost significantly less — usually between $150 and $400 for a quality entry-level unit. Popular examples include the Bambu Lab A1 Mini, Creality Ender-3 V3 SE, and Elegoo Neptune 3 Pro.
Mini 3D printers are an excellent fit for hobbyists who want to print figurines, replacement parts, custom enclosures, jewelry, miniature terrain, and decorative objects. They’re also popular with students learning CAD and prototyping, educators running maker labs, and parents introducing kids to engineering concepts. The smaller footprint and simplified operation make them far less intimidating than larger prosumer machines, while still delivering impressive print quality when set up correctly.
| Feature | Mini 3D Printer | Full-Size 3D Printer |
|---|---|---|
| Typical Build Volume | 120–220 mm per axis | 300–500 mm per axis |
| Average Price Range | $150 – $400 | $400 – $1,500+ |
| Desk Footprint | Compact, 30–40 cm wide | Large, 50–70 cm wide |
| Setup Complexity | Low to moderate | Moderate to high |
| Best For | Beginners, hobbyists, students | Professionals, large-scale projects |
| Noise Level | Generally quieter | Louder, especially on older models |
2. Unboxing and First-Time Setup

Before your first print, take time to unbox and assemble your printer carefully. Most mini 3D printers ship either fully assembled or requiring only a handful of steps — typically attaching the gantry frame, connecting a few cables, and installing the print bed. Here’s how to approach it systematically.
Step 1 — Inventory the box. Lay out every component on a clean surface. Check your model’s quick-start guide against the included parts list. Common items include the printer frame, print bed, spool holder, power cable, USB drive or SD card with test files, a set of Allen wrenches, spare nozzle, and a small spatula for removing prints.
Step 2 — Assemble the frame. If your model ships in two parts (base and vertical gantry), align the bracket holes and secure with the provided bolts. Do not over-tighten — snug is sufficient. Refer to the diagram in your manual for cable routing before cinching anything down.
Step 3 — Connect all cables. Match each cable’s label to its corresponding port. Typical connections include the stepper motor cables (X, Y, Z, and extruder), heated bed cable, hotend thermistor, part-cooling fan, and the main ribbon or harness. Loose connections are a frequent cause of erratic first prints, so press each connector in firmly until it clicks or seats flush.
Step 4 — Install the filament spool holder. Mount the holder on top of or beside the printer per your model’s design, then thread the filament guide tube (Bowden tube) into place if applicable.
Step 5 — Power on and run the wizard. Most modern mini printers include an on-screen setup wizard that walks you through language selection, auto-homing, and a preliminary bed leveling routine. Follow it completely before attempting any manual adjustments.
3. Bed Leveling Made Simple
Bed leveling — or more precisely, bed tramming — is the process of ensuring your print surface is perfectly parallel to the path your nozzle travels. If the bed is even slightly uneven, your first layer will be too thick on one side and too thin on another, causing adhesion failures, warping, and poor print quality throughout the entire job. This is the step beginners most often rush, and most often regret skipping.
Manual bed leveling uses adjustment knobs or thumb screws under the four corners of the print bed. The classic method involves placing a sheet of standard printer paper between the nozzle and the bed, then adjusting each corner knob until you feel light resistance when sliding the paper — the nozzle should drag the paper slightly but not tear it. Repeat this process across all four corners and the center two or three times until the gap feels consistent everywhere.
Automatic bed leveling (ABL) uses a probe (BLTouch, CR Touch, or inductive sensor) to measure the bed surface at multiple points and generates a mesh that the printer uses to compensate for any unevenness during printing. Even with ABL, you still need to set the correct Z-offset — the precise distance between the probe trigger point and the nozzle tip. To calibrate Z-offset, navigate to your printer’s menu, select Live Adjust Z or Baby Step Z, and print a single-layer square while adjusting the offset until the layer appears slightly squished, glossy, and well-adhered without any gaps between lines.
Signs your bed leveling needs adjustment include: first layer lines that have visible gaps between them (too far), a nozzle that drags or gouges the surface (too close), prints that pop off easily before finishing, or a first layer that looks perfect on one side but rough on the other.
🛒 Recommended Product
4. Loading Filament and Choosing the Right Material
Choosing the right filament and loading it correctly are foundational skills that directly affect every print you make. The good news is that for most hobby applications, one material — PLA — covers the vast majority of use cases.
PLA (Polylactic Acid) is the recommended starting filament for nearly all beginners. It prints at 190–220°C, requires no heated bed (though 50–60°C helps with adhesion), produces minimal warping, has low odor, and is biodegradable. PLA is ideal for decorative objects, miniatures, low-stress mechanical parts, and educational projects.
PETG (Polyethylene Terephthalate Glycol) is a step up in durability and temperature resistance, printing at 230–250°C with a bed temperature of 70–85°C. It’s slightly more prone to stringing than PLA but produces parts that are tougher, more flexible, and more moisture resistant — great for functional parts like brackets, clips, and outdoor-use items.
TPU (Thermoplastic Polyurethane) is a flexible filament that prints at 220–240°C and produces rubber-like results. It’s excellent for phone cases, gaskets, wearables, and anything that needs to bend or compress. TPU requires a direct-drive extruder for best results, as Bowden setups struggle to push flexible material reliably.
| Filament Type | Print Temp | Bed Temp | Best Use Cases | Difficulty |
|---|---|---|---|---|
| PLA | 190–220°C | 50–60°C | Figurines, decorations, prototypes | Beginner |
| PETG | 230–250°C | 70–85°C | Functional parts, brackets, outdoor use | Intermediate |
| TPU | 220–240°C | 30–60°C | Flexible parts, cases, wearables | Intermediate |
| ABS | 230–250°C | 100–110°C | High-heat parts, automotive, enclosures | Advanced |
| ASA | 240–260°C | 90–110°C | UV-resistant outdoor parts | Advanced |
To load filament: Heat your nozzle to the target temperature for your chosen material, then navigate to the filament load option in your printer’s menu. Cut the end of the filament at a 45-degree angle, insert it into the extruder inlet, and push gently until the feeder gear grabs it and you see fresh filament extruding from the nozzle. Purge until the old color (if changing materials) is fully cleared.
Storage matters. Filament is hygroscopic — it absorbs moisture from the air, which causes popping, bubbling, and weak, brittle prints. Store opened spools in sealed bags or airtight containers with desiccant packets. If your filament has been sitting out for more than a few weeks in a humid environment, dry it in a food dehydrator or dedicated filament dryer at 45–50°C for 4–8 hours before printing.
5. Slicing Software Setup and Your First Print
A slicer is the software that translates your 3D model file (.STL or .3MF) into the layer-by-layer machine instructions (G-code) your printer executes. Getting your slicer configured correctly is just as important as the physical setup of the machine itself.
Recommended slicers for beginners: Bambu Studio (especially if you own a Bambu printer), Creality Print (optimized for Creality machines), and Ultimaker Cura (free, open-source, compatible with nearly every printer brand) are the three most popular choices. Prusa Slicer is another excellent free option with strong community support. Download your preferred slicer from the official website, install it, and search for your exact printer model in the built-in profile list during setup — this pre-populates the correct bed dimensions, temperature defaults, and motion limits.
Key slicer settings to understand:
Layer height controls the vertical thickness of each printed layer. A value of 0.2 mm is the standard starting point — it balances print time and visual quality well. Use 0.1 mm for detailed models and 0.3 mm when speed matters more than surface finish.
Infill percentage determines how solid the interior of your print is. For decorative objects, 10–15% infill is sufficient. For functional parts that need strength, use 25–40%. Above 50% rarely adds meaningful strength and wastes filament significantly.
Print speed defaults around 50–60 mm/s for most beginner profiles. Slower speeds (30–40 mm/s) improve quality on detailed or small models. Faster speeds above 80 mm/s require a well-tuned machine and are not recommended until you’ve mastered basic settings.
Supports are auto-generated structures that hold up overhanging geometry during printing. Enable them when your model has overhangs greater than 45 degrees from vertical. Tree supports are generally easier to remove and waste less material than traditional linear supports.
For your first print, load the test file that came on your printer’s SD card or USB drive — typically a small animal figure or calibration cube. Slice it in your slicer at default settings, export the G-code to your SD card or send it via USB, select the file on your printer’s touch screen, and press print. Watch the first few layers closely. A good first layer looks slightly squished and shiny with lines that bond together seamlessly. If it looks right, you’re set — let it run and come back to a finished print.
6. Daily Operation Tips for Consistent Results
Once your printer is set up and you’ve had a few successful prints, developing consistent pre-print and post-print habits will save you hours of wasted filament and frustration. These are the routines experienced hobbyists use every session.
Before every print: Visually inspect the nozzle for leftover filament blobs or burns from the previous print — wipe them off with a folded dry cloth while the nozzle is warm. Check that your print bed is clean; fingerprints, grease, and dust all reduce adhesion. Wipe the bed surface with isopropyl alcohol (70% or higher) and a lint-free cloth. Confirm your filament is loaded correctly and the spool turns freely without binding. Check that all axis belts are snug — they should feel like a taut guitar string, not loose or overly stiff.
During printing: Watch the first 3–5 layers to confirm adhesion before walking away. Listen for unusual sounds — clicking from the extruder often signals a partial clog or filament tangle. Grinding sounds from the bed or gantry can indicate a loose belt or binding axis. If something sounds wrong in the first few minutes, it’s far better to pause and investigate than to let a bad print run for hours.
After printing: Let the bed cool to room temperature before removing your print — on PEI or textured magnetic beds, parts often pop off on their own when cooled. If a print is stuck, flex the bed slightly rather than prying, to avoid damaging the surface. Remove any skirt, brim, or support material with flush cutters, and lightly sand any rough layer lines if the part will be on display or needs to fit precisely.
Storage between sessions: Retract your filament partially back into the tube to reduce exposure and cover the spool. If your printer sits unused for more than a week, re-run the bed leveling check before the next session, as thermal cycling can shift calibration slightly over time.
7. Common Print Quality Problems and How to Fix Them
Even well-tuned printers produce flawed prints occasionally. Knowing how to identify and fix the most common issues quickly is one of the most valuable skills a hobbyist can develop. Here are the issues you’ll encounter most often and exactly how to address them.
Stringing appears as thin wisps of filament stretched between parts of the model, resembling spider webs. It’s caused by the extruder leaking molten plastic while moving across open air. Fix it by increasing retraction distance (try 4–7 mm for Bowden setups, 1–3 mm for direct drive), increasing retraction speed (40–60 mm/s), raising travel speed, and slightly lowering print temperature by 5°C increments until stringing disappears without causing under-extrusion.
Warping occurs when corners of a print lift off the bed during printing, often ruining the entire job. It’s caused by thermal contraction as the print cools unevenly. Fix it by ensuring the bed is at the correct temperature for your filament, cleaning the bed surface thoroughly with IPA, adding a brim (4–8 mm wide) in your slicer settings to increase first-layer adhesion area, and placing the printer away from fans, open windows, or air conditioning vents. An enclosure — even a simple cardboard box around the printer — dramatically reduces warping for ABS and ASA.
Layer shifting appears as a sudden horizontal misalignment in the print, as if one section slid sideways relative to the rest. It indicates that a stepper motor skipped steps. Common causes include belts that are too loose or too tight, print speeds that are too high, a nozzle that collides with a warped print edge, or a stepper driver that is overheating. Check and tension your X and Y belts, reduce print speed by 20%, and ensure your printer has adequate ventilation around the electronics board.
Under-extrusion shows up as gaps between lines, a rough or porous surface texture, and weak layer bonding. It means the printer isn’t pushing enough filament through. Causes include a partial clog, a loose extruder gear set screw, printing too fast for the hotend to melt filament quickly enough, or filament that has absorbed moisture. Perform a cold pull to clear partial clogs, tighten the extruder gear grub screw, increase print temperature by 5°C, reduce print speed, and dry your filament if it sounds wet or bubbly during extrusion.
Poor first layer adhesion where prints slide around or simply don’t stick to the bed is almost always a bed leveling issue. Re-level your bed, clean the surface with IPA, check that your Z-offset puts the nozzle close enough for the first layer to squish slightly, and confirm your bed temperature is correct for your filament. Glue stick or hairspray can be applied to glass beds for extra grip with particularly stubborn materials.
Overheating and drooping on small prints happens when the hotend deposits molten plastic faster than it can cool and solidify on small cross-section layers. Fix it by enabling Minimum Layer Time in your slicer (set to 8–12 seconds), increasing part-cooling fan speed to 100%, and printing multiple copies of the object simultaneously so each layer has more time to cool before the next is deposited.
8. Hardware Troubleshooting Solutions
Beyond print quality issues, you’ll occasionally encounter hardware-level problems. Here’s how to diagnose and resolve the most common ones without needing professional service.
Clogged nozzle is one of the most frequent hardware issues. Symptoms include no filament extruding, very thin or inconsistent extrusion, or a clicking extruder motor. Start with a cold pull: heat the nozzle to print temperature, push filament through manually, then cool to around 90°C and pull the filament out sharply — this often pulls debris out with it. If that fails, heat the nozzle and push a 0.4 mm acupuncture needle or a dedicated nozzle cleaning needle through the tip to dislodge the blockage. As a last resort, replace the nozzle — they are inexpensive consumables and should be changed every 3–6 months with regular PLA use.
Extruder clicking or skipping while printing indicates the motor is attempting to push filament but meeting excessive resistance. This is caused by a partial clog, a nozzle temperature that is too low for the filament, a Bowden tube with a gap at the hotend connection, or a feeder gear that is too loose. Check each cause in order: increase temperature by 5°C, inspect the Bowden tube fitting, clean or replace the feeder gear, and clear any clog as described above.
Bed not heating is usually caused by a disconnected or broken heated bed thermistor cable, a faulty MOSFET on the control board, or incorrect temperature settings. Check all cable connections at the bed and board. If the bed reports an error temperature (typically 0°C or 999°C on screen), the thermistor has likely failed and needs replacement.
Motors not moving or moving erratically can indicate a loose stepper motor cable, a failed stepper driver chip, or incorrect firmware settings. Re-seat all motor cable connectors, then test each axis individually through the printer’s Move menu. If one axis is completely unresponsive, swap motor cables between axes temporarily to determine whether the problem is in the motor or the driver board.
Display errors and firmware issues can often be resolved by downloading the latest firmware from your printer manufacturer’s official website and flashing it via SD card. Back up any custom settings or calibration data first. If the touchscreen is unresponsive but the printer operates correctly, recalibrate the touchscreen through the settings menu or reflash the firmware.
Connectivity problems when printing over USB or Wi-Fi are common. Ensure you’re using a data-capable USB cable (not a charge-only cable). For Wi-Fi-enabled printers, confirm the printer and computer are on the same network band (2.4 GHz vs 5 GHz). When in doubt, printing from an SD card is always the most reliable method and is recommended for important jobs.
9. Maintenance Schedule to Keep Your Printer Running Smoothly
Consistent, proactive maintenance prevents the majority of hardware failures and print quality degradation that hobbyists experience. Most maintenance tasks take only a few minutes and pay dividends in reliable performance over months and years of printing.
After every print session: Wipe the nozzle with a dry cloth while warm to remove carbonized filament residue. Clean the print bed surface with isopropyl alcohol. Visually inspect the Bowden tube or extruder for filament shavings, which indicate excessive friction or a partial grind.
Weekly (or every 20–30 hours of printing): Inspect and lightly tension X, Y, and Z-axis belts. Check all visible screws for looseness — vibration gradually loosens hardware over time. Clean the lead screw (Z-axis threaded rod) by wiping off old grease with a clean cloth, then re-apply a thin coat of PTFE-based lubricant or dedicated Z-screw grease. Inspect the Bowden tube for cracks, discoloration, or narrowing at the hotend connection — a degraded PTFE tube is a common source of clogs and poor print quality.
Monthly (or every 100 hours of printing): Lubricate the linear rods and rails with a light machine oil or PTFE lubricant — run each axis through its full range of motion after applying. Check the hotend fan and part-cooling fan blades for filament debris that can reduce airflow. Inspect all wiring harnesses for wear, fraying, or spots where cables rub against moving parts. Re-run a full bed leveling calibration.
Every 3–6 months: Replace the nozzle, especially if you notice any difficulty achieving fine surface detail or print temperatures needed to maintain quality have gradually increased. Inspect and if necessary replace the Bowden tube. Check and re-tighten the extruder drive gear grub screw. If your printer uses a Capricorn PTFE-lined hotend, inspect the liner for discoloration and replace if it has turned brown or shows signs of deformation.
10. Upgrades and Accessories Worth Considering
Once you’ve mastered the basics, a few well-chosen upgrades can meaningfully expand your printer’s capabilities, improve reliability, and make your printing sessions more enjoyable. Here are the upgrades that offer the best return for hobbyist users.
PEI spring steel magnetic print bed is arguably the single best upgrade for most mini 3D printers that ship with a plain glass or sticker bed. PEI surfaces provide excellent adhesion when hot and release prints cleanly when cooled, often without any tools or force. The magnetic flex plate system makes print removal effortless. Cost: $15–35.
Glass bed with PEI coating offers a flatter printing surface than the spring steel sheets and is particularly useful if your stock bed has warps or dips that ABL can’t fully compensate for. Cost: $10–25.
Enclosure is essential if you want to print ABS, ASA, Nylon, or other warp-prone materials. Even a basic enclosure keeps ambient temperature consistent, dramatically reducing failures. Commercial options from brands like Creality or Sovol run $40–100, or you can build one from an IKEA Lack table stack for under $30 in materials. Enclosures also reduce noise and contain fumes, which is beneficial in small workspaces.
Filament runout sensor pauses the print automatically when your filament spool runs out, allowing you to reload and resume rather than returning to a half-printed, ruined job. Many modern mini printers include this, but if yours doesn’t, retrofit kits are available for $10–20.
Upgraded Capricorn PTFE Bowden tube has a tighter inner diameter tolerance than generic tubes, reducing filament path slop and improving retraction performance, especially for flexible filaments. Cost: $8–15 for a full-length replacement kit.
Raspberry Pi with OctoPrint turns your printer into a networked device you can monitor and control remotely via a web browser, including a live webcam feed of your prints. It also enables more sophisticated macros, plugins for auto-shutdown, and detailed print statistics. Cost: $35–60 for a Raspberry Pi 4 plus case and SD card.
Direct drive extruder conversion is a more involved upgrade that replaces the Bowden tube setup on many budget printers with a direct drive system where the extruder motor sits directly on the print head. This dramatically improves performance with flexible filaments and improves retraction on all materials. Cost: $30–80 depending on the kit and your printer model.
Ready to start printing? Browse the top-rated mini 3D printers, filaments, and upgrades trusted by hobbyists and makers worldwide.