⚠️ This page connects you to Atovia’s partners and affiliate markets. We may receive a commission from affiliate partners for activities made through these links. Discount offers may change at any time according to policy! Rest assured, there are no additional costs to you! We hope this saves you time in finding the right items!
- 1. What Is Diamond Painting and Why Shop at Hobby Lobby?
- 2. How to Find and Choose a Kit at Hobby Lobby
- 3. Essential Supplies Available at Hobby Lobby
- 4. Setting Up Your Diamond Painting Workspace
- 5. Step-by-Step Diamond Painting Instructions
- 6. Beginner Tips for Getting the Best Results
- 7. How to Finish, Seal, and Display Your Artwork
- Hobby Lobby carries beginner-friendly diamond painting kits in-store and online, often discountable with their weekly 40% off coupon.
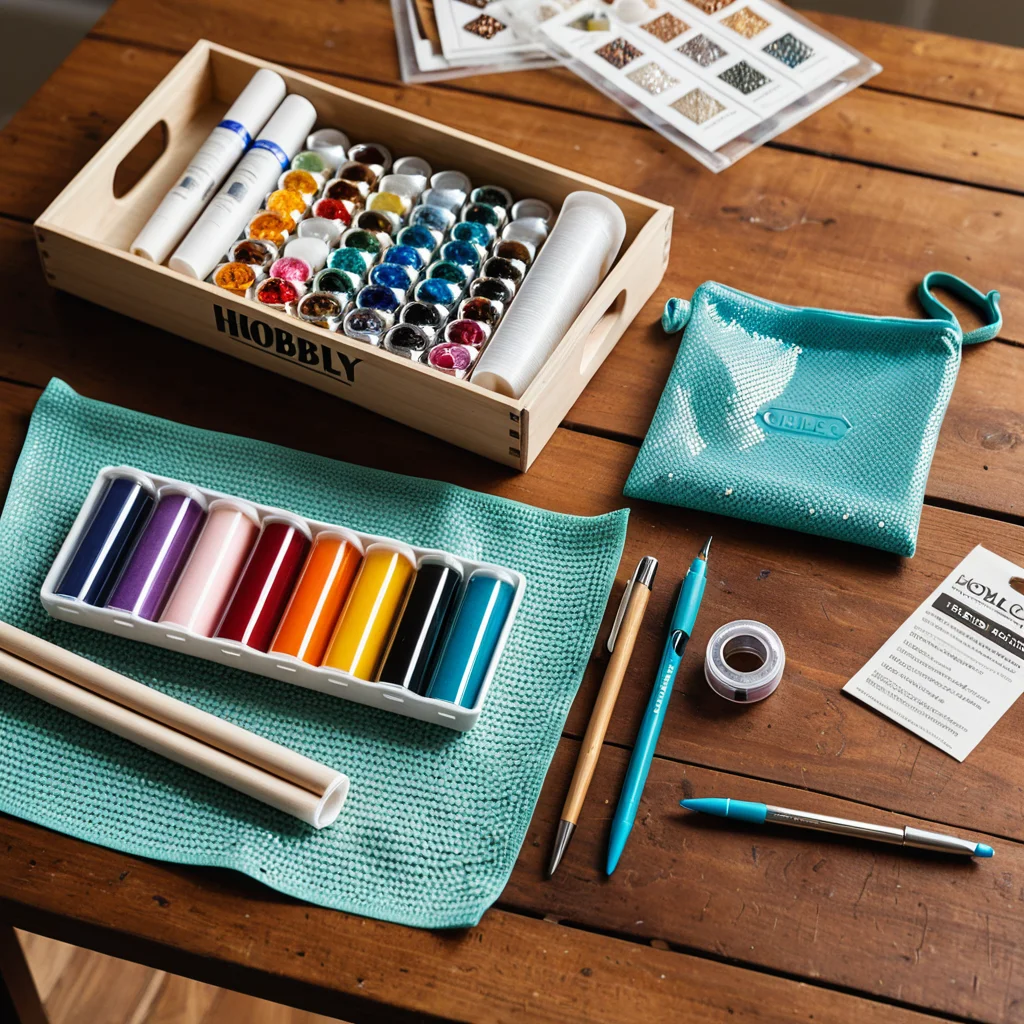
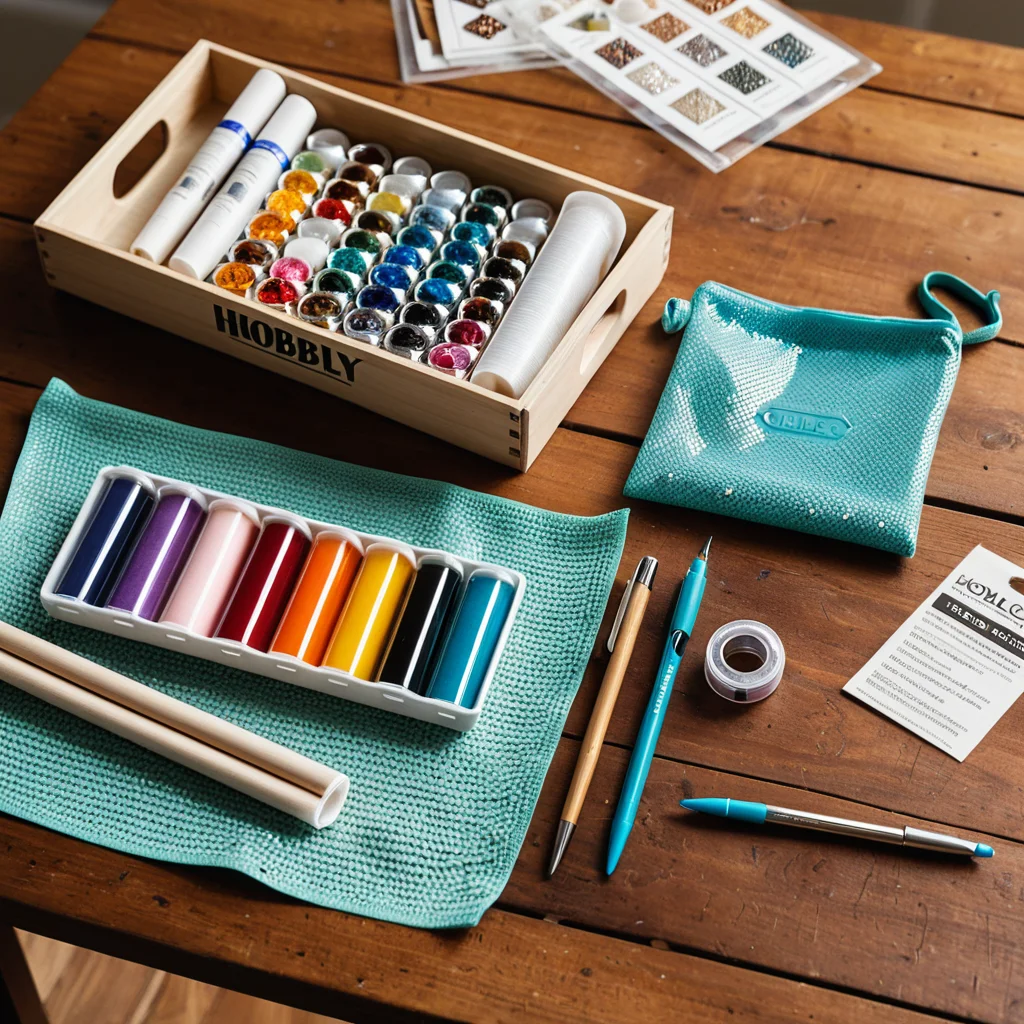
- Every kit includes a pre-printed adhesive canvas, resin drills, a stylus pen, wax pad, and a sorting tray — everything you need to begin.
- Round drills are easiest for beginners; square drills offer fuller coverage but require more precision.
- Keeping the protective film on unused canvas sections prevents dust from ruining the adhesive surface.

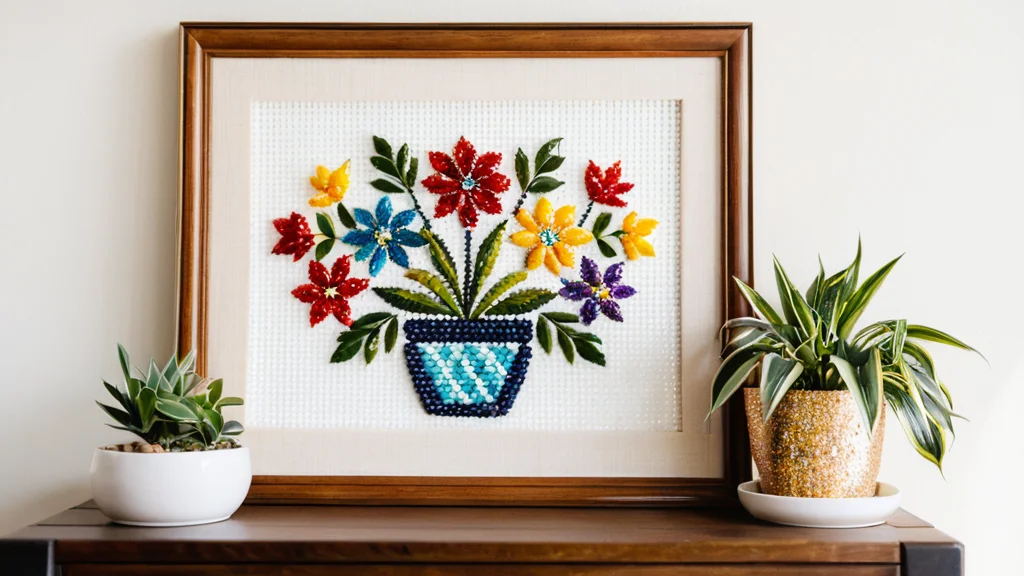
- Sealing your finished piece with a brush-on or spray sealer locks drills in place and prepares it for framing or display.
1. What Is Diamond Painting and Why Shop at Hobby Lobby?
Diamond painting is a relaxing craft that involves pressing tiny faceted resin gems — called drills — onto a color-coded, pre-printed adhesive canvas to build up a sparkling mosaic image. The process is satisfying at every level: beginners enjoy the meditative repetition, while experienced crafters appreciate the detail and shimmer of a completed large-scale piece.
Hobby Lobby is one of the best retail destinations for diamond painting supplies in the United States. Their craft aisles carry a rotating selection of kits in a wide range of sizes, themes, and difficulty levels. Beyond kits, they stock individual accessories — light pads, multi-tip pens, organizers, sealers, and frames — so you can upgrade your setup without ordering online. Add in their well-known weekly coupon offering 40% off one regularly priced item, and Hobby Lobby becomes one of the most cost-effective places to start or expand this hobby.
Whether you are picking up your very first kit or looking to upgrade your tools, Hobby Lobby’s hobby section makes it easy to find everything you need under one roof.
2. How to Find and Choose a Kit at Hobby Lobby
Diamond painting kits at Hobby Lobby are typically located in the needle art or general crafts aisle, sometimes near cross-stitch and embroidery supplies. If you are unsure where to look, ask a team member or check the store’s aisle directory at the entrance. Their website also lets you browse current inventory and check in-store availability before you make the trip.
When choosing your first kit, consider three factors: drill type, canvas size, and image complexity.
Drill type — Hobby Lobby stocks both round-drill and square-drill kits. Round drills are slightly easier to pick up and place, making them the top recommendation for anyone new to the hobby. Square drills fit together with no gaps, creating a fuller, more tile-like finished appearance, but they demand more patience and alignment care.
Canvas size — Smaller canvases (roughly 12×16 inches) are ideal for a first project. They are completable in a few sittings, which means you get the satisfaction of a finished piece quickly. Large canvases and multi-panel designs look spectacular on a wall but can take weeks or months to complete.
Image complexity — Designs with large areas of a single color are easier and faster to complete than highly detailed portraits or landscapes with dozens of color codes. Choose an image with broad, distinct color sections for your first attempt.
| Consideration | Round Drill | Square Drill |
|---|---|---|
| Ease of placement | Very easy, forgiving | Requires more precision |
| Finished look | Small gaps between drills | Seamless, full coverage |
| Best for | Beginners | Intermediate to advanced |
| Speed | Faster to complete | Slower, more detailed |
| Hobby Lobby availability | Wide variety of designs | More limited selection |
3. Essential Supplies Available at Hobby Lobby
Every Hobby Lobby diamond painting kit is self-contained — you can open the box and start immediately. However, a handful of additional supplies, most of which Hobby Lobby carries, will make the experience noticeably more comfortable and efficient.
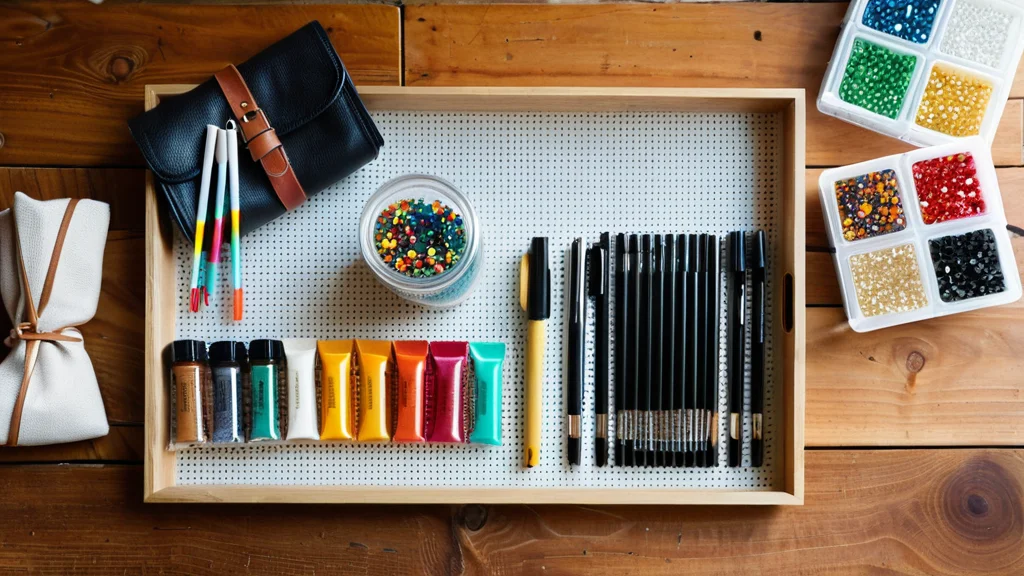
Included in every kit:
- Adhesive printed canvas with a symbol legend
- Labeled bags of resin drills in each required color
- Single-tip stylus applicator pen
- Wax or pink gel pad (used to load the pen tip)
- Ridged plastic sorting tray
Recommended add-ons from Hobby Lobby:

- Light pad — Placed under the canvas, it backlights the symbols and makes color codes far easier to read, especially in darker sections of an image.
- Multi-tip drill pen — Allows you to place 3, 5, or 9 drills simultaneously. This is a genuine time-saver for filling large single-color areas.
- Bead organizer or small containers with lids — Individual labeled containers for each diamond color prevent mixing and make it easy to pick up mid-session without losing your place.
- Tweezers — Useful for repositioning misplaced drills or lifting drills that have landed upside down on the canvas.
- Diamond painting sealer — A brush-on or spray sealer applied after completion locks every drill permanently and prepares the surface for framing.
- Masking tape or plastic cover sheets — Used to cover exposed sections of adhesive canvas you are not currently working on, protecting the stickiness from dust.
🛒 Recommended Product
4. Setting Up Your Diamond Painting Workspace
Taking five to ten minutes to prepare your workspace before you begin pays dividends throughout the project. Diamond painting sessions can run from half an hour to several hours, and a well-organized setup prevents frustration and mistakes.
Choose a stable, flat surface. A kitchen table or dedicated craft desk works well. Avoid soft or uneven surfaces where the canvas might shift while you press drills.
Set up your light source. If you have a light pad, place it flat on your table and plug it in before laying the canvas on top. Even without a light pad, working near a bright overhead light or a daylight-spectrum lamp reduces eye strain considerably.
Flatten the canvas before you begin. Hobby Lobby canvases arrive rolled and need to be flattened. Unroll the canvas face-up on your table, place heavy books at all four corners, and leave it for 24 to 48 hours. Starting on a canvas that still wants to curl makes the adhesive surface difficult to work on and can cause drills to lift at the edges.
Sort your diamonds first. Open one labeled bag at a time, pour the drills into a dedicated labeled container, seal it, then move on to the next color. This single habit prevents the aggravating problem of mixed colors, which are time-consuming to sort back out.
Keep the protective film on. The canvas surface is coated with a strong adhesive covered by a clear or slightly blue plastic film. Peel it back only a few inches at a time as you work through each section. Exposing the full canvas immediately invites dust, pet hair, and debris to settle on the sticky surface and weaken adhesion.
5. Step-by-Step Diamond Painting Instructions
Once your workspace is ready and your diamonds are sorted, the actual process of diamond painting follows a simple, satisfying rhythm. Follow these steps for a clean, well-aligned result.
Step 1 — Study the legend. Before placing a single drill, read through the canvas legend that matches each printed symbol to a color code (usually a DMC number corresponding to a labeled diamond bag). Getting familiar with the legend saves time once you are mid-session.
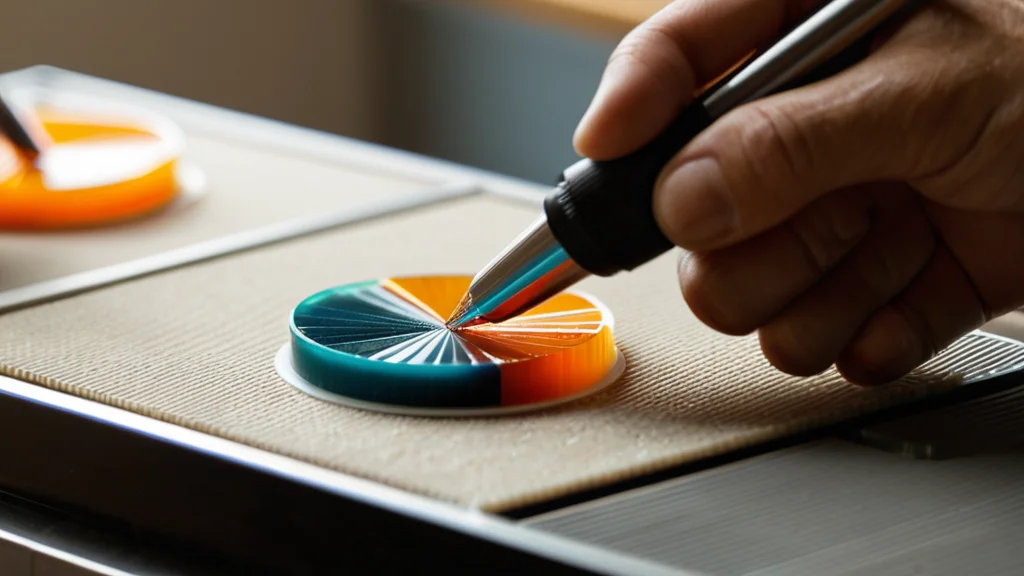
Step 2 — Load the stylus pen with wax. Press the hollow tip of your stylus pen firmly into the wax or gel pad. A thin coating of wax inside the tip creates just enough stickiness to lift one drill at a time. Reload every 20 to 30 picks, or whenever drills stop adhering cleanly to the tip.

Step 3 — Pour a small amount of one color into the sorting tray. Shake the tray gently from side to side. The ridged bottom causes drills to flip right-side up, making them easy to pick up with the pen tip.
Step 4 — Peel back a small section of the protective film. Expose only the area you plan to fill in the current session — roughly a few square inches to start.
Step 5 — Place drills one by one. Touch the wax-loaded tip to the flat top of a drill, lift it off the tray, and press it gently onto the matching symbol on the canvas. Firm, brief downward pressure is all that is needed. The adhesive grabs the drill immediately.
Step 6 — Complete one color across a section before switching. Rather than placing drills color by color across the whole canvas, work one color at a time within your current exposed area. This approach minimizes how often you swap out trays and re-identify symbols, which keeps the workflow smooth.
Step 7 — Press completed areas firmly. Once a section is fully filled, lay a piece of parchment paper over the drills and press firmly with a rolling pin, brayer, or the flat spine of a hardcover book. This embeds all drills evenly into the adhesive so none sit higher than their neighbors.
Step 8 — Re-cover exposed but unfinished canvas. If you need to stop mid-session, lay a piece of parchment paper or the original protective film back over any exposed adhesive to keep it clean until your next session.
6. Beginner Tips for Getting the Best Results
A few simple habits separate frustrating first experiences from genuinely enjoyable ones. These tips come from common mistakes beginners make in their first one or two projects.
Use the Hobby Lobby weekly coupon. Their app and website publish a new 40% off coupon each week that applies to one regularly priced item. Diamond painting kits qualify. A kit priced at $30 drops to $18 with the coupon — a meaningful saving if you plan to do several projects.
Check the clearance bins. Hobby Lobby stores often discount older or overstocked kits significantly. These clearance kits are fully complete and perfectly functional; the designs are simply older or less on-trend. They are an excellent low-cost way to practice before investing in a larger kit.
Work from the top of the canvas downward. This prevents your hand and arm from resting on already-placed drills as you fill in new sections, which can dislodge them before the adhesive has fully gripped.
Do not overload the pen with wax. Pressing too hard into the wax pad deposits too much wax on the tip, which causes multiple drills to stick together or leaves white residue on the canvas surface. A light press is sufficient.
Label everything. Every container of sorted diamonds should be labeled with its color code number before you open the next bag. Unlabeled containers lead to guessing which color is which — a surprisingly frustrating problem mid-project.
Take breaks when your eyes strain. Many diamond painting symbols look similar, and differentiating closely related colors requires sustained visual focus. If you start misreading symbols and placing wrong colors, a short break will cost far less time than fixing the errors afterward.
Do not panic over small gaps. For round-drill canvases especially, tiny gaps between drills are normal and will be nearly invisible once the canvas is sealed and framed. Resist the urge to re-press or reposition drills that are already properly seated.
7. How to Finish, Seal, and Display Your Artwork
Finishing your diamond painting properly protects your work and transforms it from a craft project into a piece of wall art worth displaying. The finishing process takes less than an hour and makes a significant difference in how long the piece lasts.
Final full-canvas press. Before applying any sealer, do one comprehensive press across the entire finished surface. Lay parchment paper over the canvas and roll firmly with a brayer or rolling pin from edge to edge. This final press ensures uniform adhesion and gives the surface an even, polished appearance.
Sealing the canvas. Hobby Lobby’s finishing supplies section carries diamond painting sealers in both brush-on and spray formulas. Brush-on sealers give you more control and tend to preserve the drills’ sparkle better. Spray sealers are faster but require slow, even passes to avoid a milky or uneven finish. Allow the sealer to dry completely — typically four to eight hours — before touching the surface or moving the canvas.
Framing at Hobby Lobby. Hobby Lobby’s custom framing department can frame your finished diamond painting to order. Because the resin drills add thickness to the canvas surface, standard glass should not sit directly against the drills. Request a mat or a spacer to keep the glass elevated above the drill surface. Hobby Lobby also sells pre-made frames in common sizes that work well with standard kit dimensions.
Stretching on canvas bars. For a frameless gallery-style display, Hobby Lobby sells wooden canvas stretcher bars that you can assemble to the dimensions of your finished canvas. Wrap and staple the canvas around the bars the same way an artist’s canvas is stretched, then hang it directly on the wall.
Foam board mounting. A simpler and more affordable alternative is to trim a piece of foam board to the exact size of your canvas, center the finished diamond painting face-up on it, fold the edges over, and tape or glue them to the back. The mounted piece can then be hung with adhesive strips or a sawtooth hanger.