⚠️ This page connects you to Atovia’s partners and affiliate markets. We may receive a commission from affiliate partners for activities made through these links. Discount offers may change at any time according to policy! Rest assured, there are no additional costs to you! We hope this saves you time in finding the right items!
- 1. Why Athletes Tape Their Knees
- 2. Types of Sports Tape for Knee Support
- 3. Supplies You Need Before You Start
- 4. How to Sports Tape a Knee — Step-by-Step Instructions
- 5. Rigid Tape vs. Kinesiology Tape: Head-to-Head Comparison
- 6. Pro Tips for Making Tape Last Longer
- 7. When to Skip the Tape and See a Professional
- 8. Best Sports Tape Products to Buy Right Now
Whether you’re returning from a minor knee injury or want to prevent one before it starts, learning how to sports tape a knee is one of the highest-value skills any active person can develop. Applied correctly, sports tape stabilizes the patella, reduces ligament stress, and gives your nervous system better feedback about joint position — all without limiting your ability to compete. This guide covers every step, from choosing the right tape to the exact strips you need to place and why.
1. Why Athletes Tape Their Knees
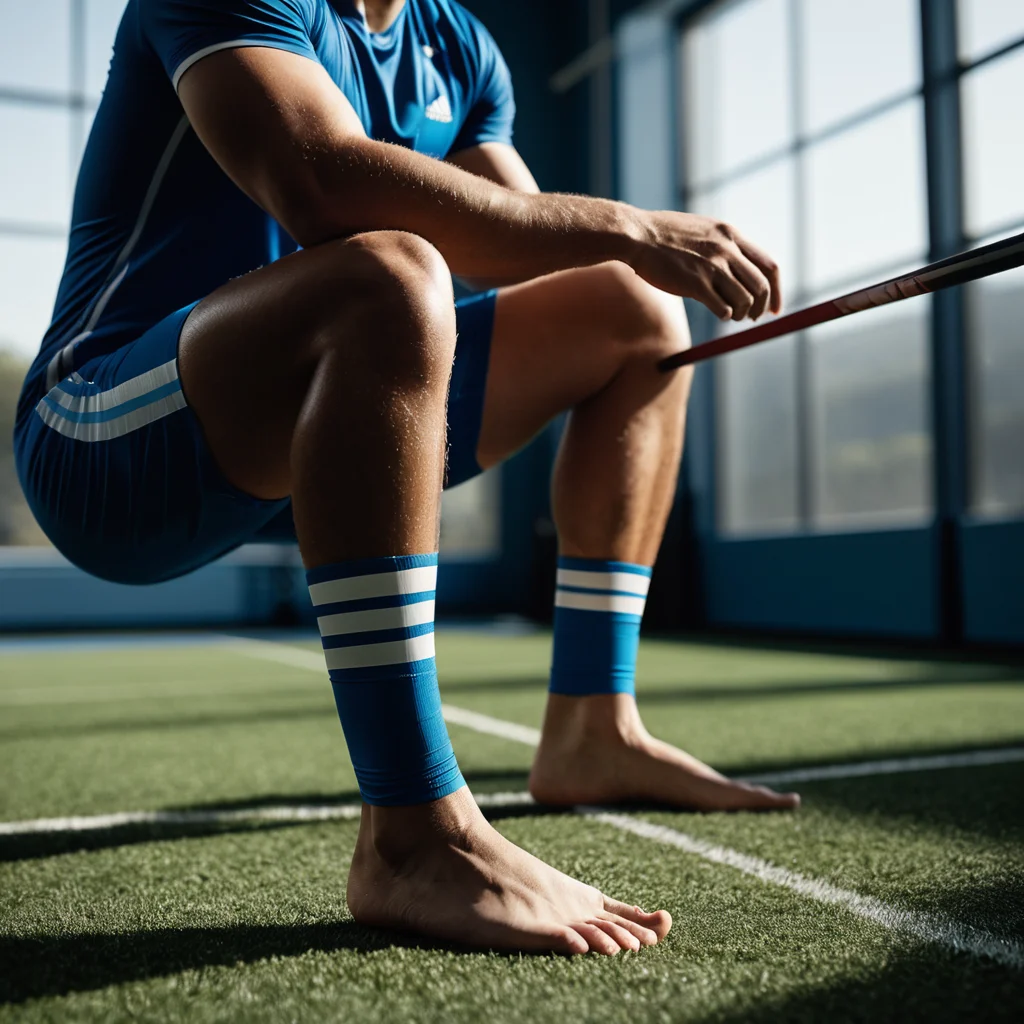
The knee is the most commonly injured joint in recreational and competitive sport. Its position between two long lever arms — the femur above and the tibia below — means it absorbs enormous rotational and compressive forces during running, jumping, cutting, and landing. When muscular support is insufficient or a structure has been previously strained, those forces go somewhere they shouldn’t.
Sports taping addresses this in three ways. First, it provides a mechanical barrier that limits excessive or abnormal movement. Second, it stimulates skin and joint receptors, improving proprioception — the body’s real-time awareness of where the joint is in space. Third, rigid tape offloads specific structures such as the patellar tendon or medial collateral ligament by redistributing forces across the tape itself.
The most common reasons athletes tape their knees include patellar tendinopathy, IT band friction syndrome, mild MCL sprains, post-surgical return to sport, patellofemoral pain syndrome, and general instability prevention during high-load training blocks.
- Taping improves proprioception and reduces the likelihood of re-injury during sport
- Rigid tape mechanically restricts unwanted movement; kinesiology tape enhances neuromuscular feedback
- Taping is most effective as part of a broader rehabilitation or injury prevention program
- Correct tension and placement matter more than the brand of tape you choose
- Always assess circulation after taping — numbness or discoloration means reapply with less tension
2. Types of Sports Tape for Knee Support
The tape you select determines the technique, the feel during activity, and how long it stays on. There is no single best option — the right choice depends on your injury type, activity level, and how much motion restriction you need.
Rigid Athletic Tape
Also called zinc oxide tape or white tape, rigid athletic tape is non-elastic and designed to prevent motion beyond a set range. It is the standard choice for structural support — ligament sprains, acute instability, and post-injury protection. Because the adhesive is aggressive, it requires foam underwrap against bare skin. Typical width for knee applications is 38mm (1.5 inches). A single application lasts one training session, usually four to eight hours.
Kinesiology Tape

Kinesiology tape (often called K-tape) is an elastic cotton tape with a wave-pattern acrylic adhesive that mimics the weight and thickness of human skin. It does not restrict range of motion significantly. Instead, it gently lifts the skin to improve lymphatic drainage, reduce pressure on pain receptors, and enhance proprioceptive signaling. It is ideal for patellar tracking corrections, IT band syndrome, and swelling management. A single application typically lasts three to five days including showering and swimming.
Cohesive Bandage
Self-adhering elastic bandage (such as Coban or Co-Flex) does not stick to skin — only to itself. It is used primarily as a compression over-wrap or to secure other tape layers, particularly during contact sports where a finishing layer of protection is helpful.
3. Supplies You Need Before You Start
Gathering everything before you sit down prevents mid-application rushing, which is the most common cause of uneven tension, creasing, and early tape failure. Here is what you need for a standard rigid tape application:
- 38mm rigid athletic tape (zinc oxide)
- Foam or cotton underwrap (pre-wrap)
- Adhesive spray (such as Mueller Tuffner or Endura Fix)
- Blunt-nosed tape scissors
- Skin-safe tape remover or plain baby oil
- Clean towel and access to soap and water
For kinesiology tape applications, skip the underwrap and adhesive spray. You will need only the K-tape roll or pre-cut strips, scissors, and clean dry skin. Optional: a heat source such as a hair dryer to activate the adhesive after application.
🛒 Recommended Product
4. How to Sports Tape a Knee — Step-by-Step Instructions
The following technique is the McConnell patellar taping method using rigid tape — the most widely used clinical approach for knee pain and instability. Adapt strip placement based on your specific condition and any professional guidance you have received.
Step 1: Prepare the Skin
Shave any hair over the taping area. Wash the skin with soap and water and dry completely. Apply adhesive spray evenly and allow thirty seconds for it to become tacky. Skin preparation is the single biggest factor in how long tape stays on — do not skip it.

Step 2: Apply Underwrap
Starting five centimeters above the kneecap, wrap foam underwrap in overlapping spirals downward to five centimeters below the kneecap, leaving the patella itself exposed. Two to three overlapping layers is sufficient. The underwrap protects your skin from the rigid tape adhesive and makes removal far less painful.
🛒 Recommended Product
Step 3: Position the Knee
Sit on a bench or chair with your knee bent at approximately 30 degrees. Place a small rolled towel under the joint to maintain this angle without effort. Taping a fully extended knee is the most common beginner mistake — the tape will feel tight immediately and peel within an hour as the skin shifts.
Step 4: Apply Anchor Strips
Cut two strips of rigid tape long enough to wrap around the limb without overlap tension. Place the first horizontal anchor strip on the lower thigh, just above the top edge of the underwrap. Place the second anchor strip on the upper shin, just below the lower edge of the underwrap. Apply both strips with zero stretch — these are structural foundations, not support strips.
Step 5: Apply Support Strips
Cut two to three diagonal strips. Beginning from the outer (lateral) anchor strip, run each strip diagonally across the kneecap toward the inner (medial) anchor, applying gentle but firm medial glide tension as you smooth the tape down. The goal is to shift the patella slightly inward. Do not apply so much tension that the skin puckers into ridges — this causes blistering and premature lifting.
Step 6: Apply Locking Strips
Mirror the anchor strips with two locking strips placed directly over the anchor positions. These hold the support strips in place and distribute edge stress. Rub firmly over all tape edges with your fingertip for ten seconds each — heat from friction activates the adhesive.
Step 7: Check Circulation and Comfort
Ask the athlete to flex and extend the knee five times. The tape should feel supportive and firm but not painful or pinching. Check the foot and toes for normal color and sensation. If there is any numbness, tingling, or bluish discoloration, remove the tape immediately and reapply with reduced tension.
5. Rigid Tape vs. Kinesiology Tape: Head-to-Head Comparison
The two most popular formats serve fundamentally different purposes. Use this comparison to confirm you are choosing the right tool for your situation.
| Feature | Rigid Athletic Tape | Kinesiology Tape |
|---|---|---|
| Support Level | High — restricts range of motion | Low to moderate — full ROM preserved |
| Wear Duration | One session (4–8 hours) | 3–5 days including water exposure |
| Best Use Cases | Ligament sprains, acute instability, post-injury | Patellar tracking, swelling, IT band, chronic pain |
| Skin Requirements | Requires foam underwrap | Applied directly to clean dry skin |
| Waterproof | No | Yes (most brands) |
| Skill Level Required | Moderate to high | Low to moderate |
| Average Cost Per Application | $1.50 – $3.00 | $2.00 – $4.50 |
6. Pro Tips for Making Tape Last Longer
Even a textbook application fails early if a few practical details are overlooked. These habits separate athletes who get four hours out of a taping job from those who get eight or more:
- Apply tape at least 30 minutes before activity so the adhesive fully bonds before it is stressed by movement and sweat
- Round all corners of every cut strip with scissors — square corners catch on clothing and are the first thing to peel
- Use adhesive spray even for kinesiology tape in high-humidity or high-sweat conditions
- Pat tape edges dry during activity rather than rubbing — rubbing mechanically loosens the bond
- Remove tape slowly by pulling it back parallel to the skin surface, not outward at a perpendicular angle
- Apply a thin layer of unscented moisturizer to the taping area the night after removal to maintain skin integrity for repeated applications
7. When to Skip the Tape and See a Professional
Sports taping is a powerful self-care skill, but it has clear limits. The following situations require professional evaluation before you attempt to continue training with tape as your only intervention:
- Sudden severe pain during activity with no prior injury history — especially if accompanied by a pop or snap
- Significant swelling that developed within two hours of injury
- Inability to bear weight or walk normally on a flat surface
- Visible deformity or a feeling that the knee has shifted or given way completely
- Pain that persists beyond two weeks of relative rest and tape management
- Skin reactions, blistering, or rash from previous tape applications
A physiotherapist or sports medicine physician will diagnose the exact structure involved, prescribe the correct taping configuration, and in most cases show you how to apply it yourself. Taping the wrong structure with the wrong tension can delay healing or create compensatory problems elsewhere in the kinetic chain.
8. Best Sports Tape Products to Buy Right Now
These products represent the most consistently recommended options across clinical settings and athlete reviews. All are widely available through sports retailers and online stores.
- Mueller MTape 1.5-inch Rigid Tape — the benchmark white tape for knee applications; consistent tension, reliable adhesive, available in bulk rolls for high-volume users
- Rocktape Kinesiology Tape (2-inch) — excellent stretch recovery, strong water-resistant adhesive, trusted by competitive CrossFit and endurance athletes
- KT Tape Pro Synthetic — pre-cut strips with application guides for common knee conditions; ideal for first-time users
- BSN Leukotape P — high-tack rigid tape used by professional sports medical staff; requires underwrap but delivers exceptional hold in hot and humid conditions
- 3M Coban Self-Adherent Wrap — the standard cohesive bandage for compression finishing layers; comfortable and easy to remove
- Mueller Tuffner Pre-Tape Spray — adhesive spray that dramatically extends tape wear time; compatible with both rigid and kinesiology tape
Get the right tape, underwrap, and adhesive spray delivered to your door.